This post contains affiliate links. Please see our disclosure policy.
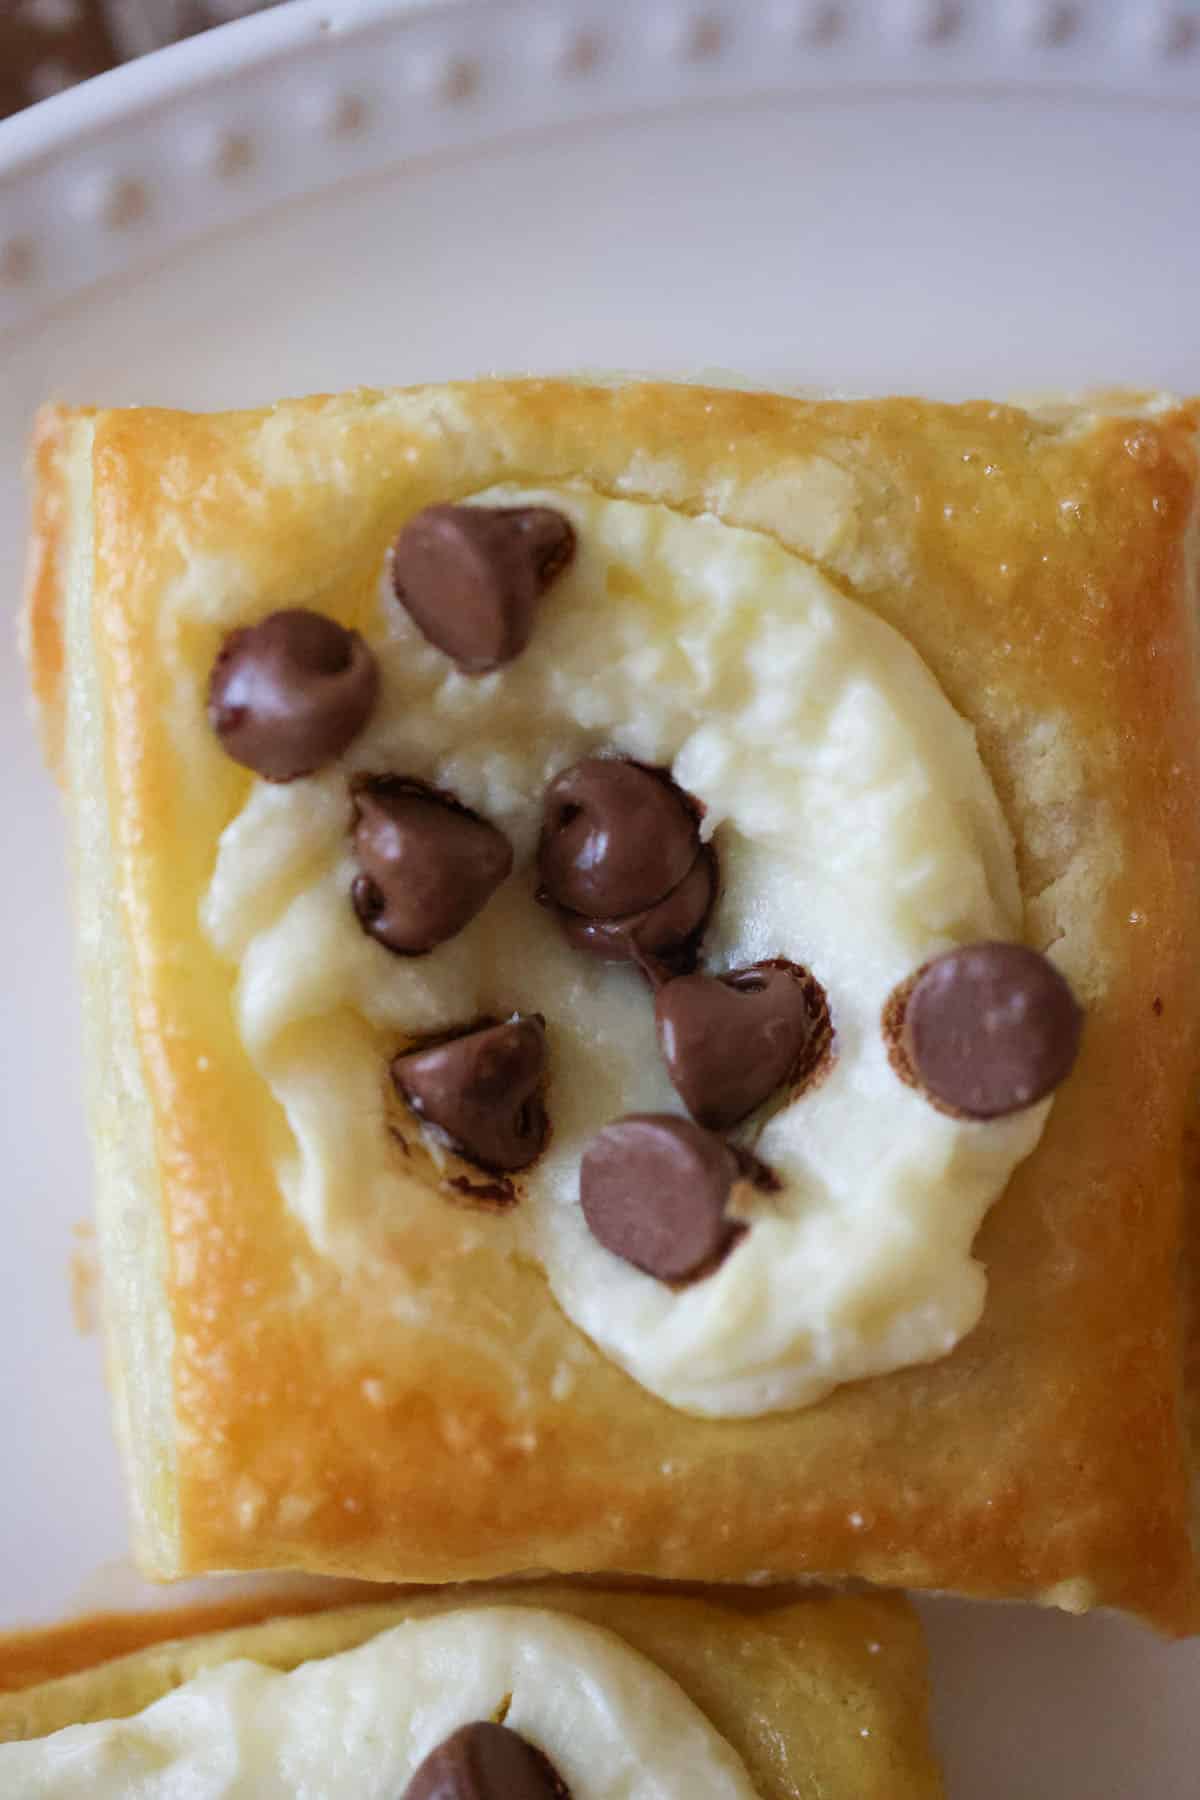
These chocolate chip cream cheese danishes are so easy to make and perfect for breakfast, dessert, or brunch parties! They’re made with flaky puff pastry, a sweet cream cheese filling, and plenty of milk chocolate chips.
You only need a handful of ingredients, and they come together in about 30 minutes. Love Danishes? Check out these lemon blueberry danish!
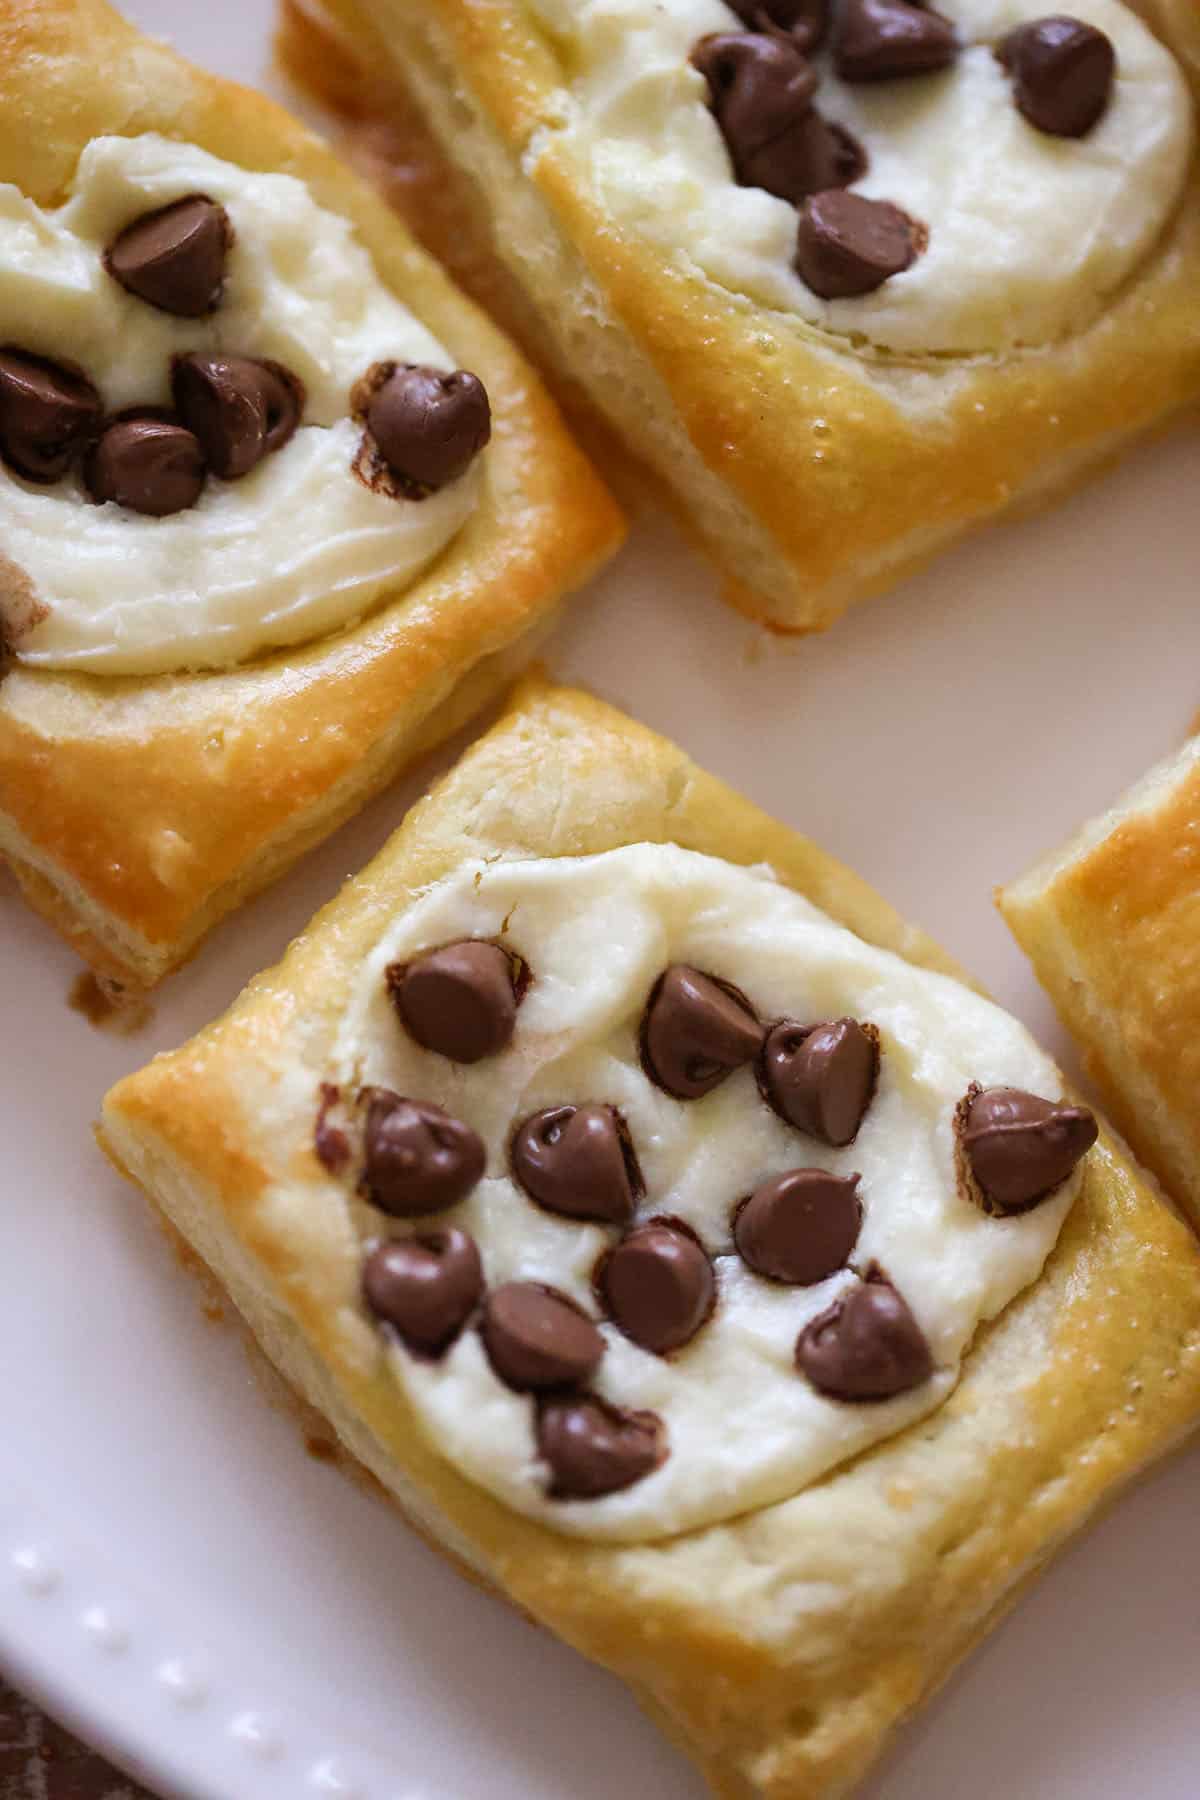
Table of Contents
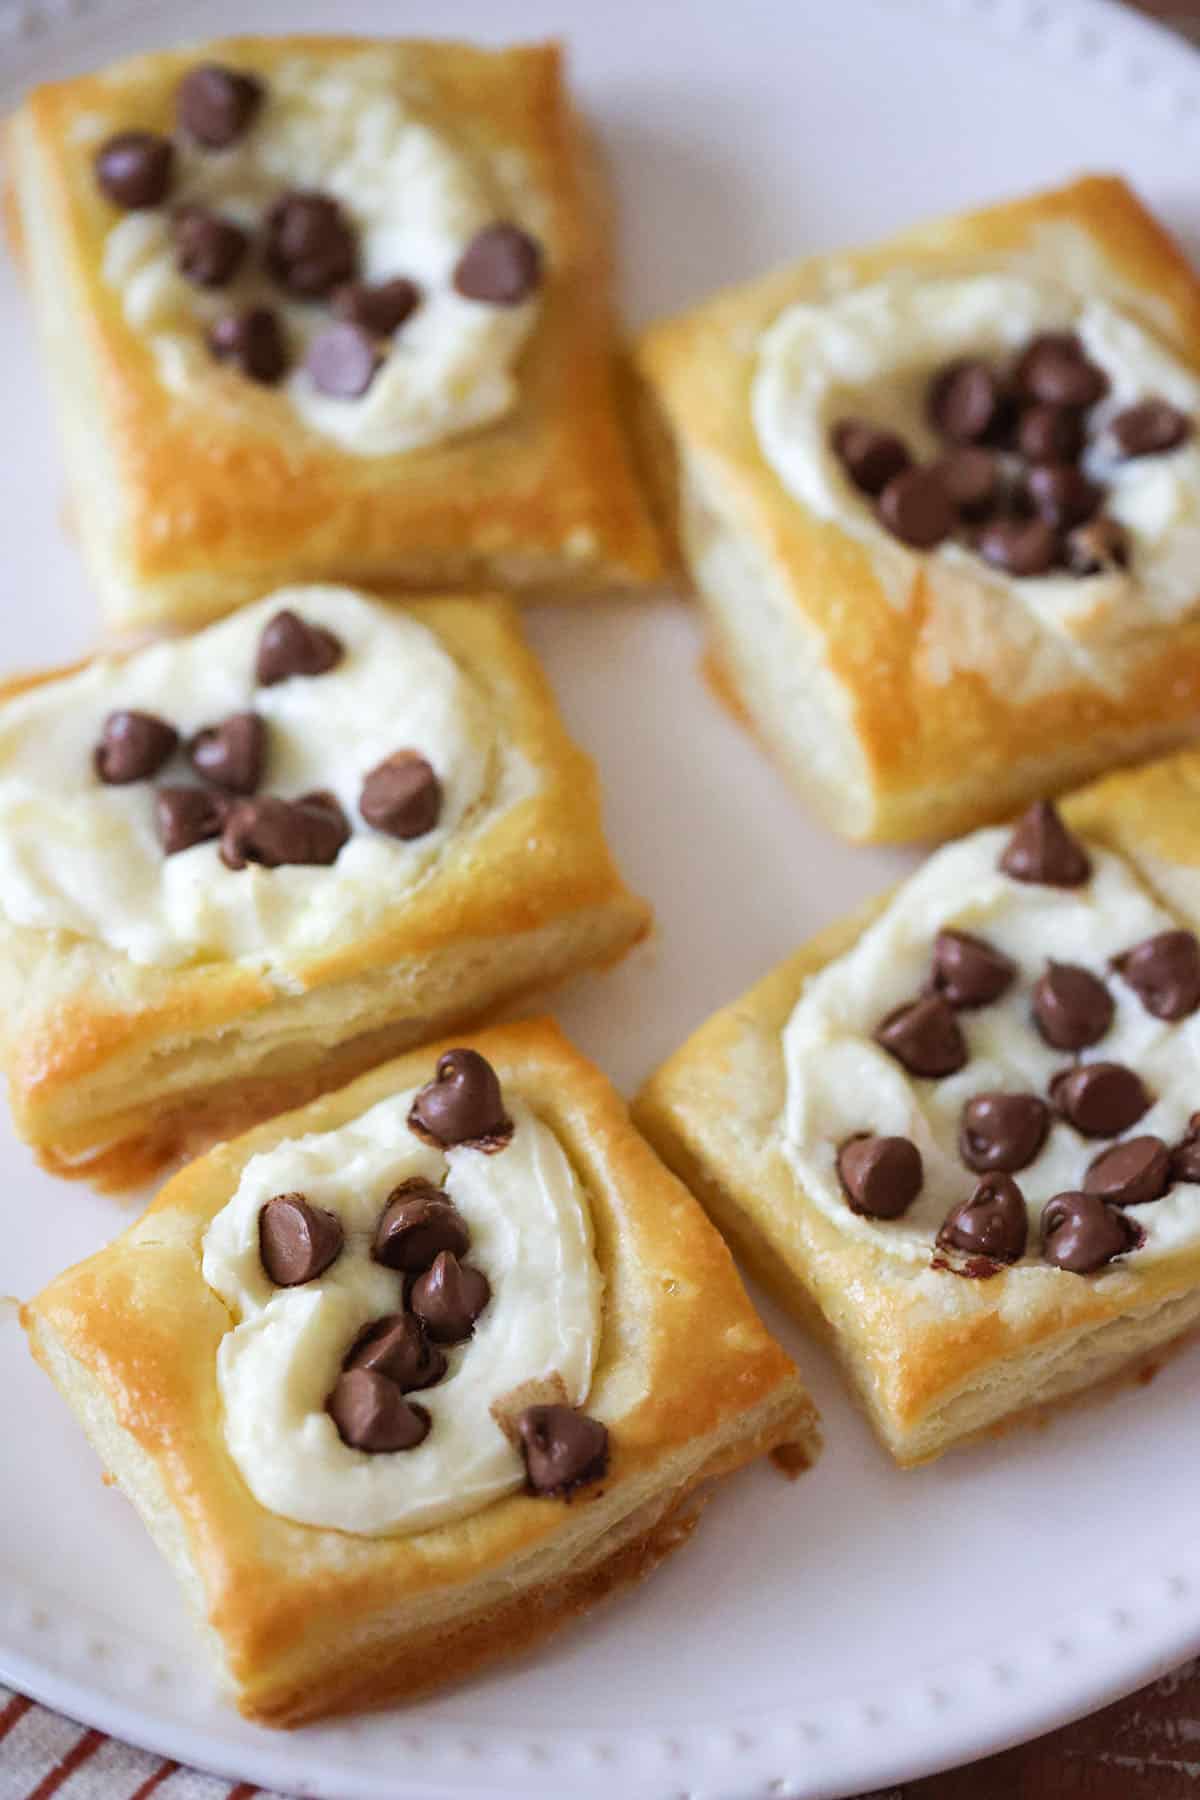
One thing I highly recommend is letting them cool before digging in! If you eat them straight out of the oven, you won’t really taste much of the sugar, but once they cool, the sweetness comes through.
I thought they were perfectly sweet as is, but feel free to sprinkle some powdered sugar on top or add a little sugar around the edges before baking if you prefer them sweeter.
Ingredient Notes
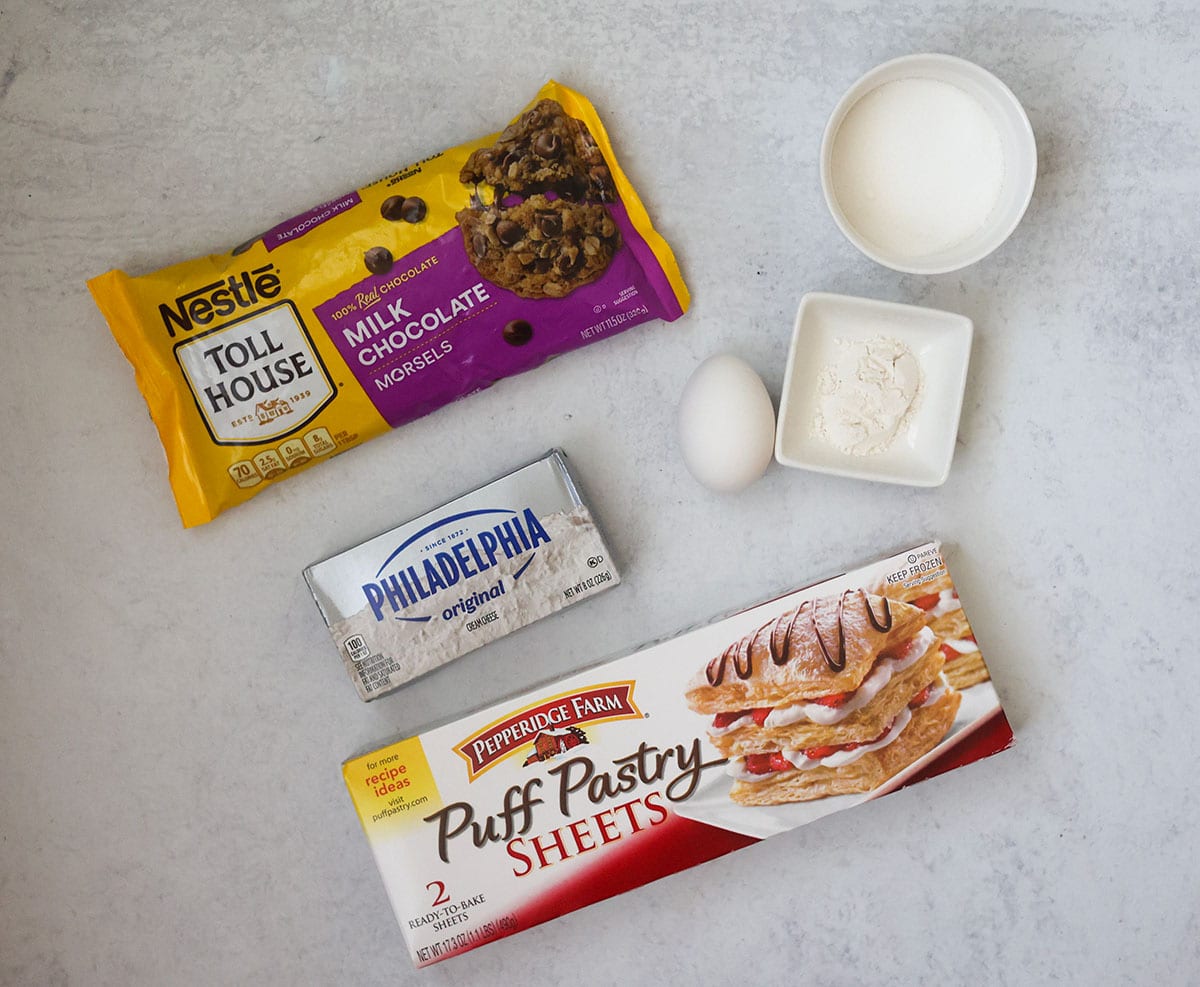
See the recipe card below for ingredient quantities and complete instructions.
- Cream Cheese: Make sure it’s softened to room temperature so the filling is smooth and creamy. I recommend using full-fat cream cheese.
- All-Purpose Flour: Helps thicken and stabilize the cream cheese filling as it bakes.
- Puff Pastry: I used store-bought puff pastry to keep things quick and easy. Make sure it’s thawed but still cold before working with it.
- Milk Chocolate Chips: I love using milk chocolate chips for these, but semisweet or dark chocolate chips work too.
Top Tips
- Make sure your cream cheese is softened so the filling is nice and smooth.
- Don’t overfill the puff pastry squares, or the filling may spill over while baking.
- Let the danishes cool before serving! Trust me, the sweetness is much more noticeable once they’re no longer piping hot.
- For a sweeter finish, dust them with powdered sugar or sprinkle some granulated sugar around the pastry edges before baking.
- Keep an eye on them toward the end of baking since you want the pastry golden brown, not overly dark.
Can I use semisweet chocolate chips instead?
Absolutely! I used milk chocolate chips because I love the sweetness, but semisweet or dark chocolate chips work just as well.
Why should I let the danishes cool before serving?
I noticed that when I tasted one straight out of the oven, I could barely taste the sugar. Once it cooled, the sweetness was much more noticeable, and the flavors came together beautifully. I highly recommend letting them cool before digging in!
Storage
Store leftover chocolate chip cream cheese danishes in an airtight container in the refrigerator for up to 3 days. You can enjoy them cold or reheat them in the oven at 325°F for a few minutes until warmed through. I don’t recommend microwaving them because the puff pastry can become soggy.
Tried this recipe? Please leave a star ⭐️⭐️⭐️⭐️⭐️ rating in the recipe card below and/or a review in the comments section further down the page. Also, please consider following me on Facebook or Pinterest!

Chocolate Chip Cream Cheese Danishes
Equipment
- baking sheet
Ingredients
- 8 ounces cream cheese, softened
- 1/4 cup granulated sugar
- 2 teaspoons all-purpose flour
- 2 sheets puff pastry, thawed
- ¾ cup milk chocolate chips, about 1 tablespoon per danish
- 1 large egg, beaten (for egg wash)
Instructions
- Preheat your oven to 350°F and line a baking sheet with parchment paper.
- In a medium bowl, combine the softened cream cheese, granulated sugar, and flour. Mix until smooth and creamy.
- Unfold the thawed puff pastry sheets onto a lightly floured surface and cut each sheet into 9 equal squares.
- Place the puff pastry squares onto the prepared baking sheet, leaving some space between each one.
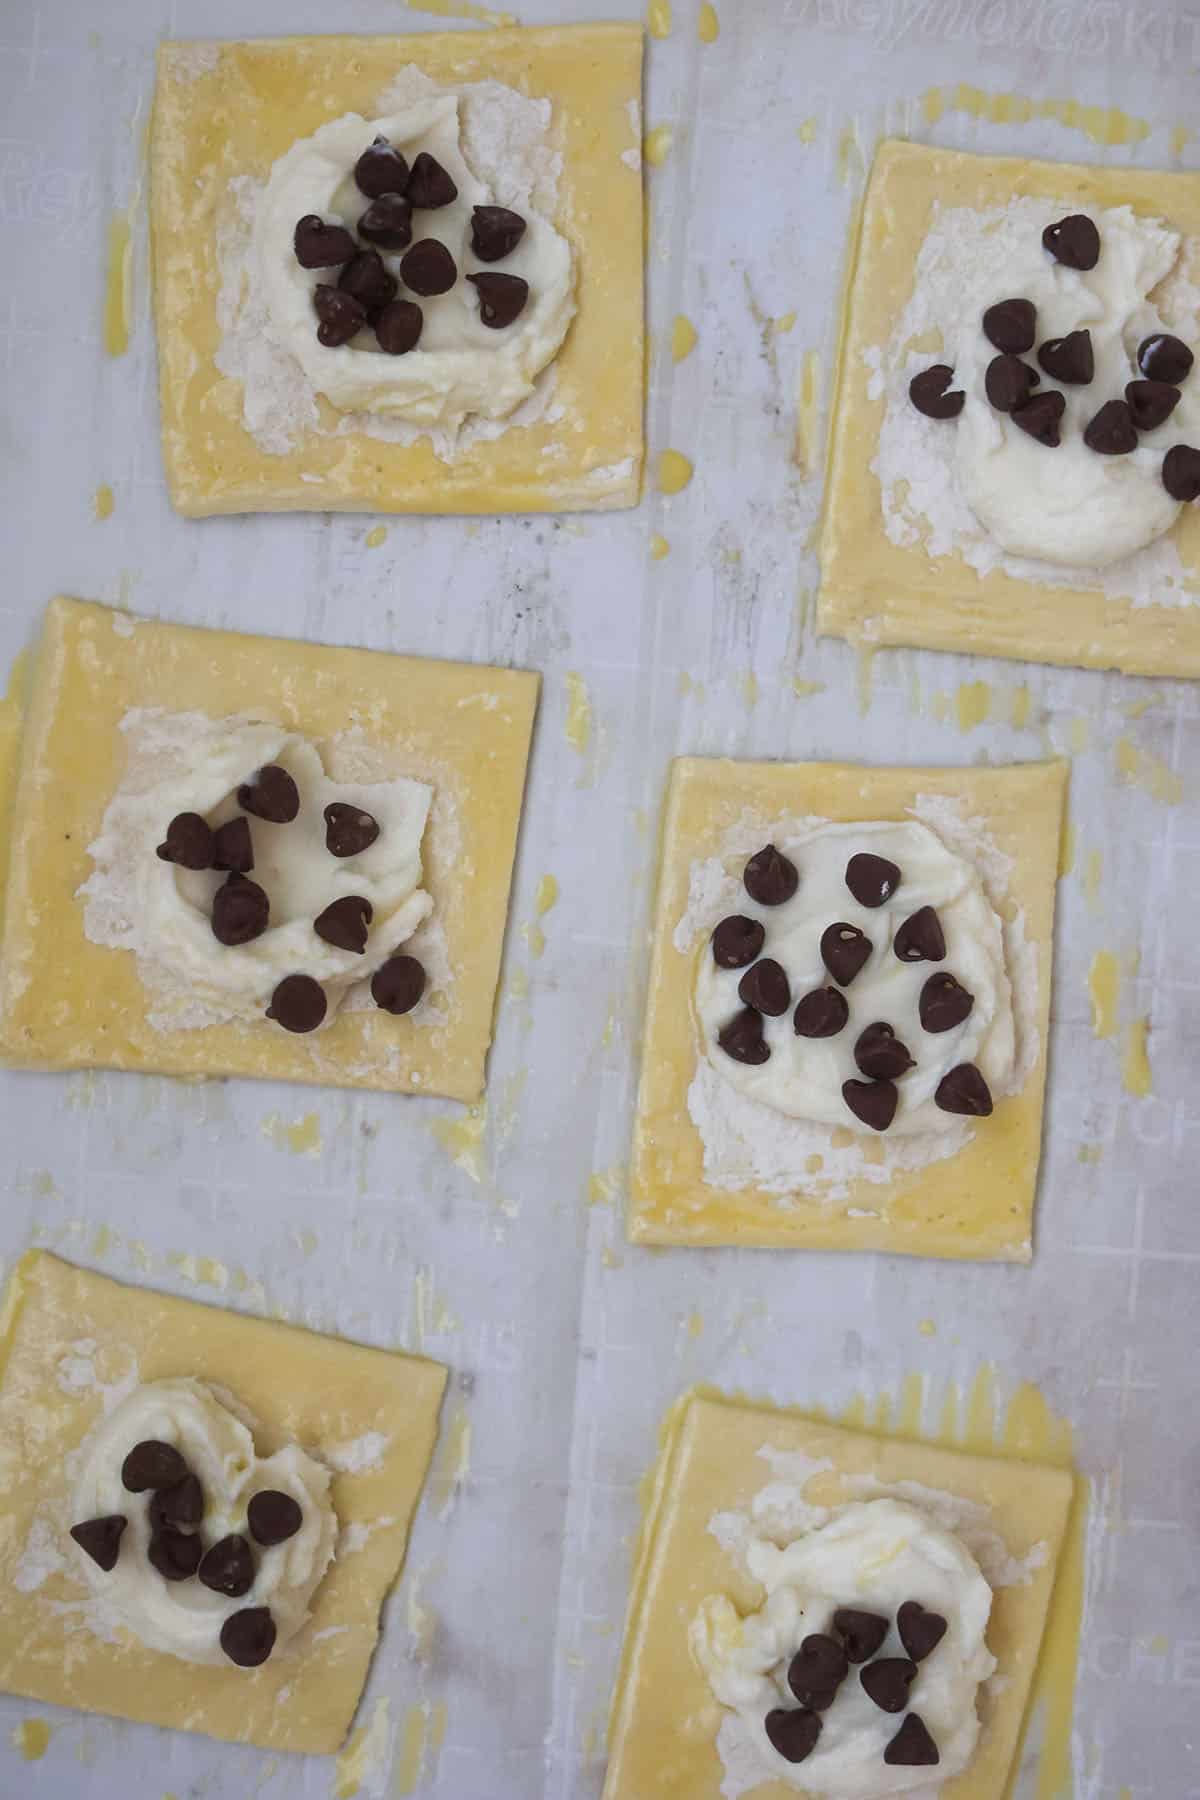
- Spoon about 1 tablespoon of the cream cheese filling into the center of each square, leaving a border around the edges.
- Sprinkle 1 tablespoon of milk chocolate chips over the cream cheese filling on each square.
- Brush the exposed edges of the puff pastry with the beaten egg.
- Bake for 20 minutes or until the puff pastry is golden brown and puffed.
- Allow the danishes to cool slightly before serving. Enjoy!
Notes
- For a sweeter finish, dust them with powdered sugar or sprinkle some granulated sugar around the pastry edges before baking.
- Keep an eye on them toward the end of baking since you want the pastry golden brown, not overly dark.
Nutrition
Nutrition information is automatically calculated, so should only be used as an approximation.