This post contains affiliate links. Please see our disclosure policy.
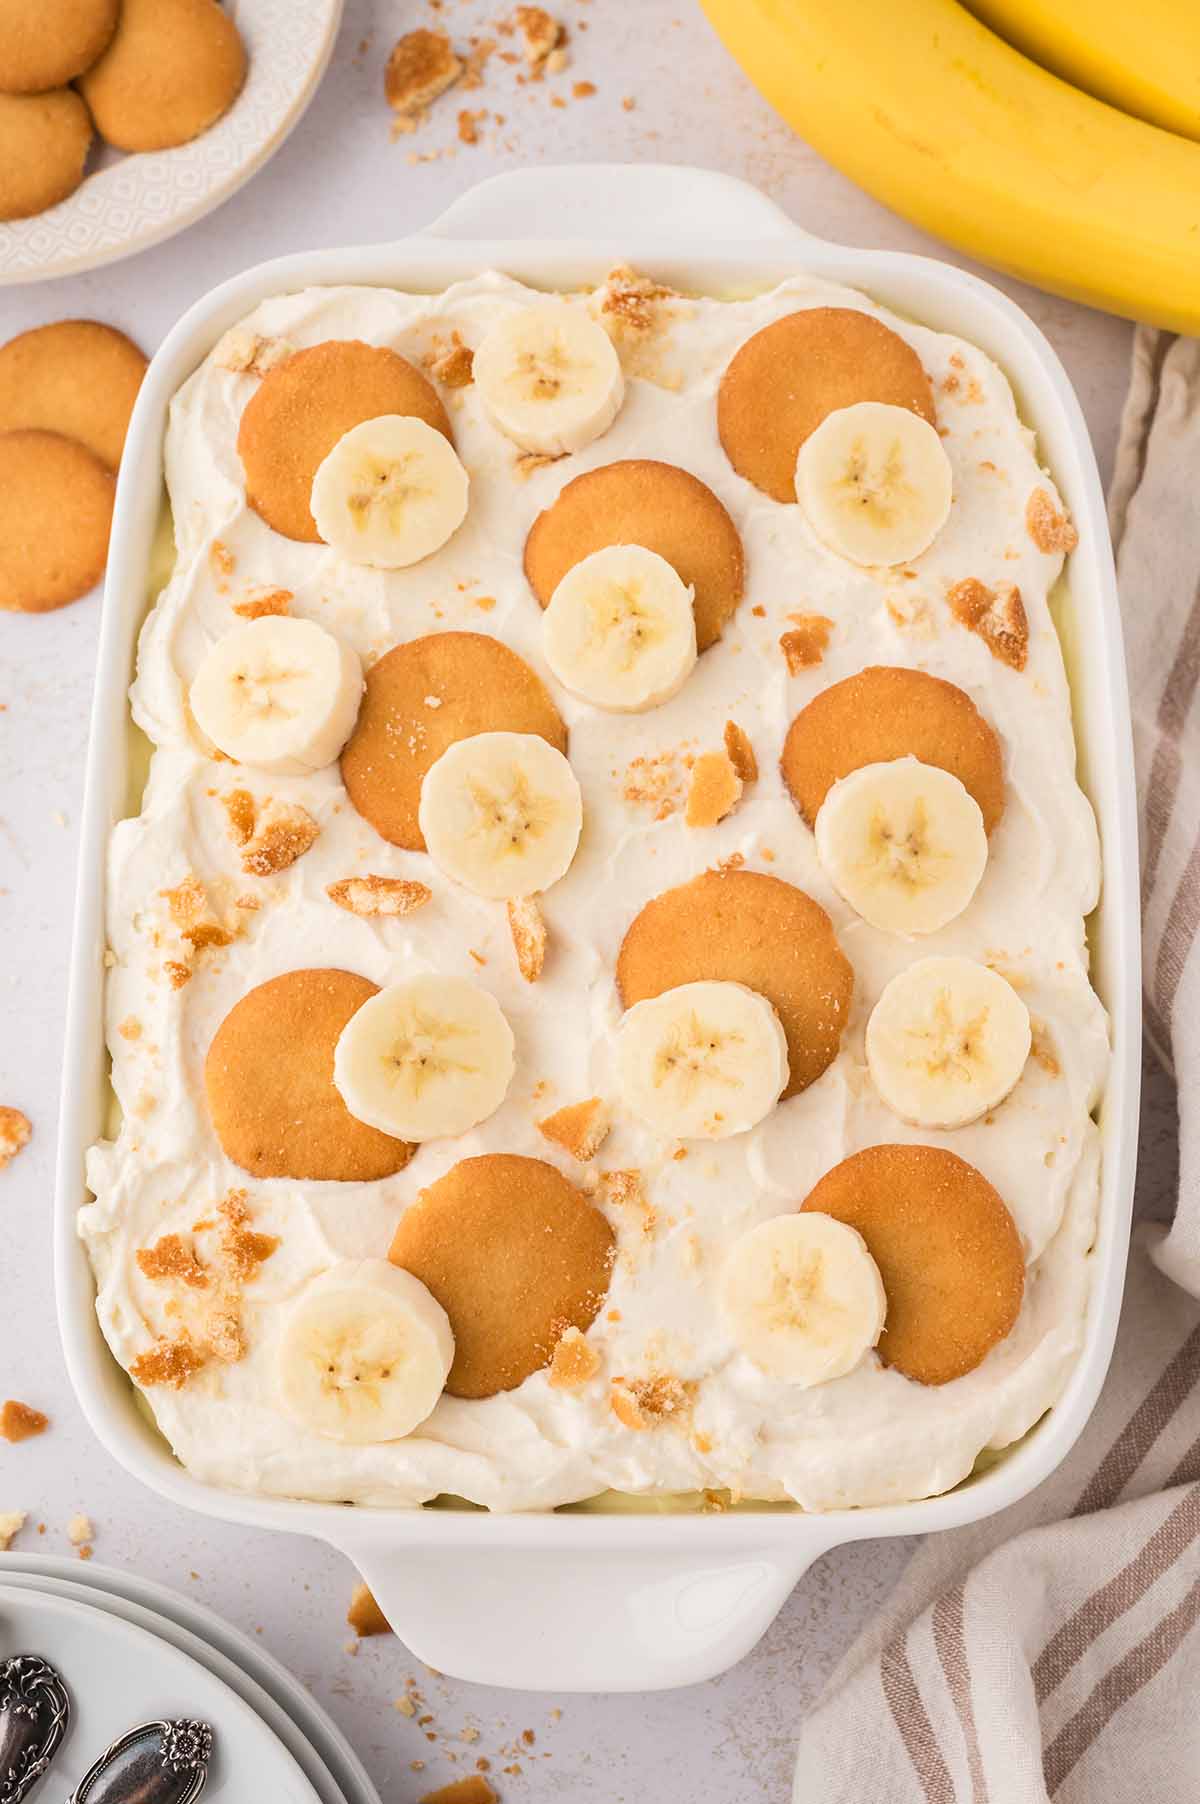
This rich classic banana pudding has layers of vanilla wafers, creamy homemade custard, ripe bananas, and a homemade whipped cream. No boxed ingredients in this easy recipe! It’s a timeless Southern dessert perfect for gatherings.
If you love bananas or have some that are about to go bad, check out these chocolate banana bars and banana cake.
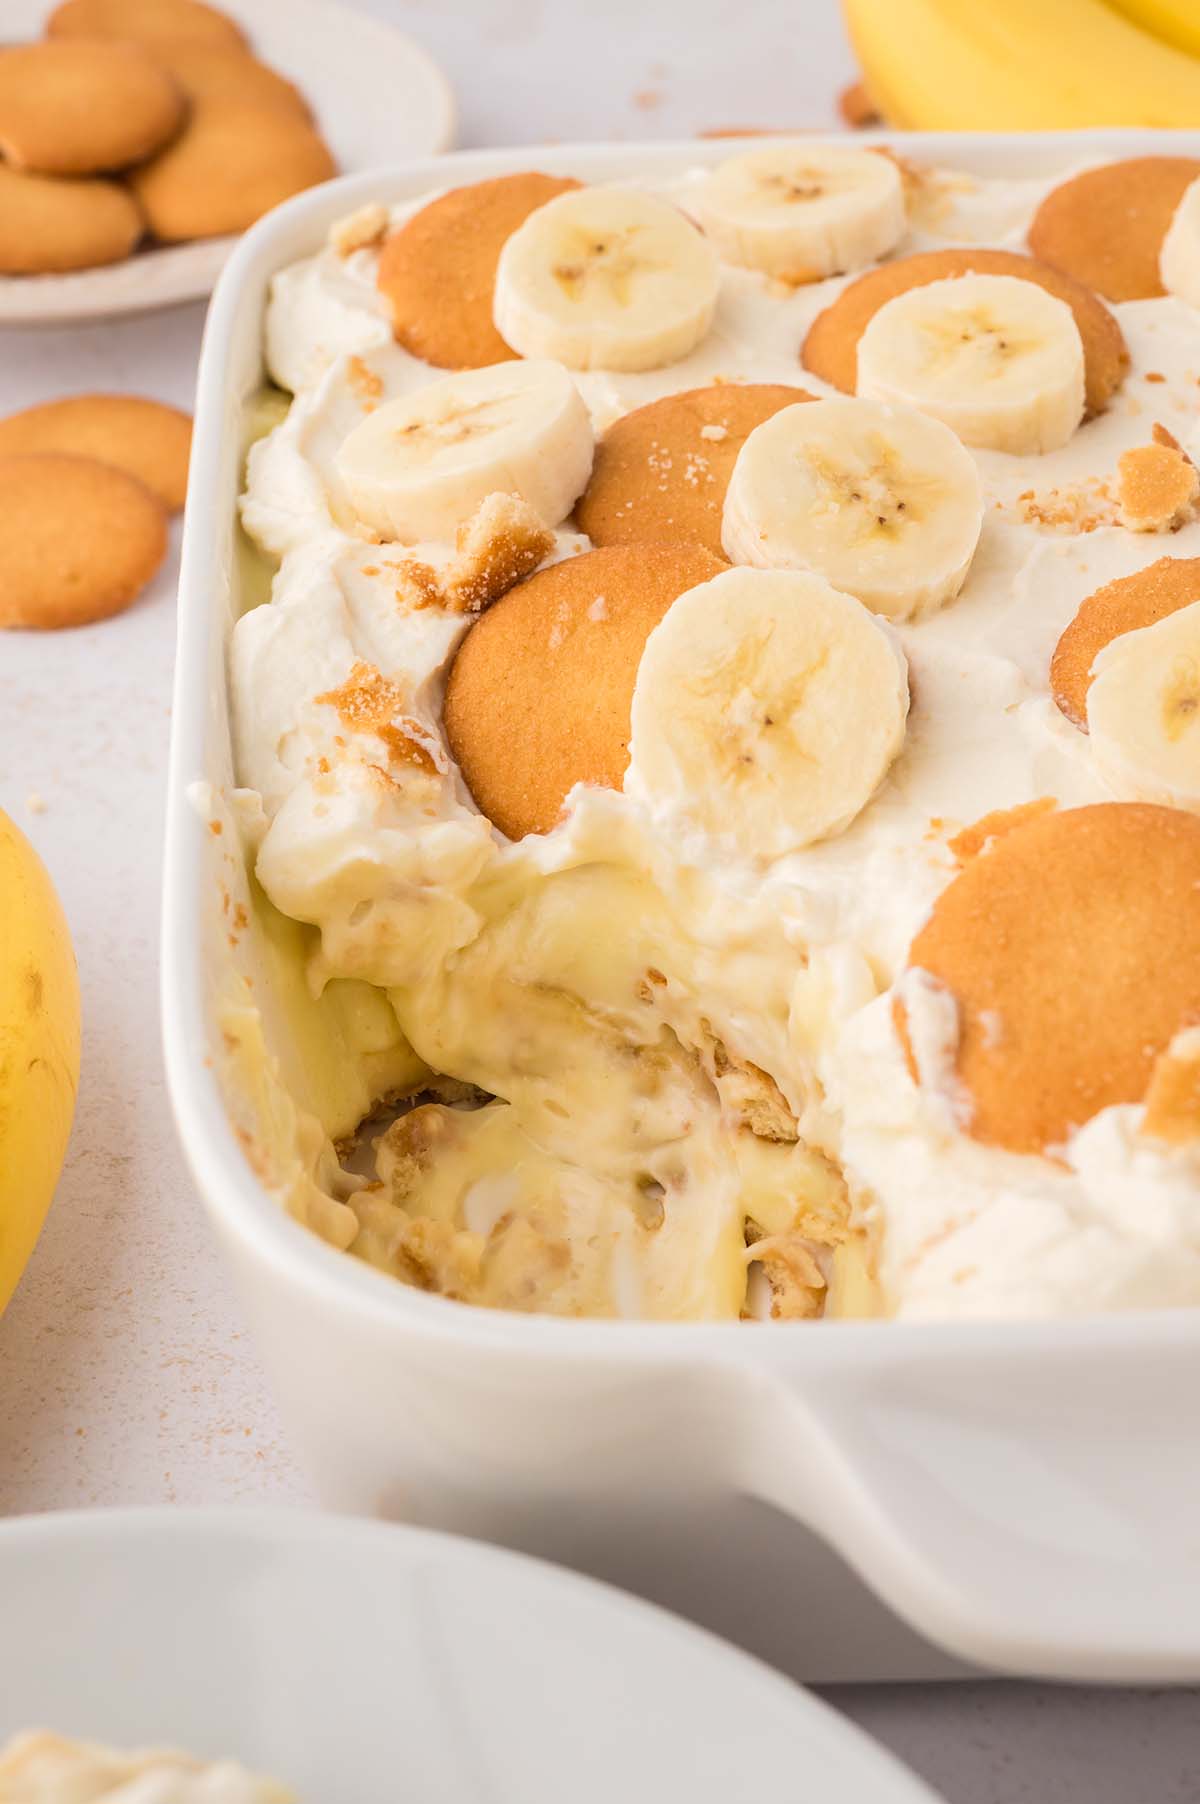
Table of Contents
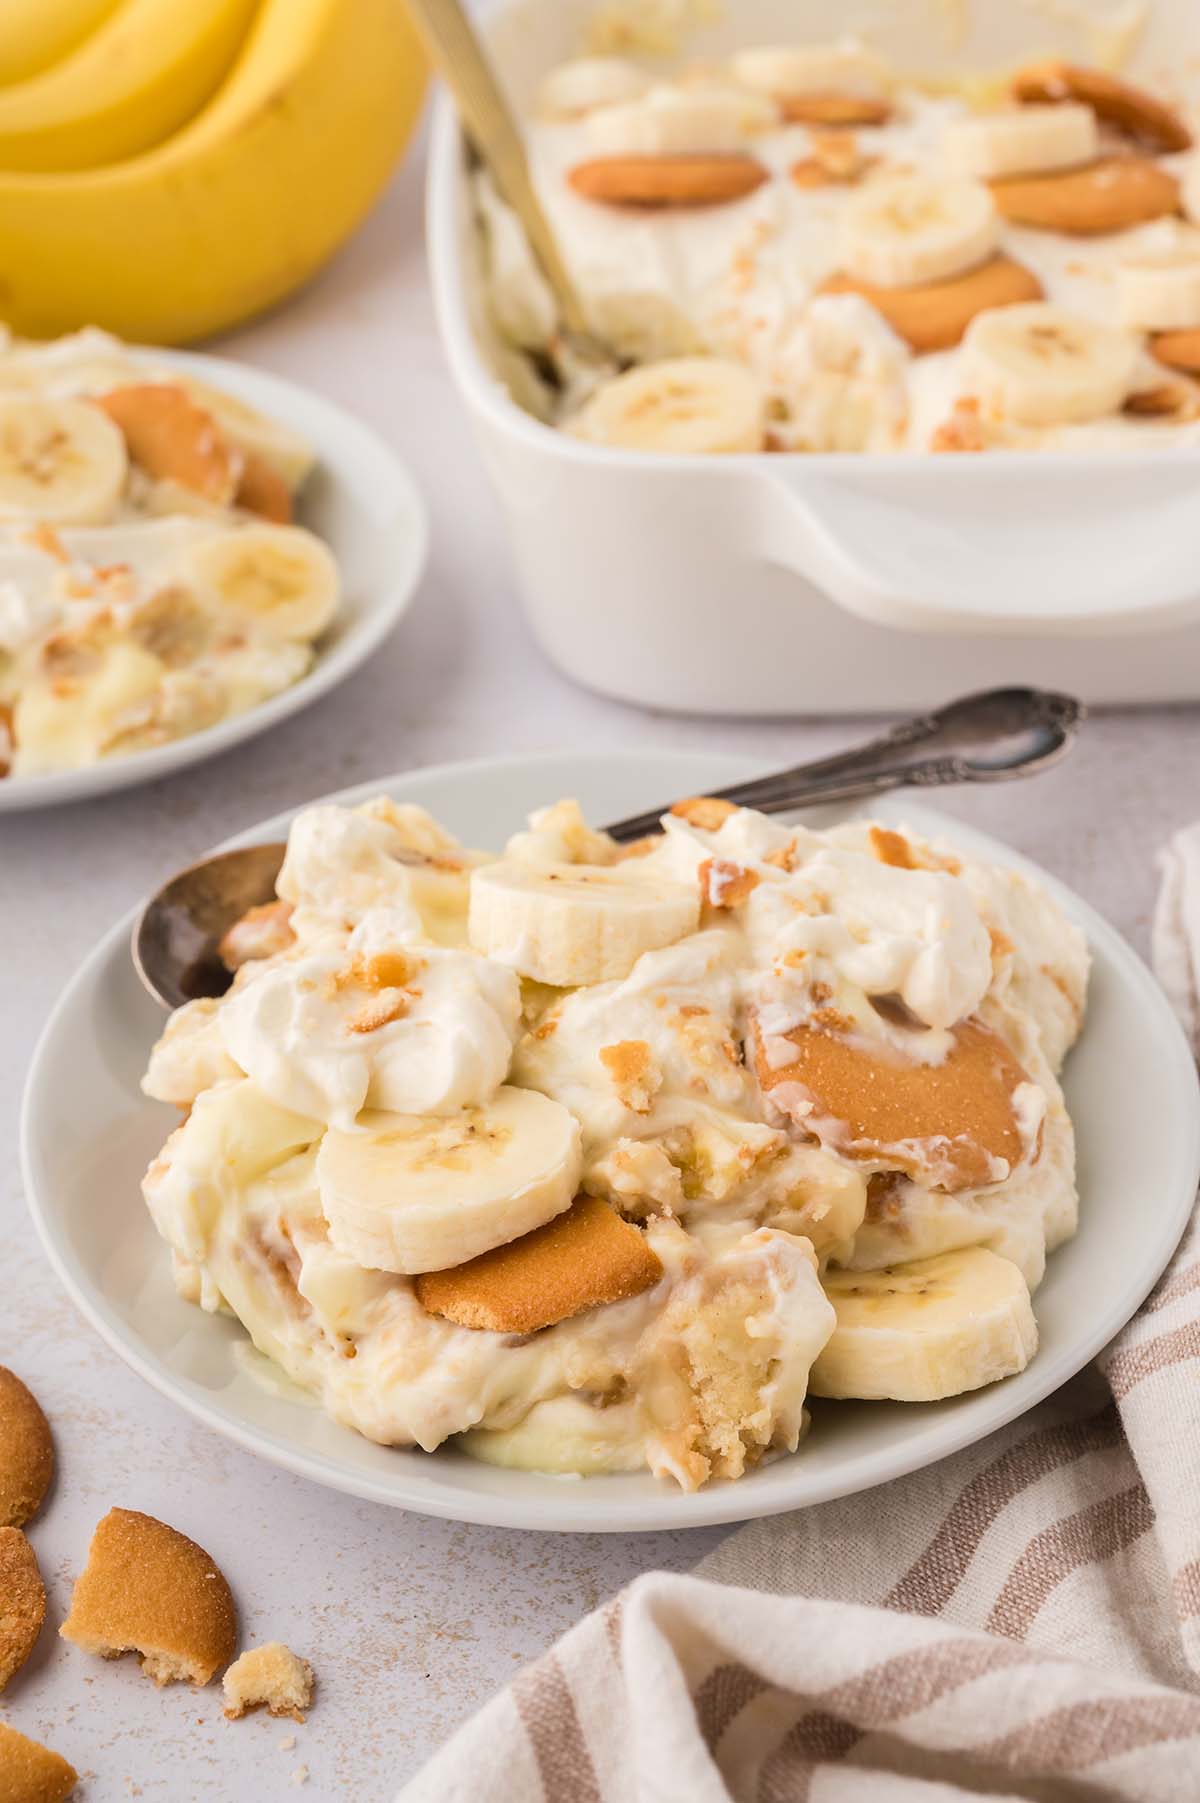
I absolutely love banana pudding, and for the longest time, I thought the pudding itself was banana flavored, but nope! The only thing that gives classic banana pudding its banana flavor is the actual slices of fresh banana. There’s no banana extract at all, which I love because it keeps it from having that artificial banana taste.
My mom always made banana pudding using the Jell-O pudding boxes, so that’s what I grew up eating. But this recipe is made entirely from scratch, and I promise, it’s still so easy to make. And the flavor? About 100 times better than boxed pudding!
Ingredient Notes
See the recipe card below for ingredient quantities and complete instructions.
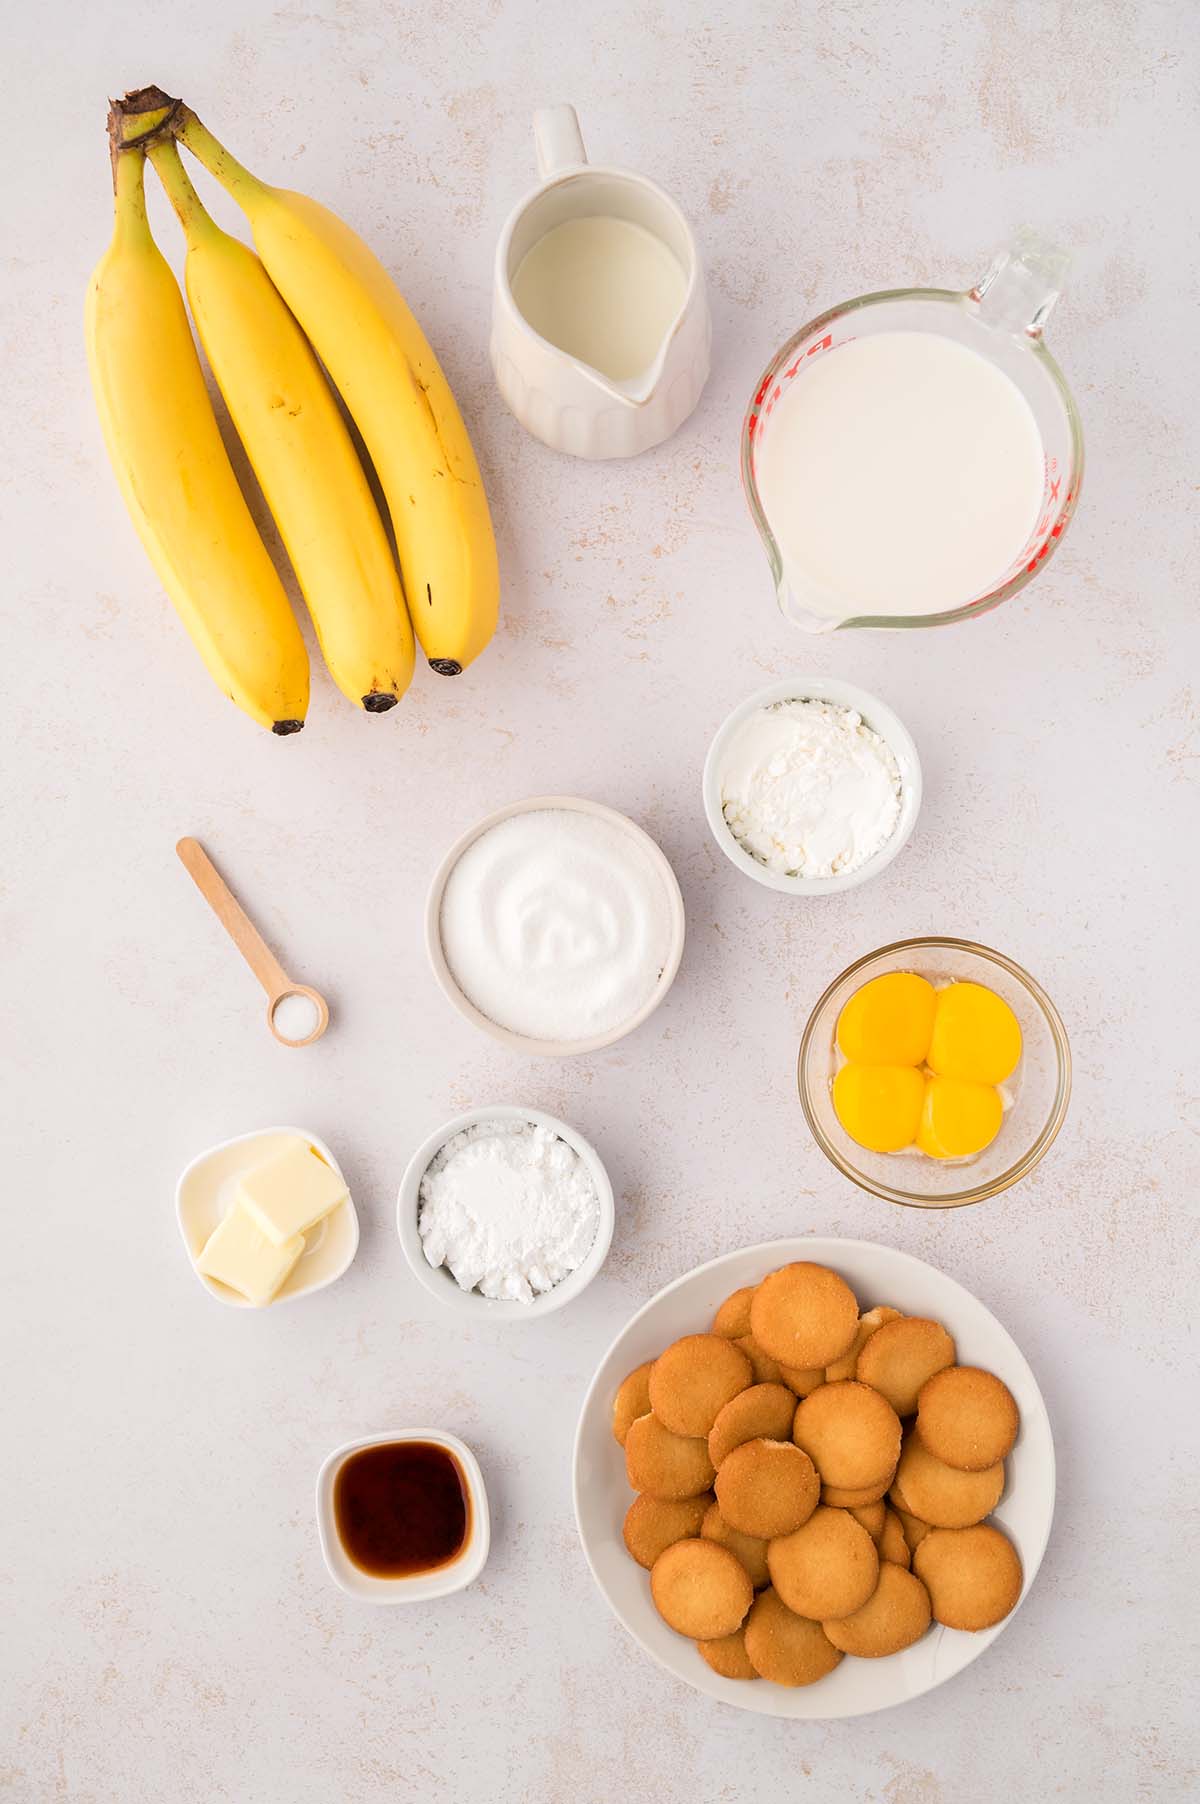
- Bananas – Use freckled bananas for best results.
- Vanilla Wafers – A must! They get nice and soft and it’s what makes it banana pudding!
- Milk – You’ll need whole milk for the pudding, do not use skim or fat free milk!
- Heavy Cream – You’ll need this for both the pudding and whipped topping so make sure to buy a big container.
- Yolks – Discard the egg whites, you’ll only need yolks for this recipe.
FAQs:
Can I make this ahead of time?
Yes, this can be made up to 1 day in advance. Be sure to top with whipped cream and banana slices just prior to serving for the best texture and appearance.
How long does this last?
Banana Pudding is best enjoyed within 2-3 days. Then bananas may begin to brown and soften as they sit.
Can I make this with instant pudding?
While this can be made with instant pudding, homemade pudding is so much better!
Can I use frozen whipped topping?
Yes, thawed whipped topping can be used for this recipe. However, it takes minimal time and ingredients to make it fresh, and fresh homemade whipped cream is delicious!
Can I use a trifle dish or individual cups to serve this in?
Certainly! You may have left over banana pudding ingredients depending on the size of your trifle dish or cups.
Do I have to temper the egg yolks for this pudding?
Nope! This is an easy version where the egg yolks slowly cook as the pudding thickens, so there’s no need to temper them. This easy recipe is perfect for both beginner and experienced cooks.
Top Tips
- Use bananas that are ripe but firm and yellow with a few brown speckles for the best texture and taste. Overly soft bananas can become mushy.
- Slice the bananas evenly, about ¼ inch thick for the best texture in every bite.
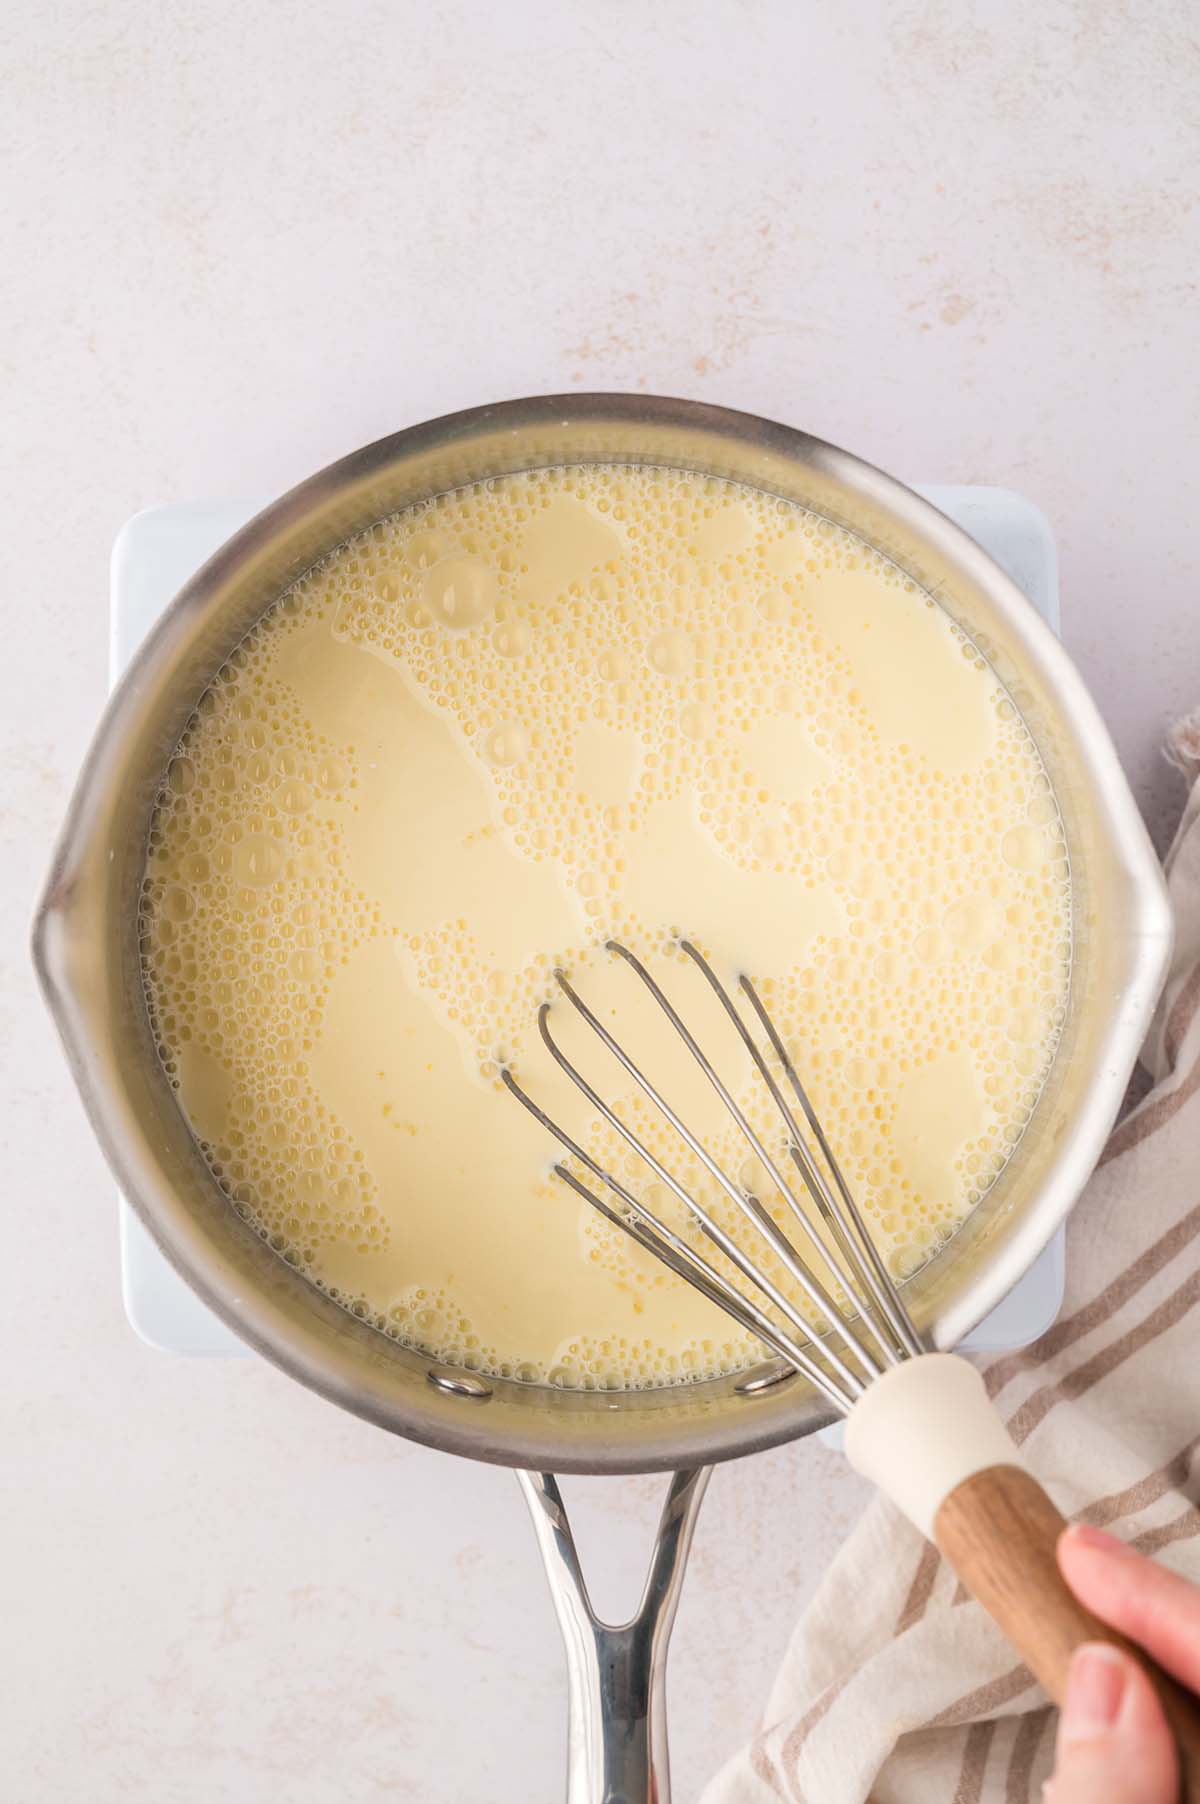
- Whisking constantly while cooking the pudding will help keep pudding smooth and prevent lumps or scorching on the bottom of the pan.
- Covering the pudding with plastic wrap directly pressed onto the surface of the pudding until it has cooled will help prevent a skin from forming.
- Chilling for at least 3 hours or up to overnight allows the wafers to soften and the flavors will meld together.
- Add the whipped topping and banana slices just before serving for the freshest appearance.
- Using just a touch of lemon juice brushed on the banana slices will help prevent some browning. I used a little bit on the top bananas for a prettier presentation.
- This dessert tasted great the next day, and the bananas had minimal browning.
Storage…
Store in an airtight container in the refrigerator for up to 3 days.
Freezing:
I don’t recommend freezing this recipe.
Tried this recipe? Please leave a star ⭐️⭐️⭐️⭐️⭐️ rating in the recipe card below and/or a review in the comments section further down the page. Also, please consider following me on Facebook or Pinterest!
Classic Banana Pudding
Equipment
- saucepan
Ingredients
- ¾ cup granulated sugar
- ¼ cup cornstarch
- ¼ teaspoon salt
- 2½ cups whole milk
- 1¾ cups heavy cream, divided
- 4 large egg yolks
- 2 tablespoons unsalted butter
- 2 teaspoons vanilla extract or bean paste, divided
- 1 11-ounce box vanilla wafers (I used about 50 wafers)
- 4-5 large ripe but firm bananas
- 3 tablespoons powdered sugar
Instructions
- In a saucepan, whisk together the sugar, cornstarch, and salt.
- Whisk in the milk, ½ cup heavy cream and egg yolks until smooth.
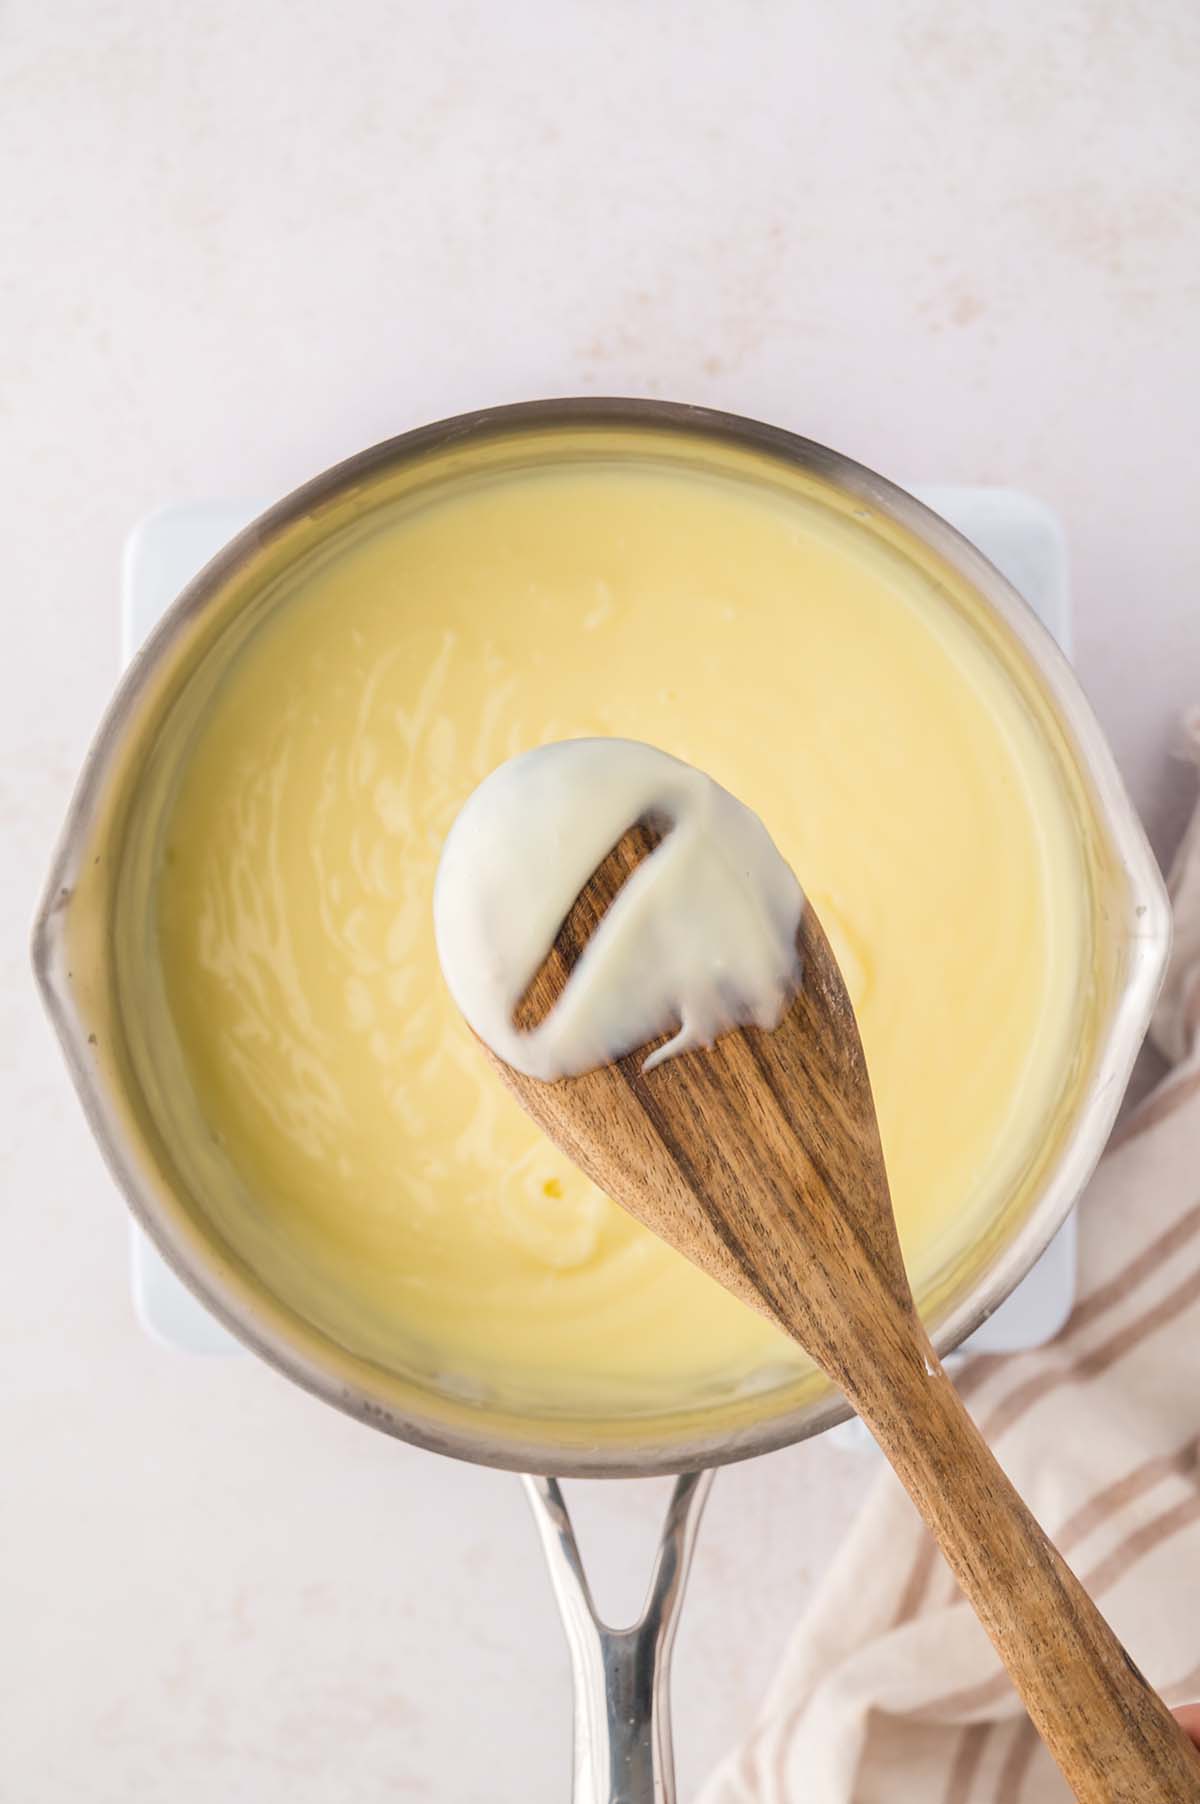
- Place over medium heat, and cook, stirring frequently until the pudding bubbles and thickens, about 8-10 minutes. It should coat the back of a spoon.
- Once thickened, cook for an additional minute while whisking. Remove from the heat and stir in the butter, one tablespoon at a time. Mix in the vanilla.
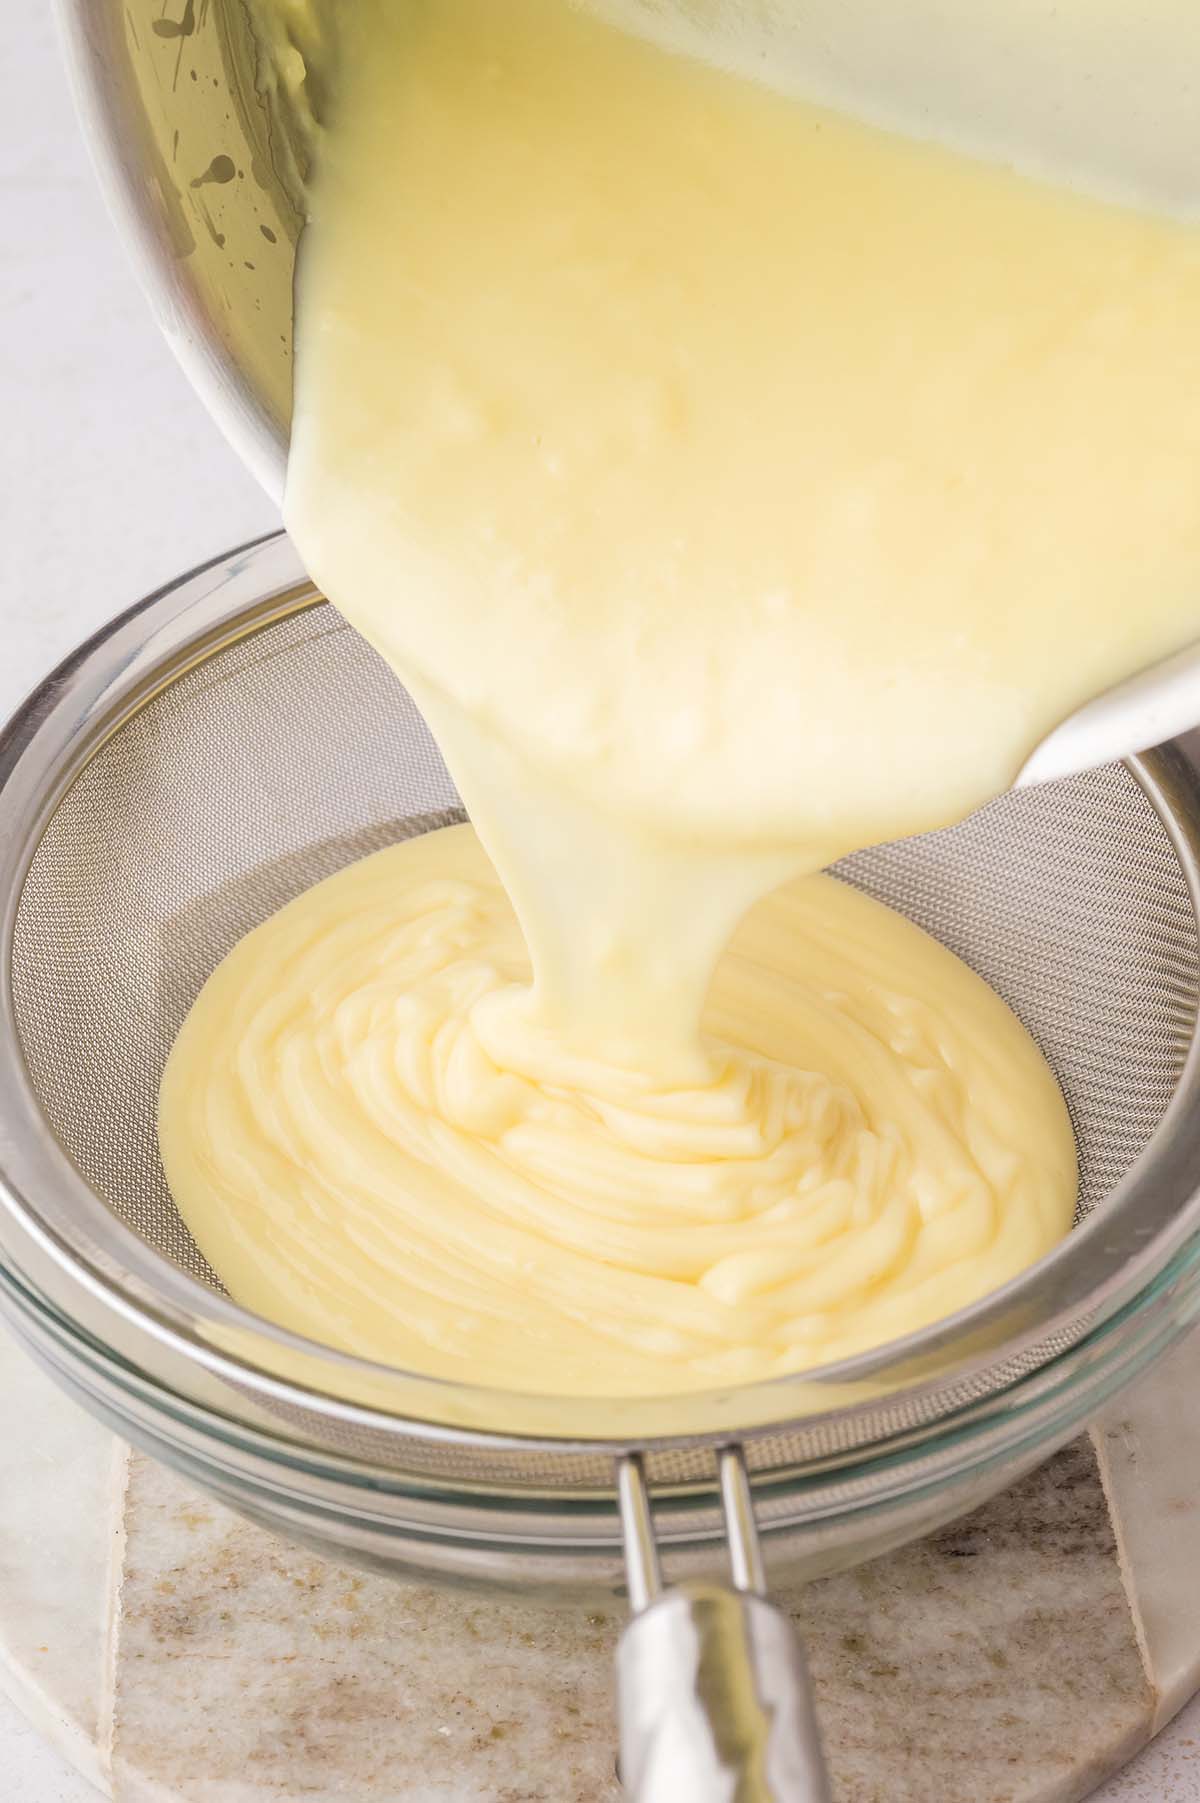
- Pour the pudding through a fine-mesh sieve over a heat-proof bowl for the silkiest texture.
- Press plastic wrap directly onto the surface of the custard to prevent a skin from forming. Allow to cool for 1 hour, then place in the fridge to chill for 2 hours.
- In a mixing bowl beat 1 1⁄4 cups heavy cream, powdered sugar and vanilla extract on low speed until the powdered sugar is incorporated. Increase the speed to medium-high and whip until medium-stiff peaks form, about 3-4 minutes. Chill until ready to use.
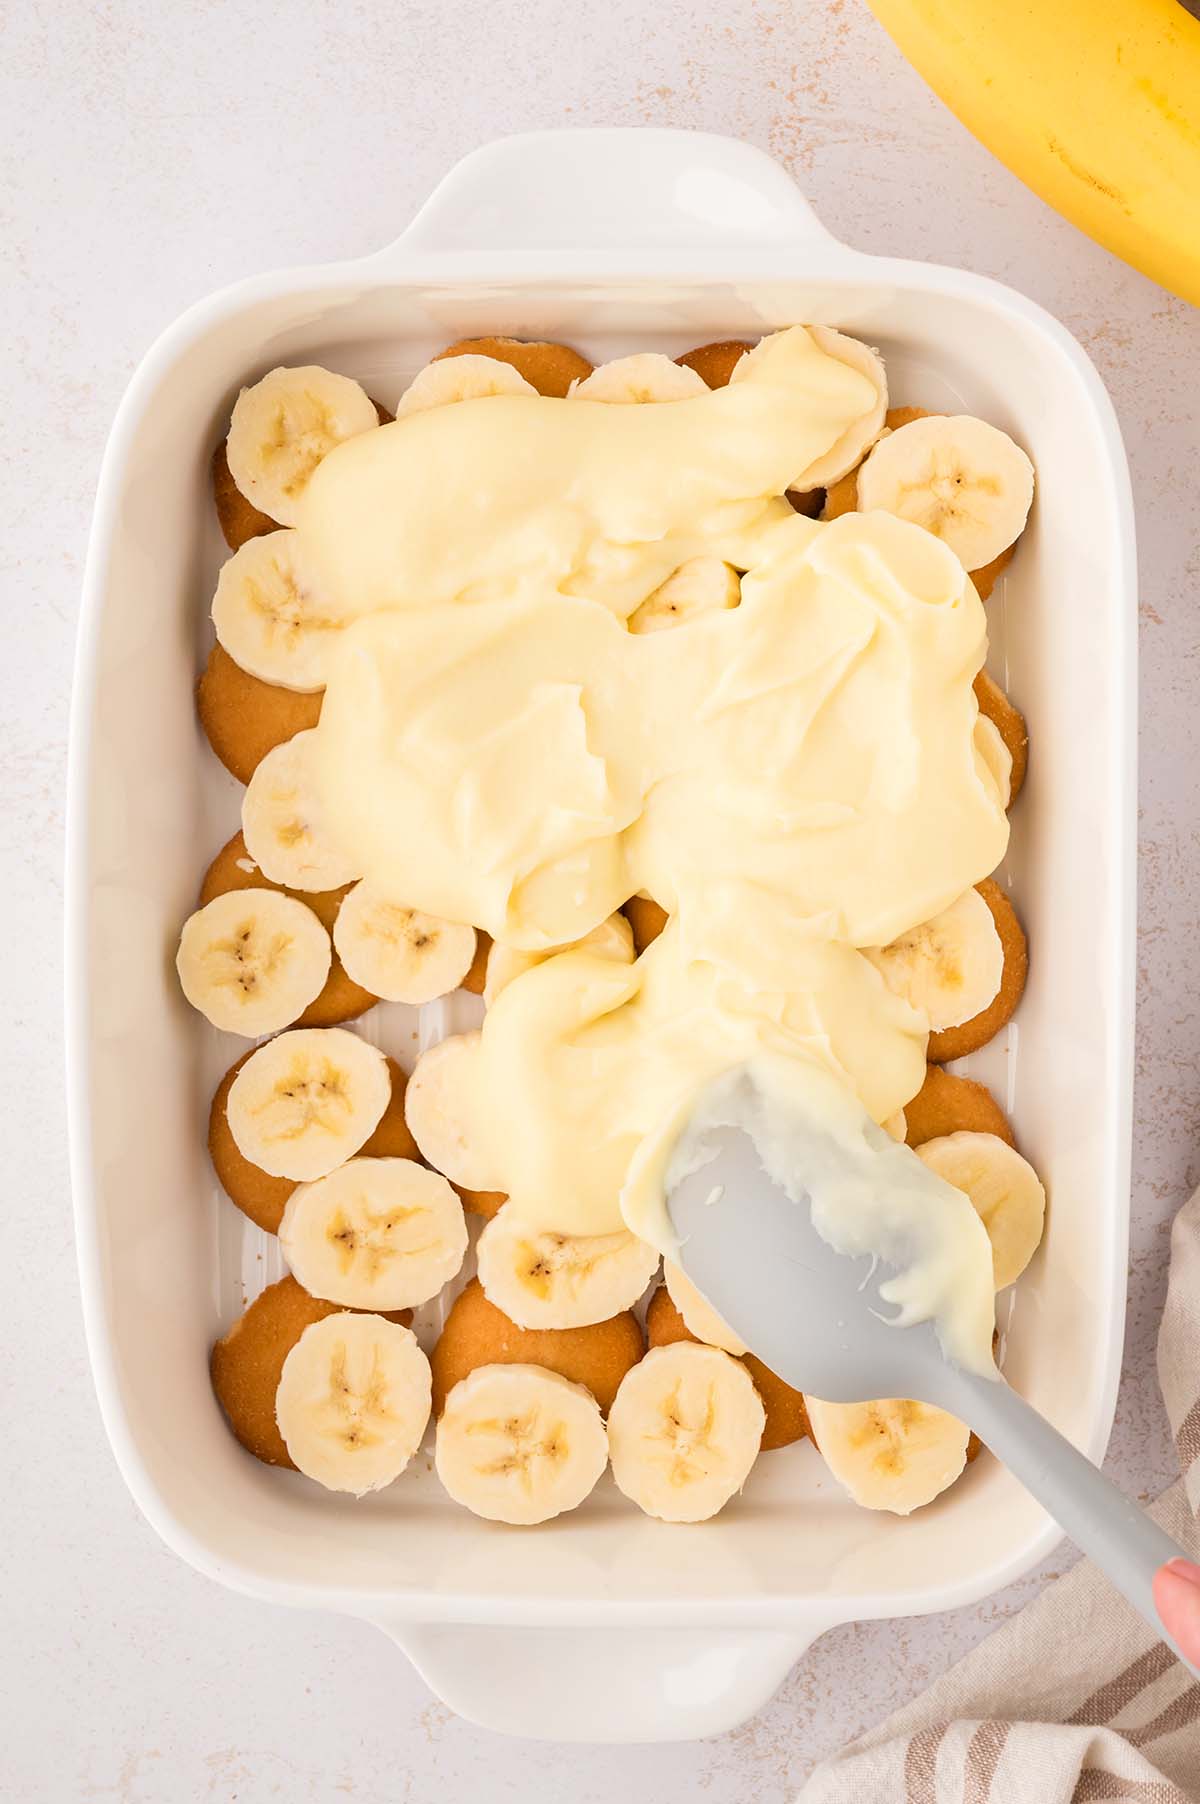
- Remove the pudding from the refrigerator and whisk well until smooth. Set aside. Fill the bottom of a 2-quart dish with a layer of wafers.
- Slice 1-2 bananas into ¼-inch thick coins and place over top of the wafers. Top with half of the pudding.
- Repeat with the remaining wafers, banana slices, and pudding. Cover with plastic wrap and chill for 3 hours or overnight.
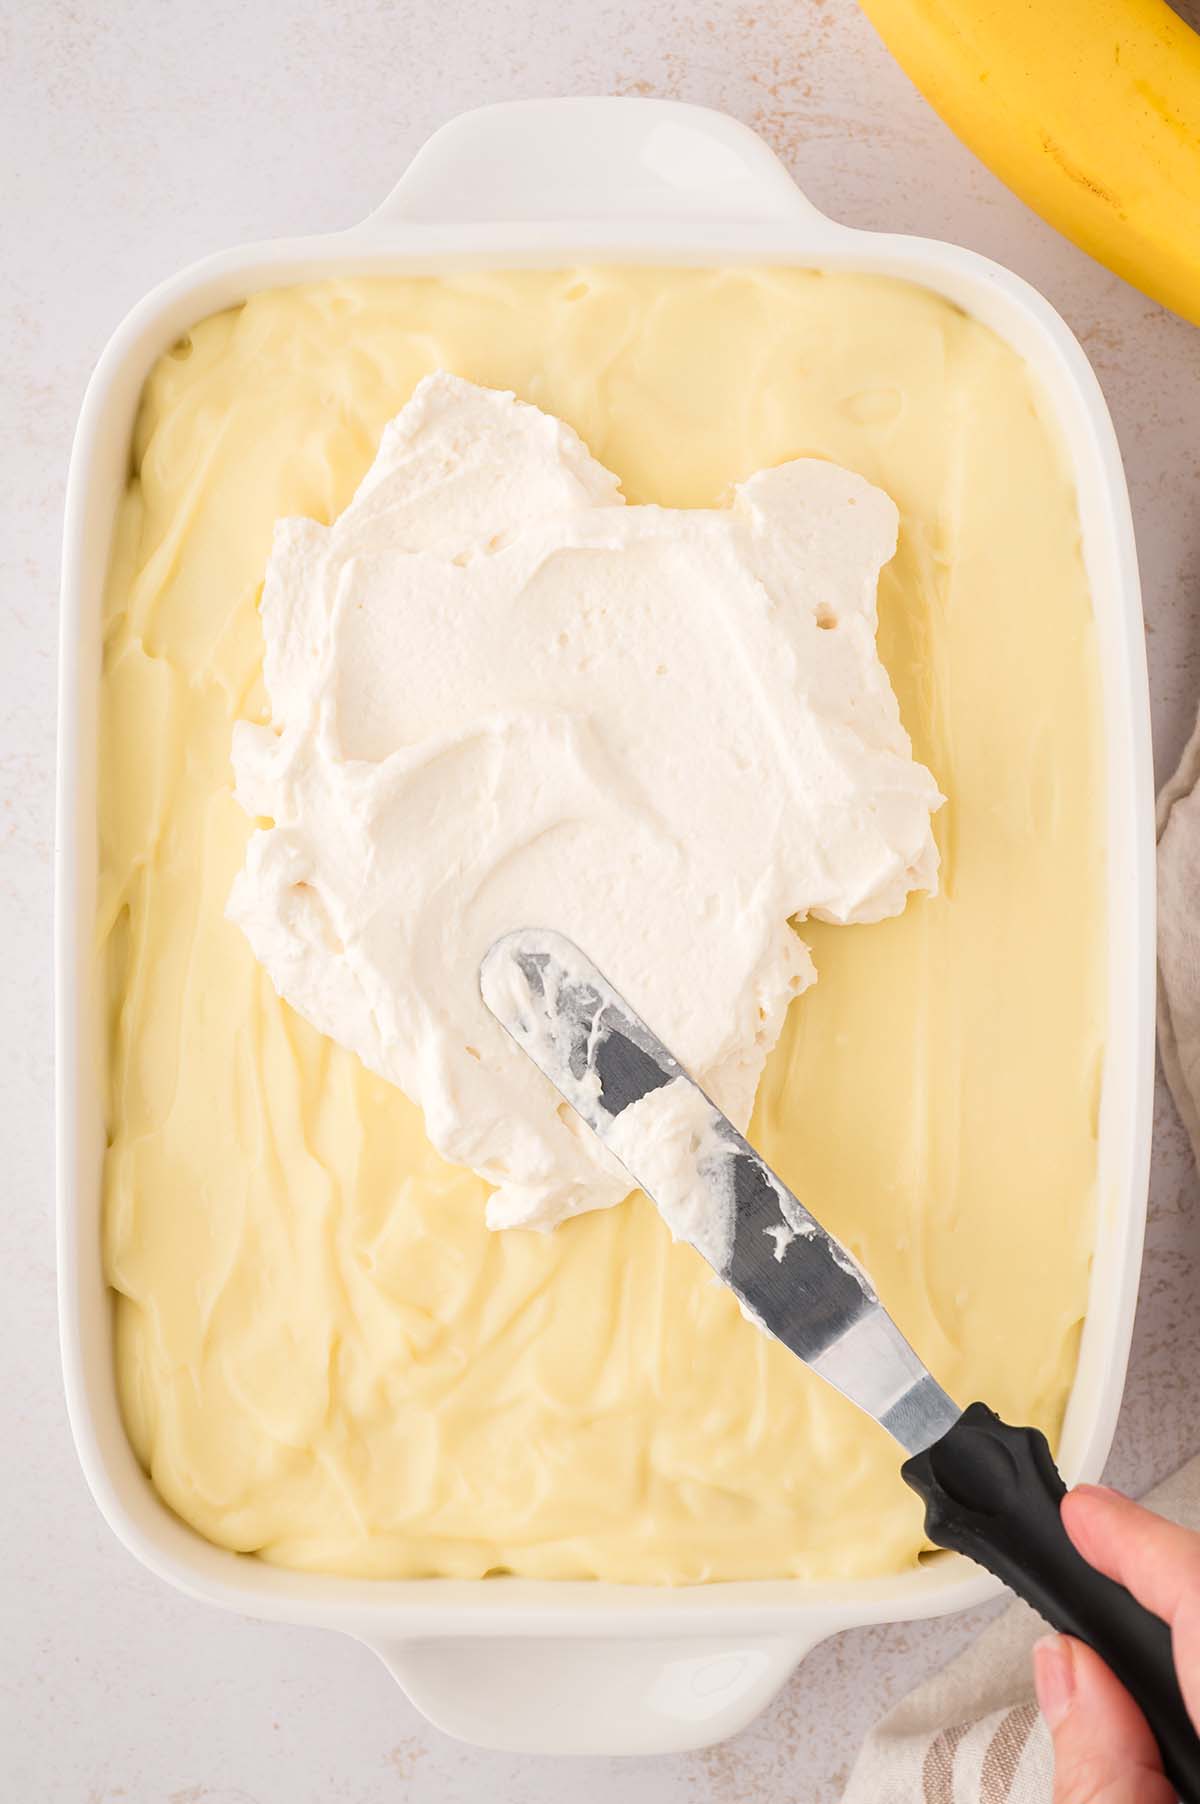
- Once chilled, spread the whipped cream over the pudding. Top with additional banana slices and crushed vanilla wafers just before serving.
Notes
- Use bananas that are ripe but firm and yellow with a few brown speckles for the best texture and taste. Overly soft bananas can become mushy.
- Slice the bananas evenly, about ¼ inch thick for the best texture in every bite.
- Whisking constantly while cooking the pudding will help keep pudding smooth and prevent lumps or scorching on the bottom of the pan.
- Covering the pudding with plastic wrap directly pressed onto the surface of the pudding until it has cooled will help prevent a skin from forming.
- Chilling for at least 3 hours or up to overnight allows the wafers to soften and the flavors will meld together.
- Add the whipped topping and banana slices just before serving for the freshest appearance.
- Using just a touch of lemon juice brushed on the banana slices will help prevent some browning. I used a little bit on the top bananas for a prettier presentation.
- This dessert tasted great the next day, and the bananas had minimal browning.
Nutrition
Nutrition information is automatically calculated, so should only be used as an approximation.