This post contains affiliate links. Please see our disclosure policy.
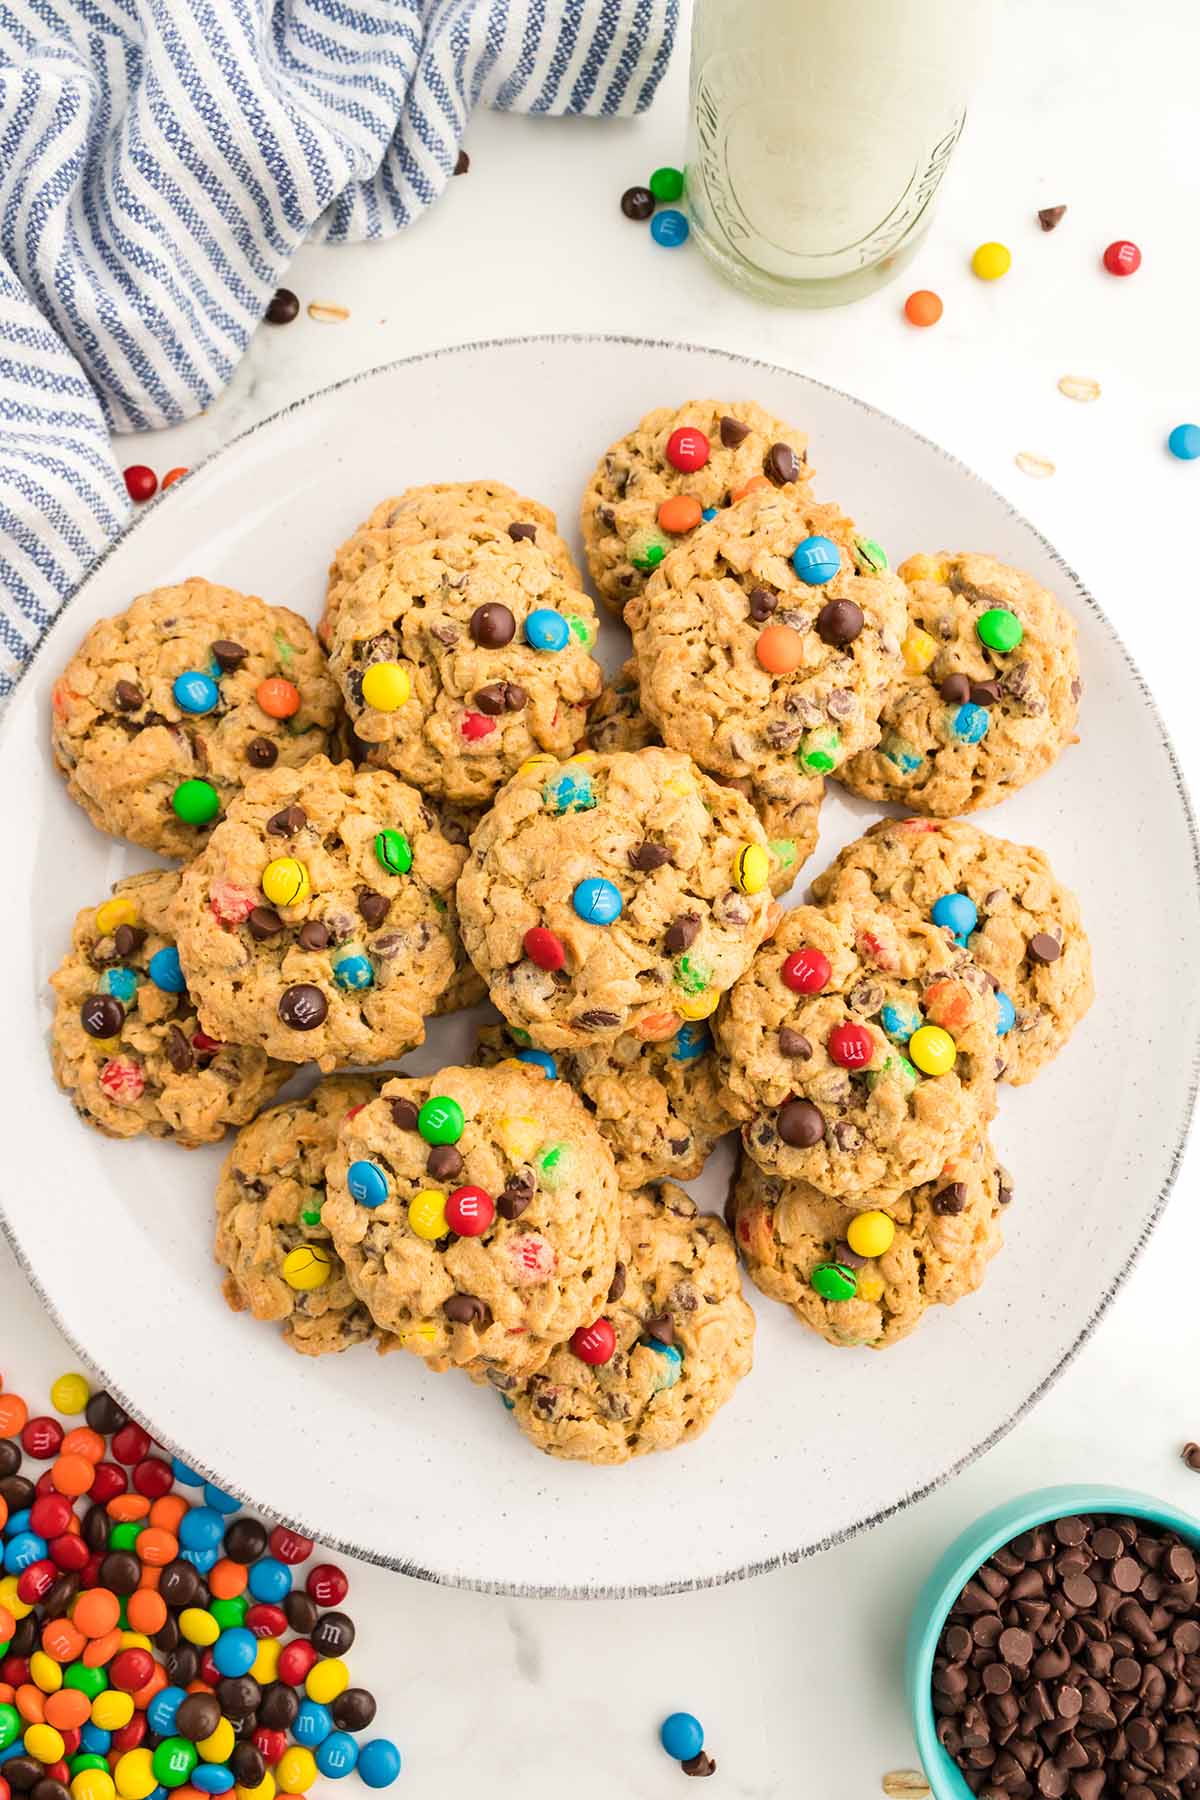
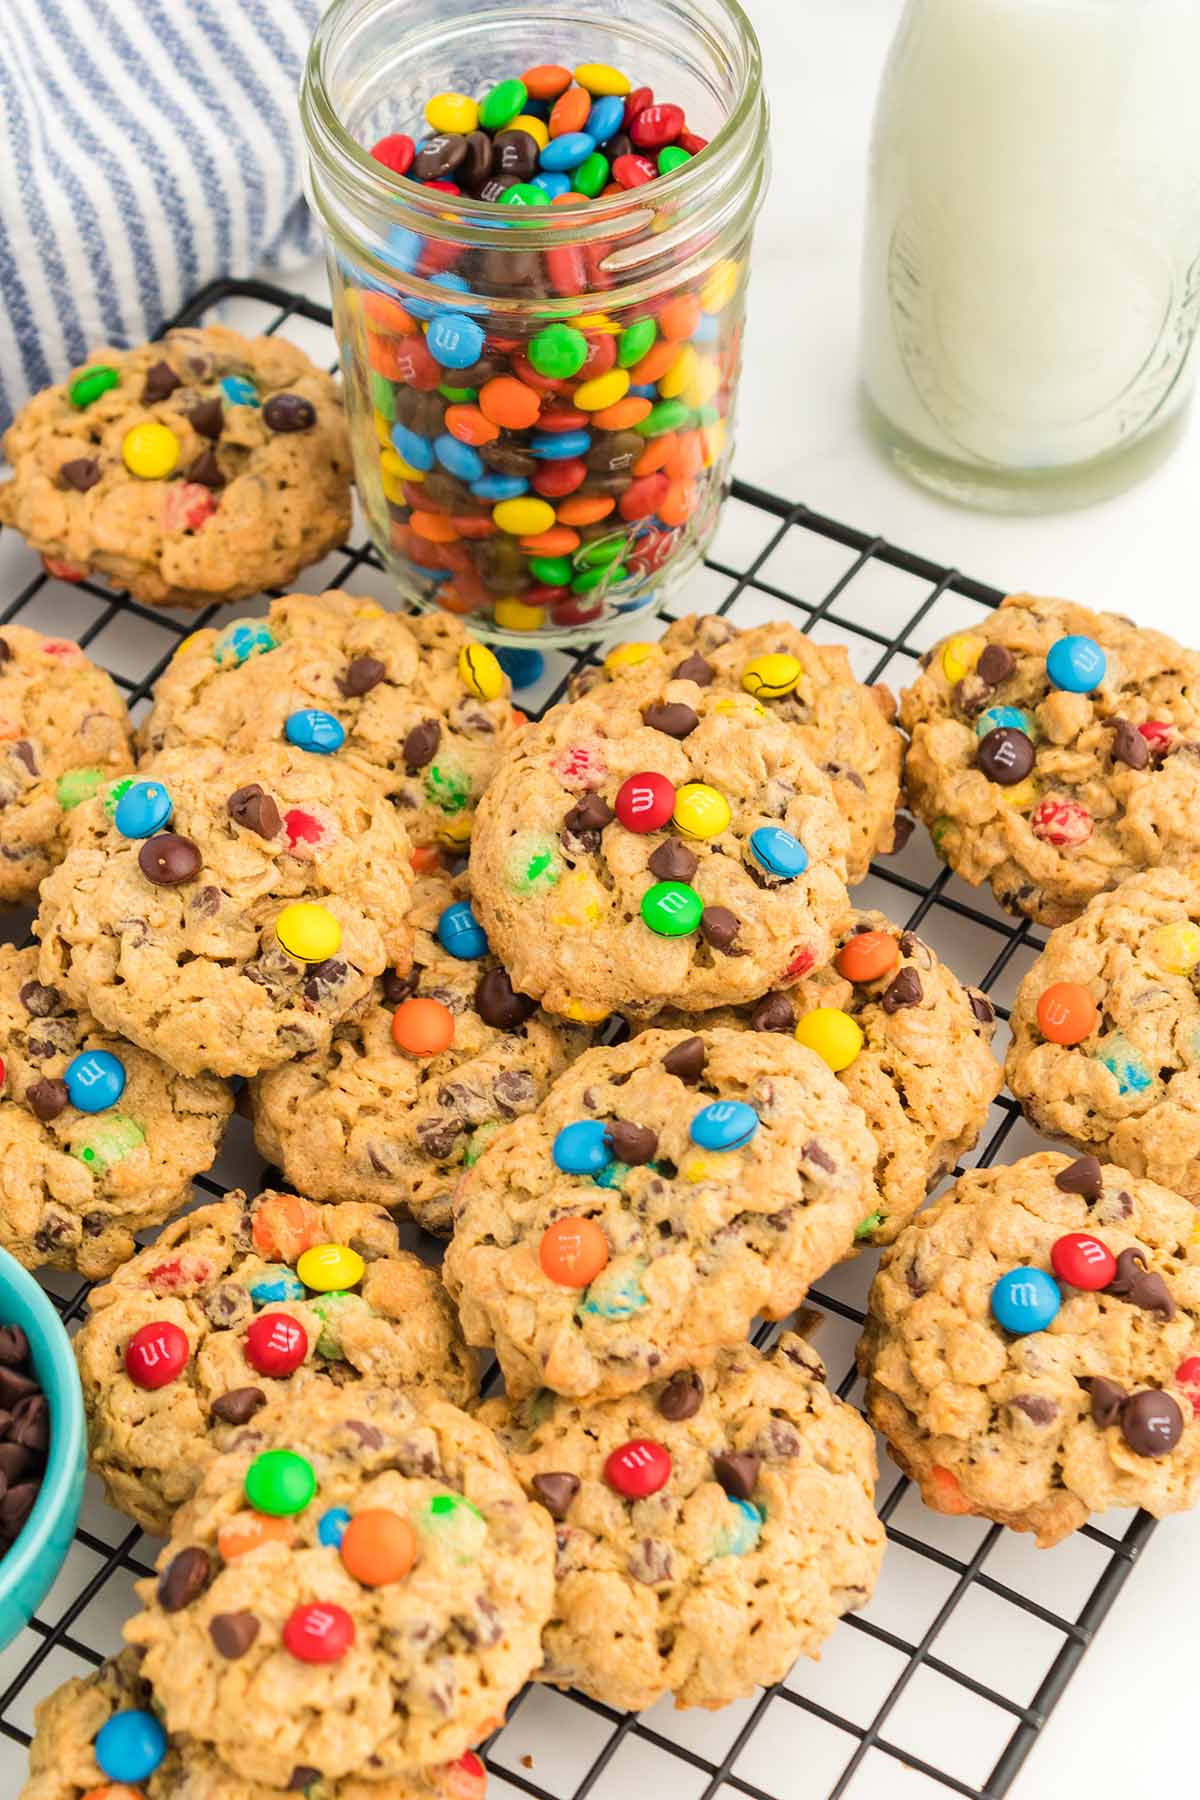
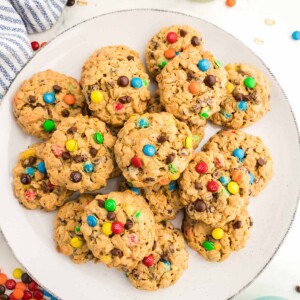
A classic treat, these monster cookies are made with simple ingredients, for a gluten-free, flourless recipe everyone will love. Baked to golden perfection, they’re soft in the center with crisp edges and delicious flavor. Whip them up for holiday parties, family gatherings, and more!
Did you grow up eating monster cookies? I know I did! Honestly, they’re still one of my favorite desserts today. So, when the holiday season rolls around, I can’t help but add them to my baking list along with all the classic Christmas recipes like snickerdoodles, chocolate crinkle cookies, and sugar cookies with icing. They’re always a hit at holiday parties and aren’t overly festive, meaning you can bake them all year long! I guarantee, one bite, and your friends and family will be begging you for the recipe.
Why You’ll Love Monster Cookies
Other than the fact that they’re delicious, there are so many reasons to love these cookies! For instance, they’re:
- Great to bake ahead of time and make for tasty gifts.
- Made with just 10 staple ingredients you probably already have on hand.
- Naturally gluten-free and can be customized to fit all your dietary needs.
- Not overly sweet.
Ingredient Notes
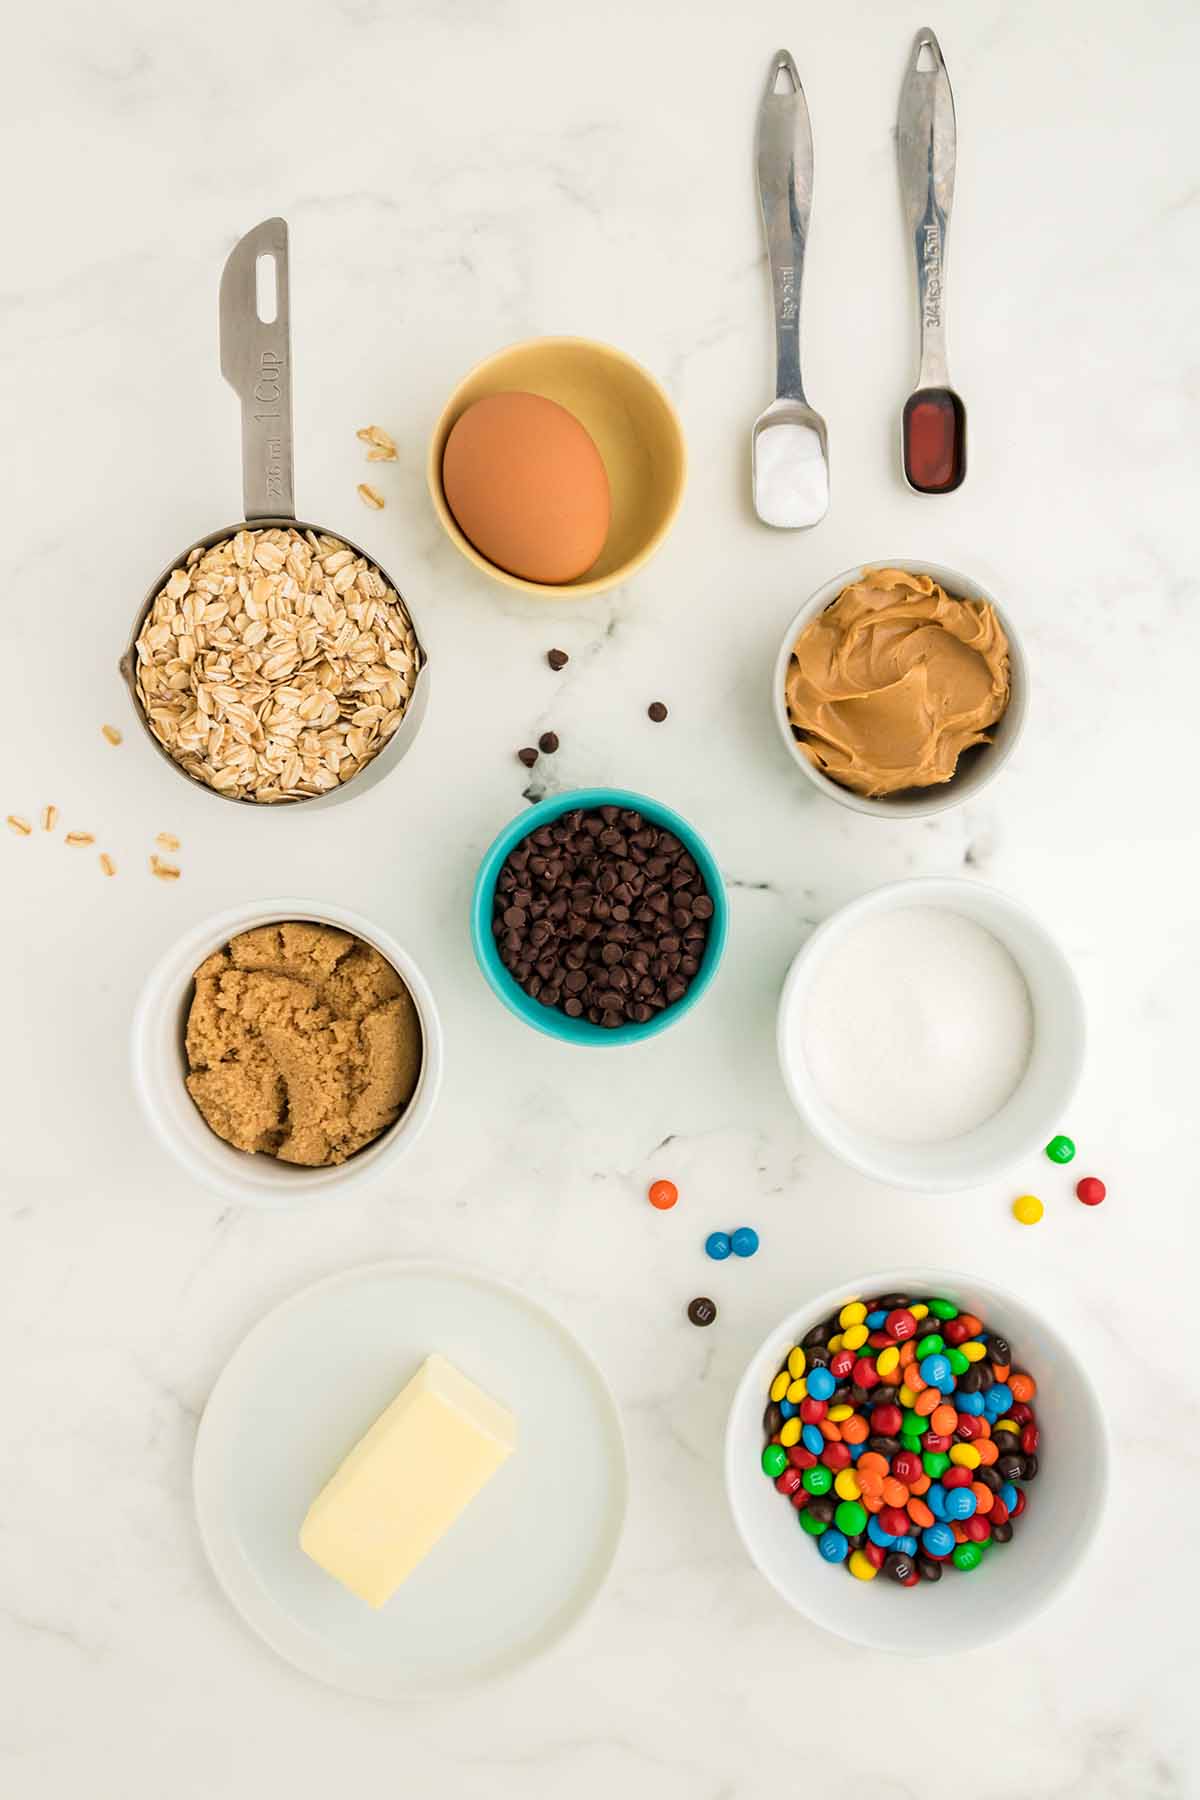
As mentioned, these cookies come together with just a few budget-friendly staples. Here’s everything you’ll need:
- Unsalted Butter – Used to create a soft, flakey texture and rich flavor.
- Sugar – A combination of white sugar and light brown sugar helps sweeten these monster cookies while keeping them tender and moist.
- Egg – These are crucial to give the cookies structure and help them hold their shape.
- Vanilla Extract – Pure vanilla extract enhances the rest of the ingredients and balances out the flavors.
- Peanut Butter – For easy mixing, I highly recommend using creamy peanut butter. Or, you could swap it out for any other nut or seed butter like almond butter, cashew butter, or sunflower seed butter instead.
- Oats – Old-fashioned rolled oats work best for this recipe as they are larger in size and better able to hold a chunky cookie shape.
- Baking Soda – Used to help the cookies rise. For the best results, make sure it’s fresh!
- Mini Chocolate Chips – I like semi-sweet chocolate chips best, but dark chocolate or white chocolate could also be included. Also, feel free to use dairy-free varieties, if needed.
- Mini M&M’s – Mini M&M’s are easier to mix into the batter and ensure that there is sweet chocolate in every bite.
Variations
For these cookies, I stuck with the classic version I grew up eating. However, you can easily mix and match all your favorite ingredients to make these cookies fit your needs and preferences! For instance, you can:
- Substitute regular-sized chocolate chips and M&M’s if you wish, but note that your monster cookies will likely need to be larger if you do.
- Add in chopped nuts for extra crunch.
- Use holiday-themed M&M’s for a festive touch.
- Add sprinkles on top.
- For a completely dairy-free cookie, replace the M&M’s with vegan chocolate chips or pieces of your favorite dairy-free chocolate candy.
- Fold butterscotch or dark chocolate chips into the dough.
Top Tips
These cookies are basically already failproof, but I do have a few extra tips to make sure they turn out perfect every time you bake.
- Underbake. You’ll want the tops to be just beginning to brown. This ensures your monster cookies stay soft and chewy in the center and are not overly crisp.
- Portion. Use a cookie scoop to divide the dough and ensure all your cookies are equal in size and bake evenly.
- Don’t Overmix. Mix your ingredients until they are just combined. Continuing to beat or stir will cause them to become dense and alter their texture.
- Cool. Let the cookies cool on the baking sheet for 5 minutes before transferring them to a wire rack to cool completely. This will allow them to finish baking and set, so they don’t fall apart!
- Use Two Cookie Sheets. To reduce the baking time, and make this monster cookies recipe even faster, separate the cookies onto two cookie sheets.
- Keep an Eye on the Oven. Every oven cooks differently. So, be sure to keep a close eye on your cookies as they bake, and pull them out as soon as the tops look slightly golden brown.
- Enjoy them warm!
Storage Options
Trust me, you’re going to want to make a double batch of these monster cookies. They disappear almost immediately! Luckily, they store really well.
Once cooled, they can be transferred to an airtight container or sealable bag and stored at room temperature for up to 4 days. Or, freeze your baked monster cookies for up to 3 months.
If you want to prepare the dough in advance, it can be kept covered in the refrigerator for up to 5 days. Or, for a longer-lasting option, store it in the freezer!
To do so, I recommend portioning out the cookies first. Then, arrange the cookie dough balls on a baking sheet, and place them in the freezer until they’re hard. To finish, transfer them to a freezer-safe container or sealable bag, and keep the dough frozen for up to 3 months.
FAQs
Why are they called monster cookies?
Most commonly, monster cookies are said to have gotten their name from the idea of Frankenstein’s monster, because they look like monsters with their mix-matched ingredients that create a bumpy shape and a myriad of colors.
How do I keep my cookies from spreading?
The most common cause of excess cookie spreading is having an oven that is too hot. The intense heat causes the butter to melt too quickly before the remaining ingredients have time to cook and firm up. Luckily, these cookies don’t naturally spread much!
Can these cookies be made vegan? I haven’t tested this recipe with a flax or chia egg, but you can definitely give it a shot!
More Cookie Recipes
- Christmas Cookies
- Soft Peanut Butter Cookies
- Chocolate Cranberry Orange Shortbread Cookies
- Brown Butter Chocolate Chip Cookies
Tried this recipe? Please leave a star ⭐️⭐️⭐️⭐️⭐️ rating in the recipe card below and/or a review in the comments section further down the page. And consider following me on Facebook or Pinterest!
Monster Cookies
Ingredients
- ¼ cup unsalted butter
- ¼ cup white sugar
- ¼ cup light brown sugar
- 1 large egg, room temperature
- 1 teaspoon vanilla extract
- ¾ cup creamy peanut butter
- 2 cups old fashioned rolled oats
- 1 teaspoon baking soda
- ½ cup mini chocolate chips
- ½ cup mini m&ms
Instructions
- Preheat your oven to 350 degrees F and line a baking sheet with parchment paper.
- Beat the butter and sugar until well combined then stir in the egg and vanilla extract until well blended.
- Add in peanut butter and mix well.
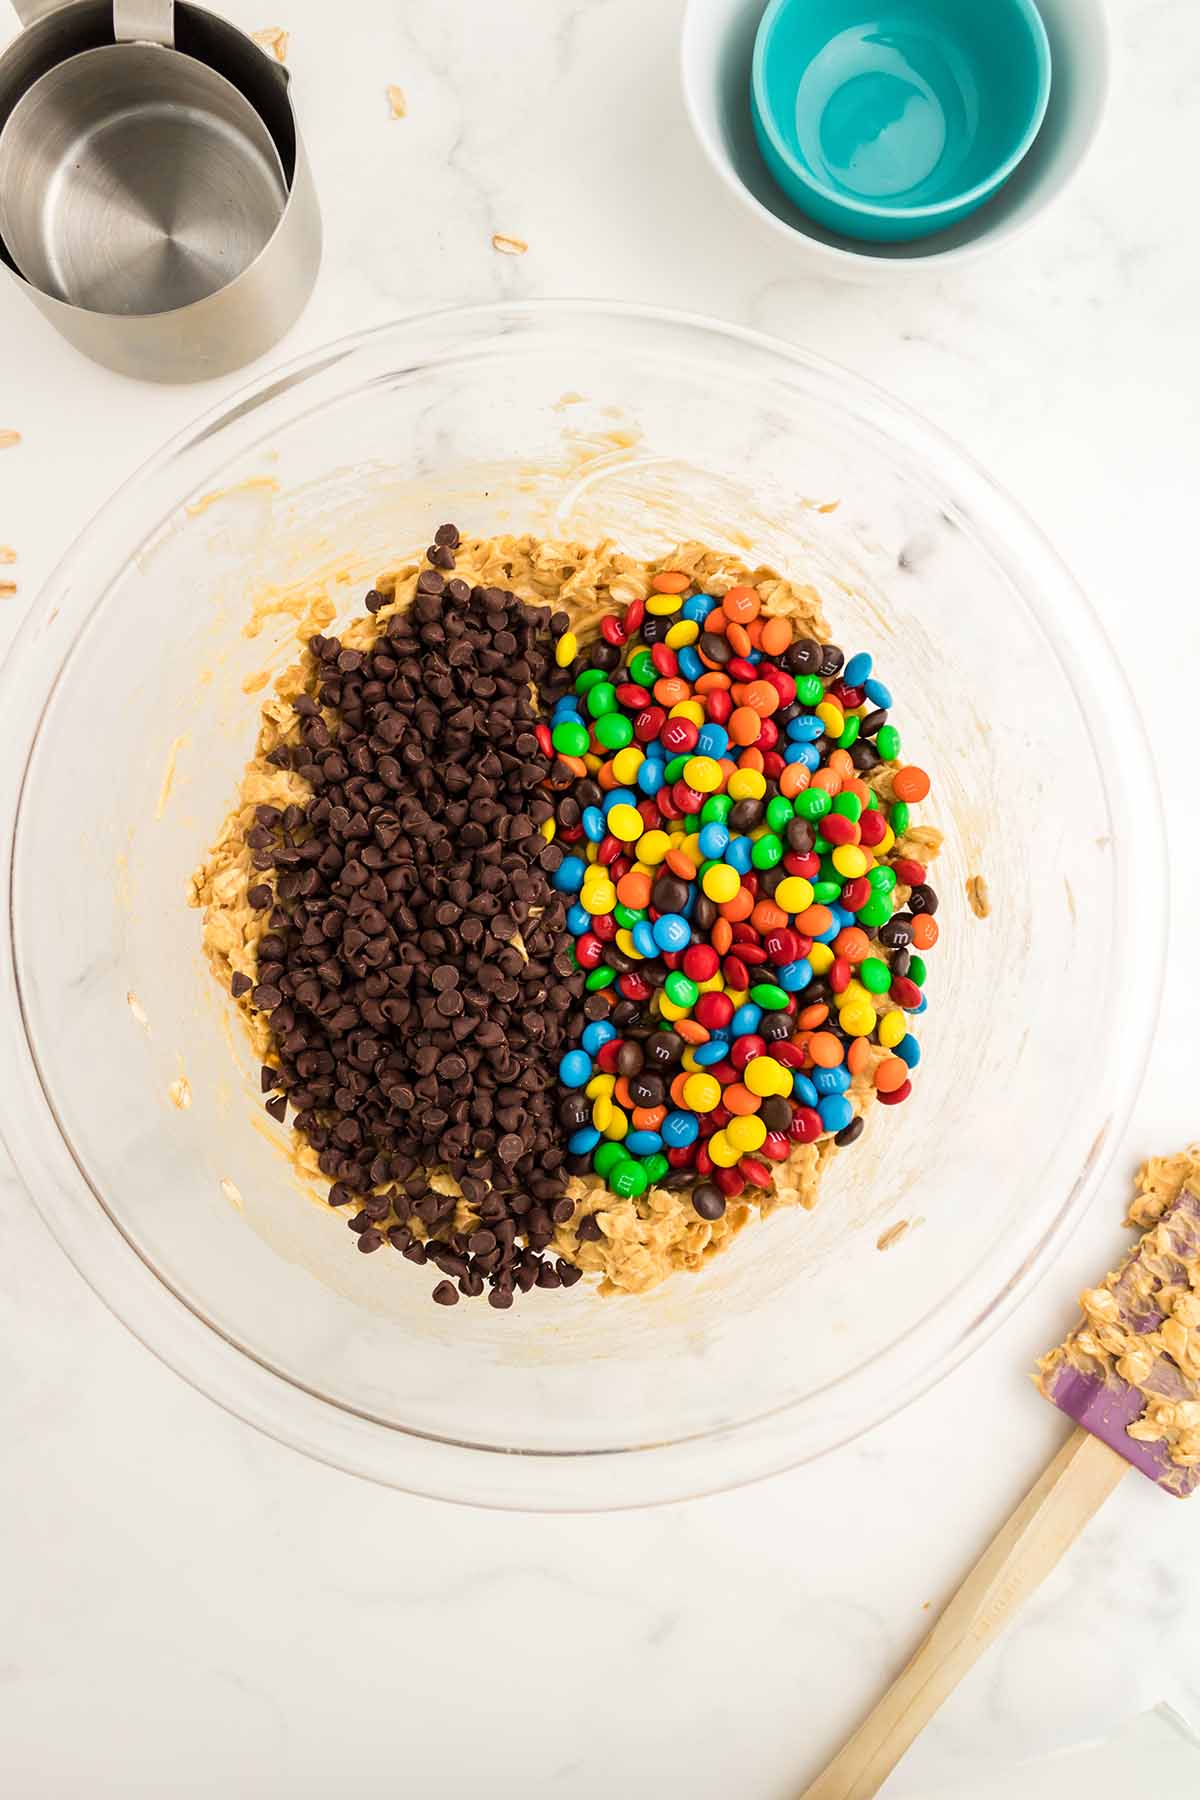
- Stir in oats and baking soda then fold in the chocolate chips and m&ms.
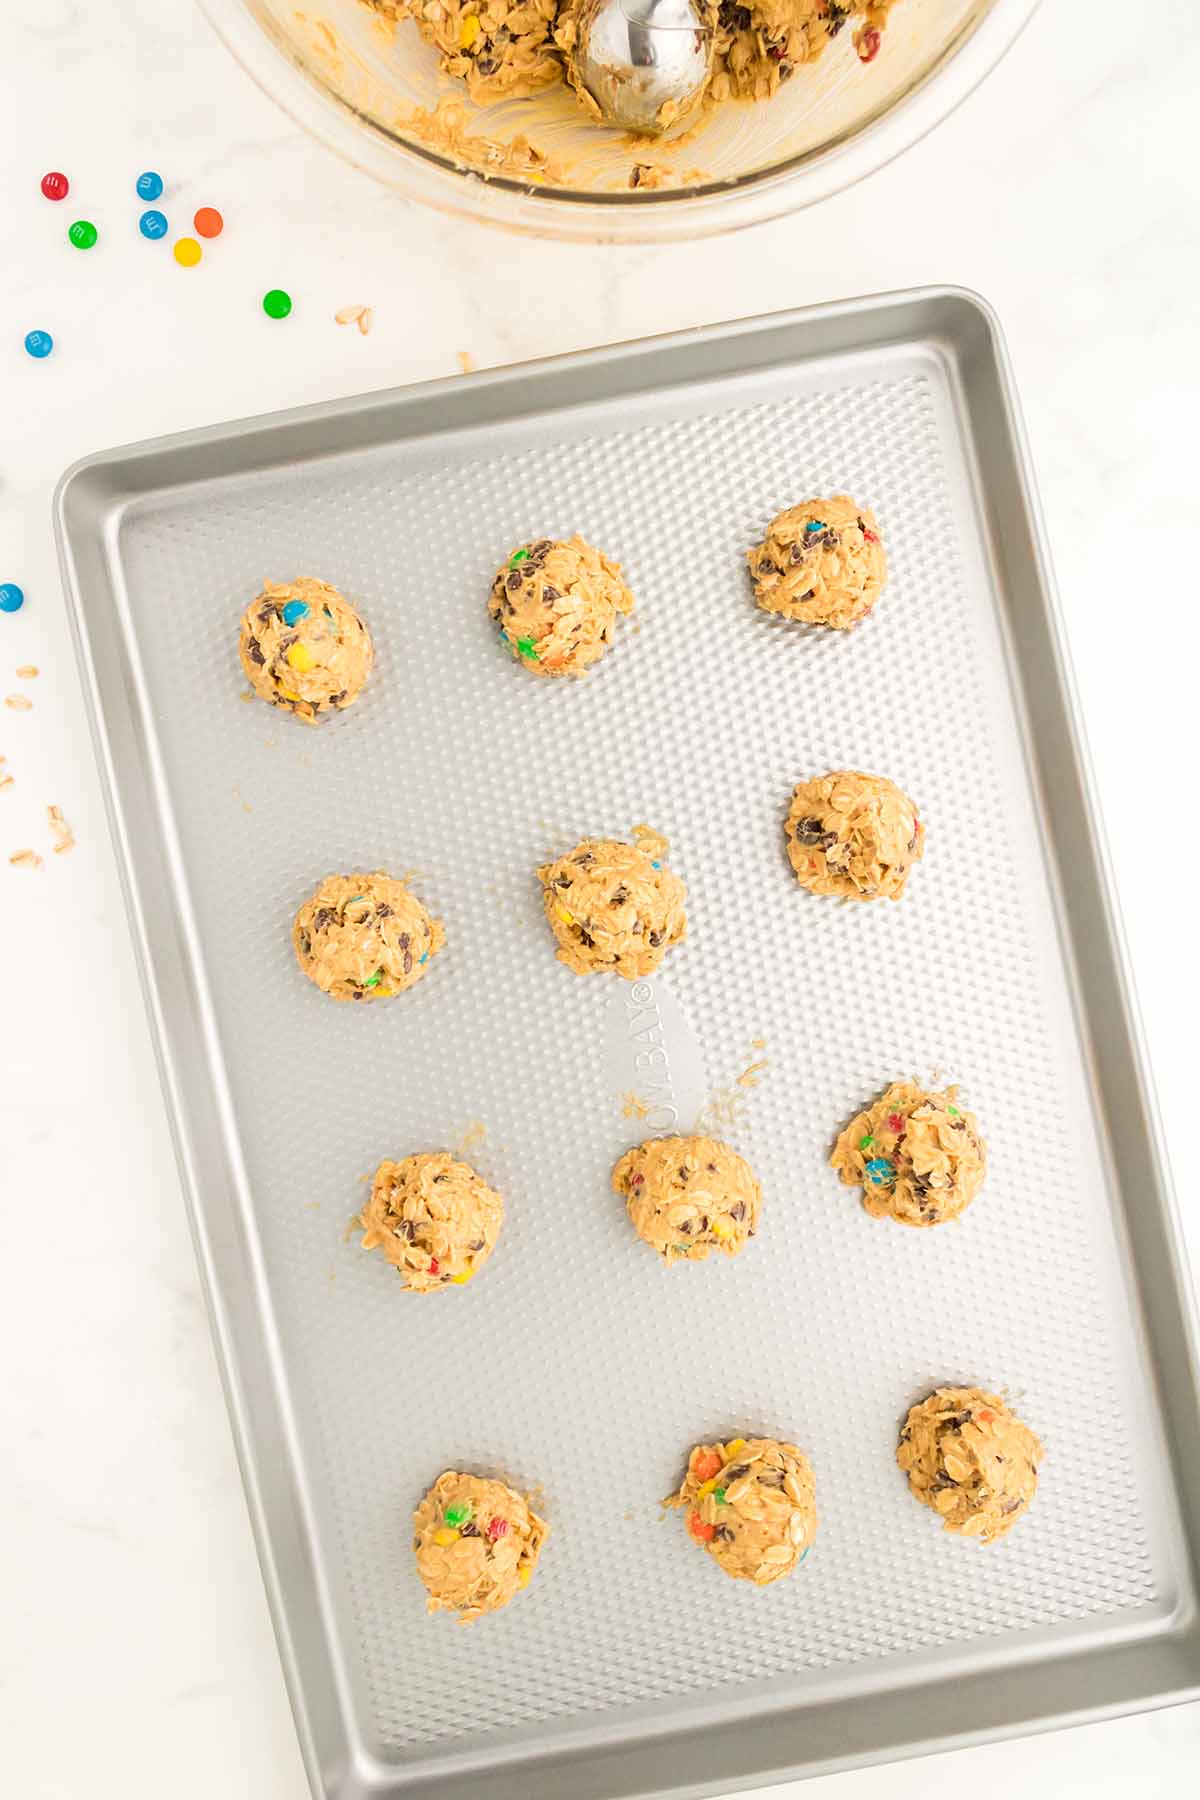
- Using a cookie scoop, place 12 balls of dough onto a baking sheet. Add additional M&M’s and/or chocolate chips to top (optional). Bake 12 minutes or until sides barely start to brown.
- Remove from oven and allow to stand on baking sheet for 5 minutes before transferring to cooling rack.
Notes
- Underbake. You’ll want the tops to be just beginning to brown. This ensures your monster cookies stay soft and chewy in the center and are not overly crisp.
- Portion. Use a cookie scoop to divide the dough and ensure all your cookies are equal in size and bake evenly.
- Don’t Overmix. Mix your ingredients until they are just combined. Continuing to beat or stir will cause them to become dense and alter their texture.
- Cool. Let the cookies cool on the baking sheet for 5 minutes before transferring them to a wire rack to cool completely. This will allow them to finish baking and set, so they don’t fall apart!
- Use Two Cookie Sheets. To reduce the baking time, and make this monster cookies recipe even faster, separate the cookies onto two cookie sheets.
- Keep an Eye on the Oven. Every oven cooks differently. So, be sure to keep a close eye on your cookies as they bake, and pull them out as soon as the tops look slightly golden brown.
- Enjoy them warm!
Nutrition
Nutrition information is automatically calculated, so should only be used as an approximation.