This post contains affiliate links. Please see our disclosure policy.
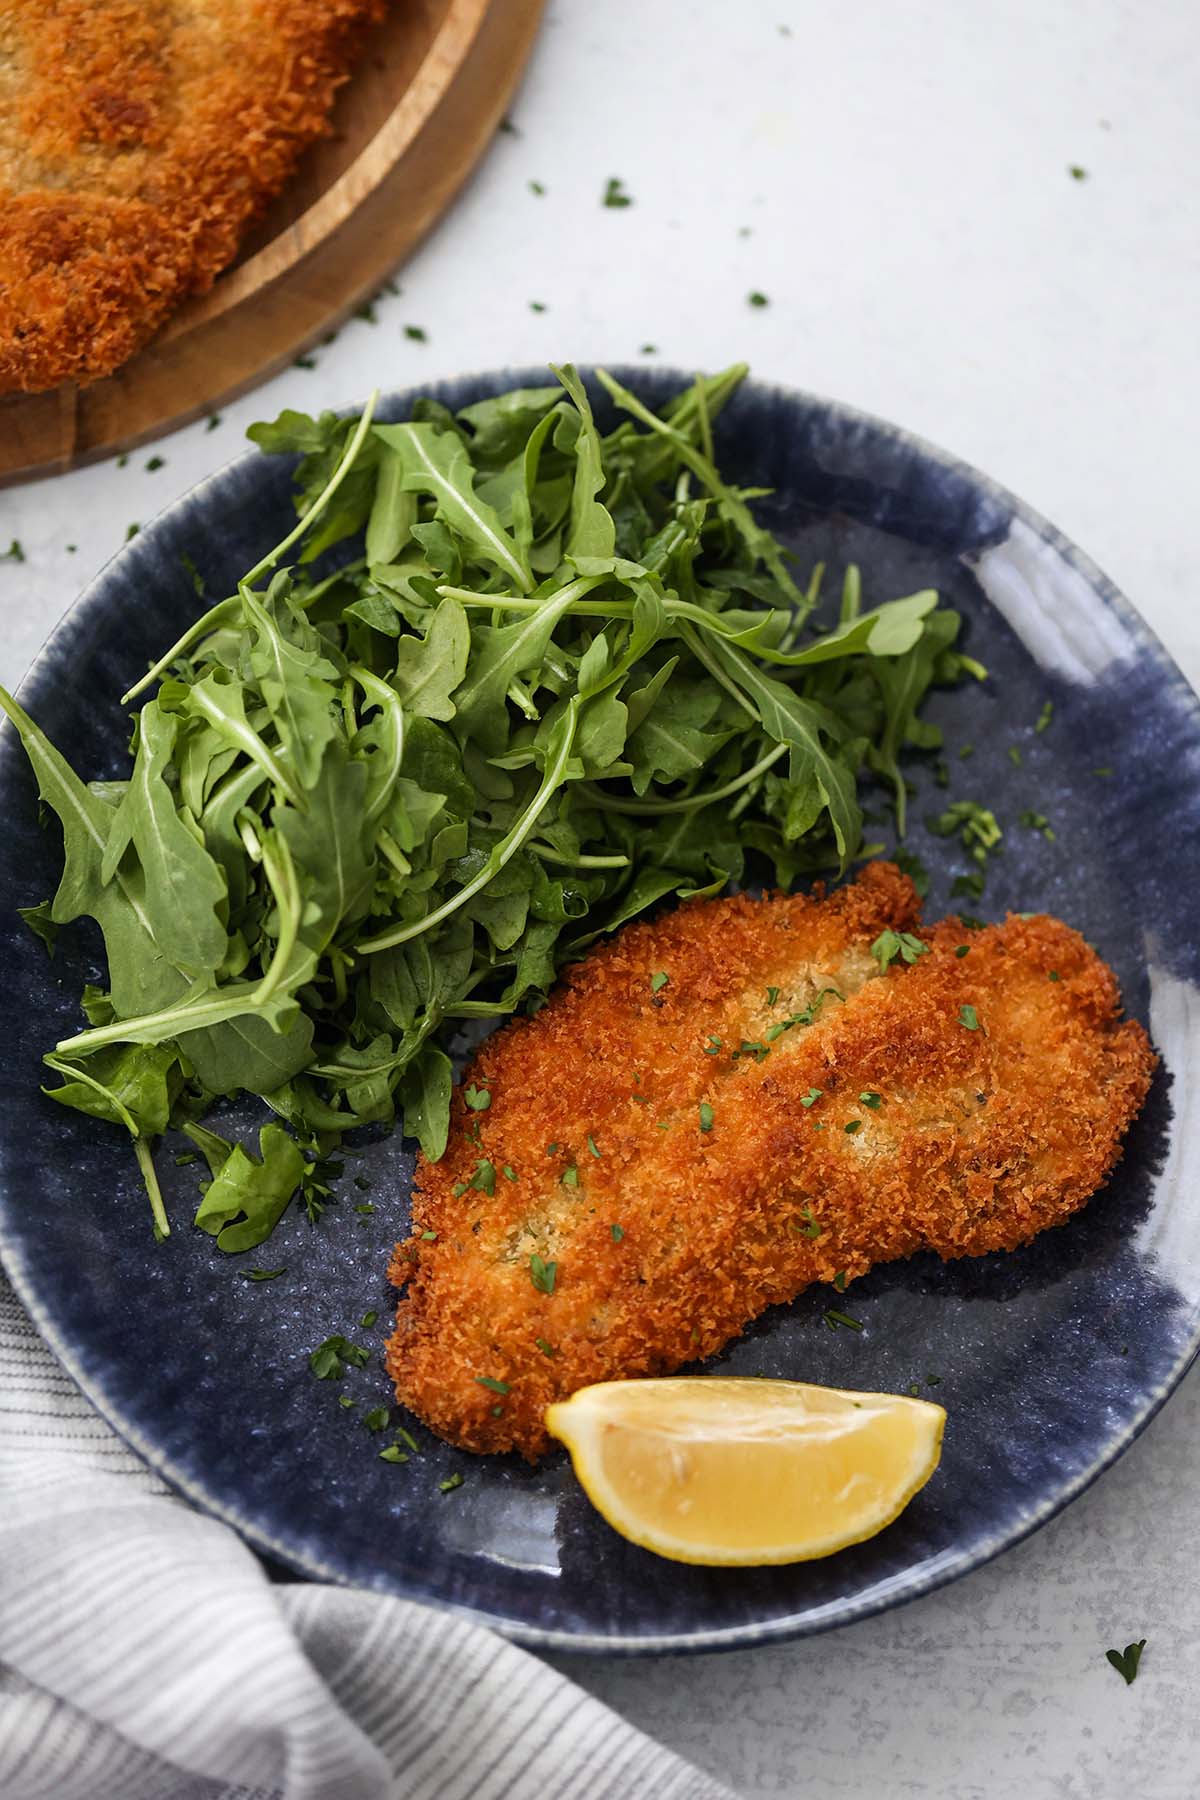
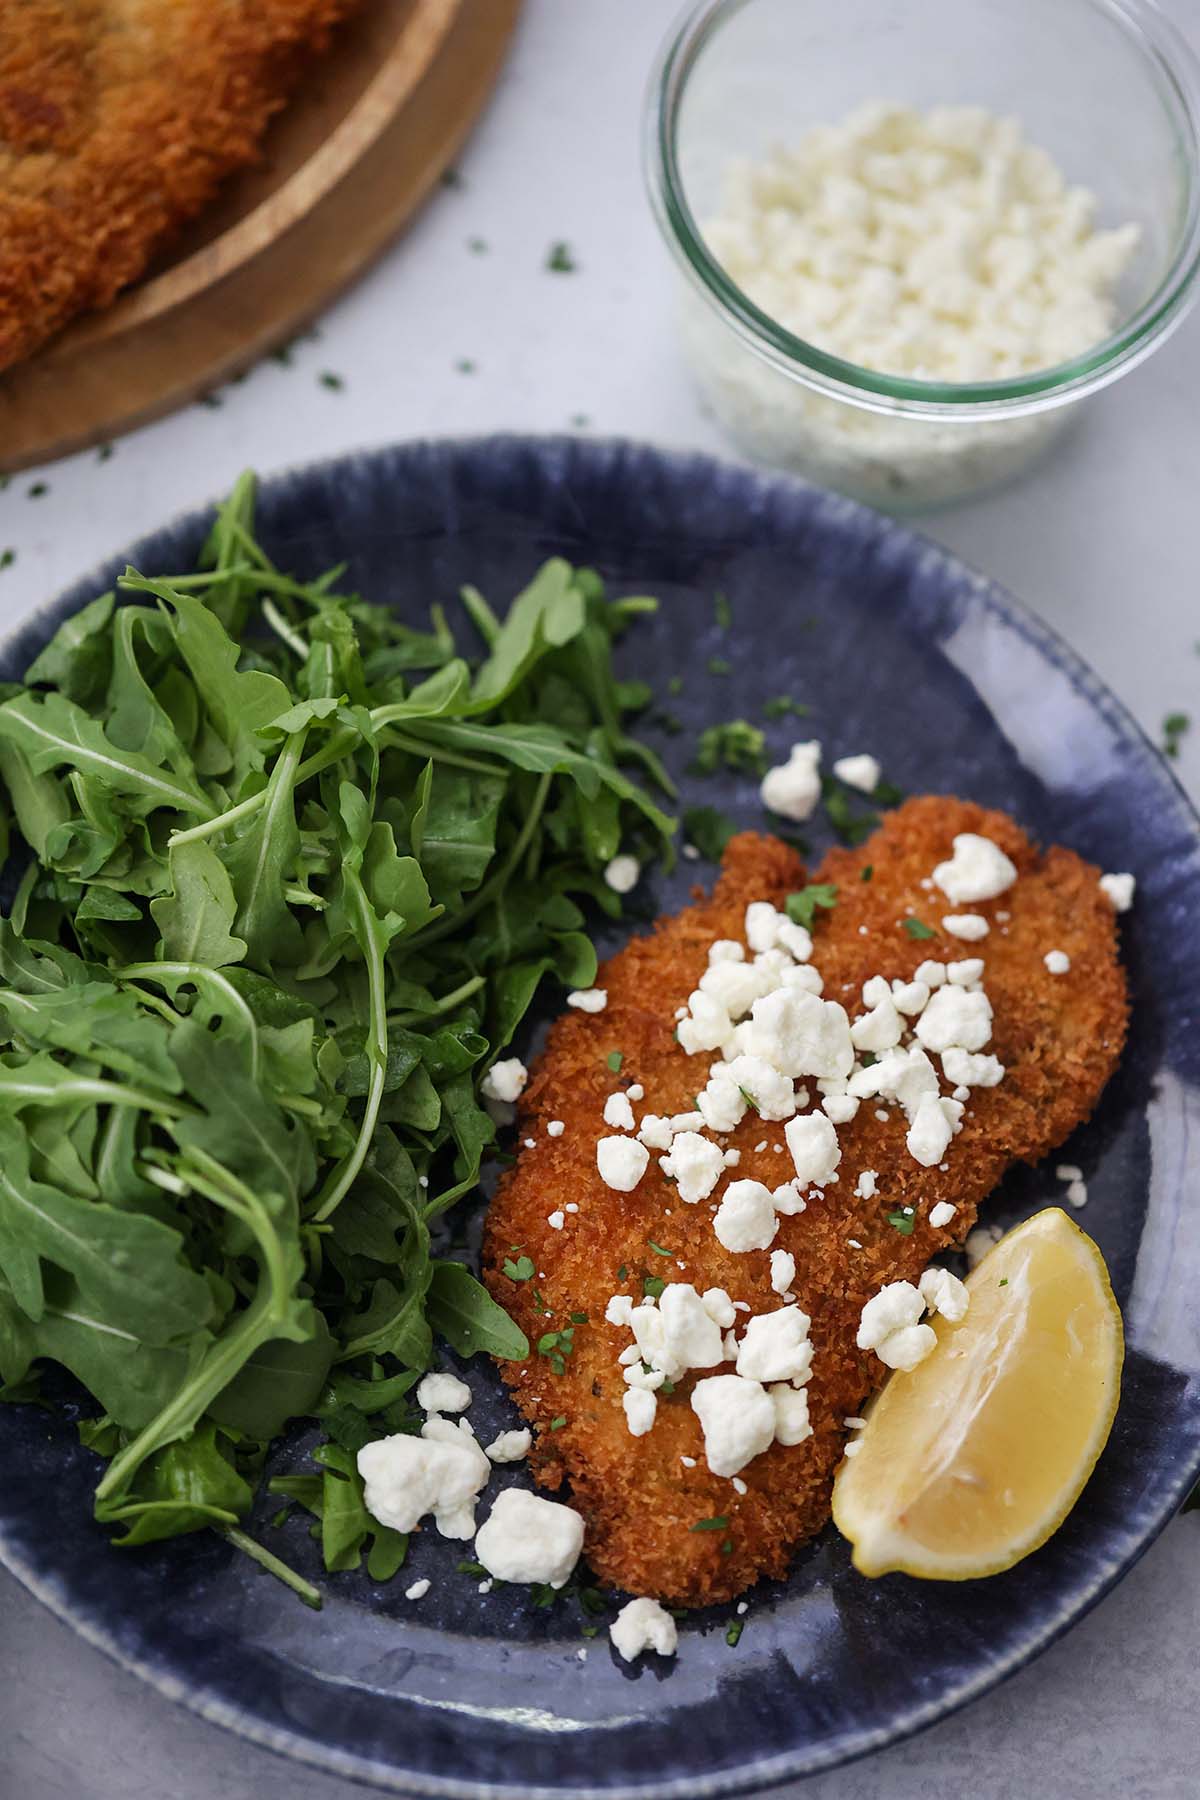
This chicken Milanese is super crunchy on the outside and juicy on the inside. The perfect meal for a busy weeknight!
Serve with arugula or cherry tomato pasta for a complete dinner meal.
This is one of those Italian American recipes that are restaurant quality but really takes minimal effort to put together. In my opinion, good chicken Milanese is crispy, thin, and perfectly seasoned. For more chicken breast varieties, check out this chicken parmesan and smothered chicken breasts.
Ingredient Notes
- Chicken – You’ll want to use boneless skinless chicken breasts.
- Panko Breadcrumbs – It’ll give your chicken a super crispy coating.
- Salt and Pepper – If you season the chicken generously with salt and pepper on both sides, you don’t have to season the flour or panko breadcrumbs.
- Garlic Powder – Adds flavor but is completely optional.
- Oil – I used vegetable oil but feel free to use canola oil or olive oil instead.
- Goat Cheese – Completely optional, but I like adding a small amount on top of the cooked chicken Milanese.
Step-By-Step Instructions
- Place the chicken breasts on a cutting board and trim off any fat. Hold the top of the chicken breast with one hand and slice the chicken horizontally with the other hand using a sharp knife. Repeat with the remaining chicken breasts.
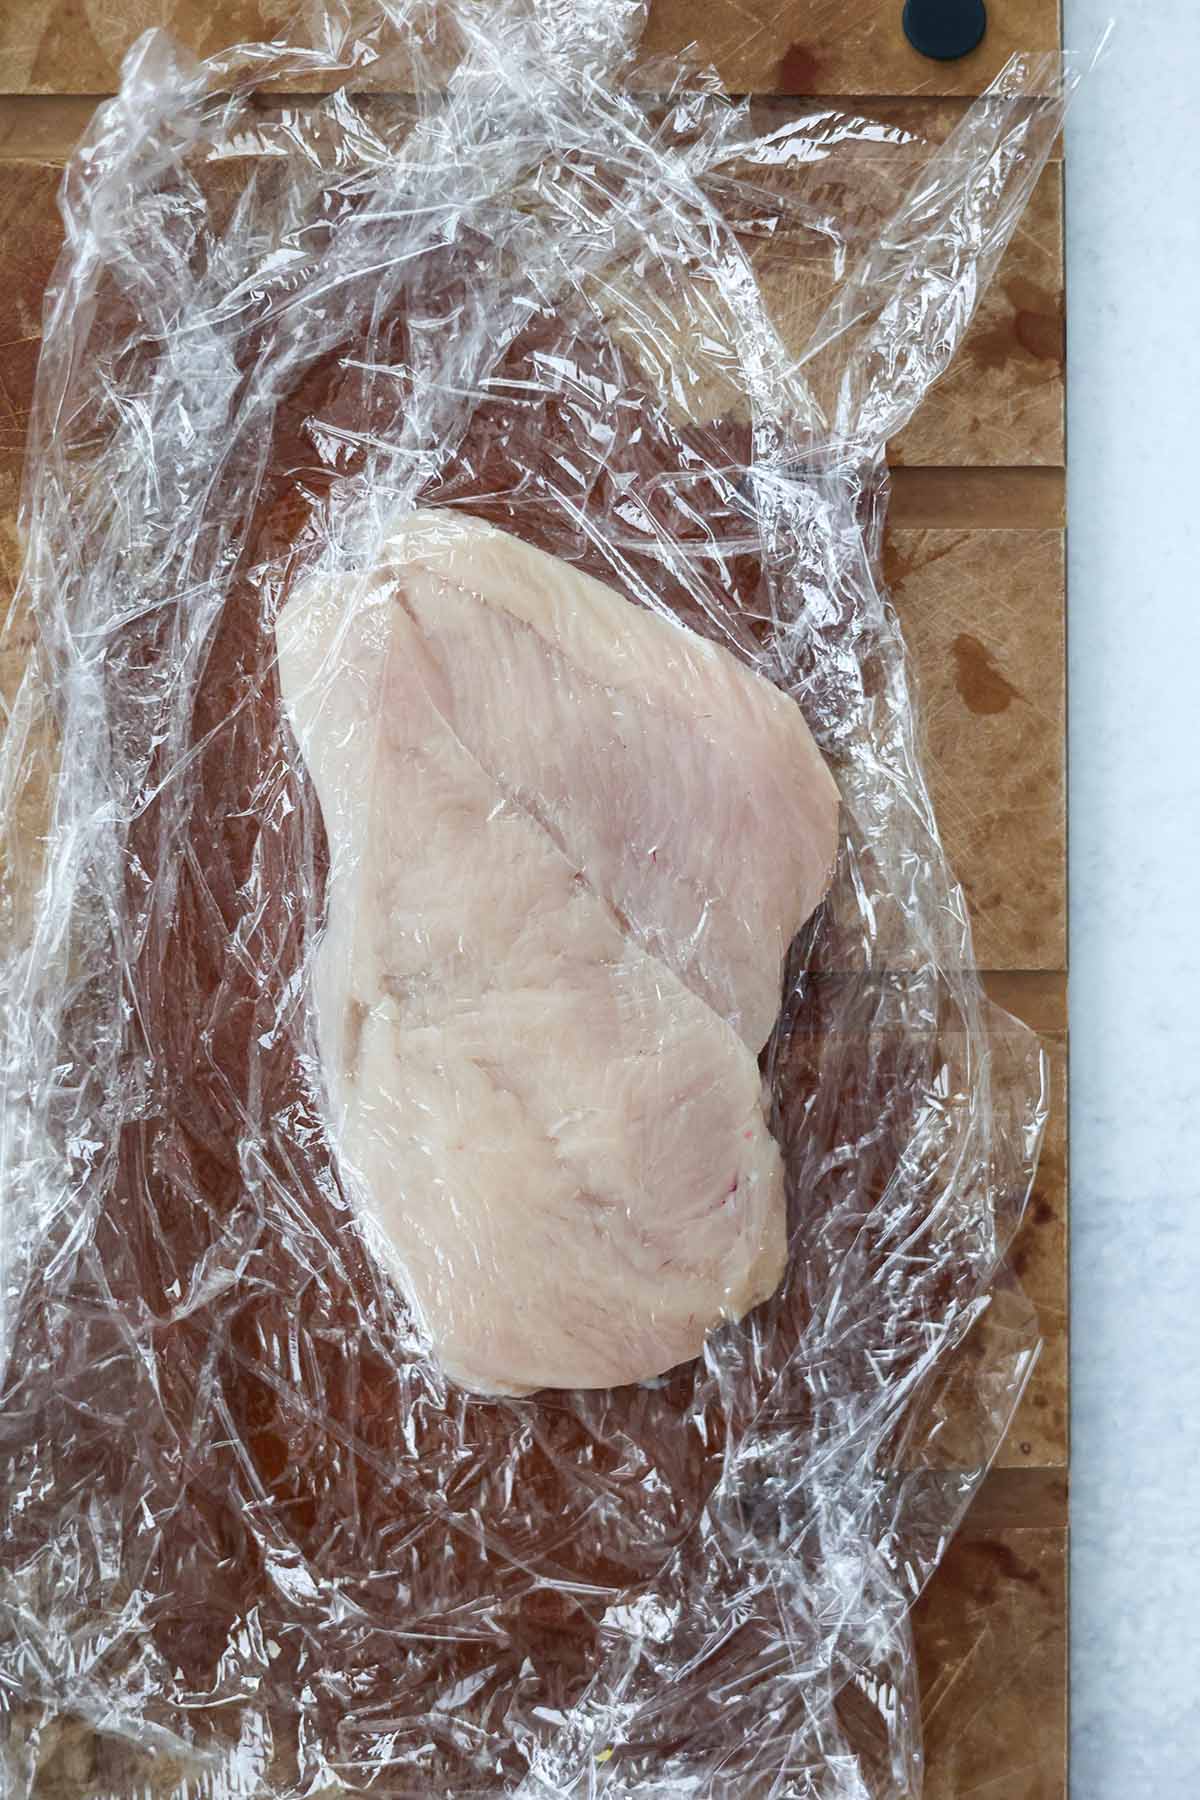
- Place the chicken breast on top of a plastic wrap layer and cover with a second piece of plastic wrap. If you don’t have plastic wrap, use parchment paper.
- Pound the chicken breast to an even thickness, about 1/4 inch, using a meat mallet or the bottom of a saucepan.
- Liberally season the chicken breasts with salt, pepper, garlic powder, and Italian seasoning on both sides.
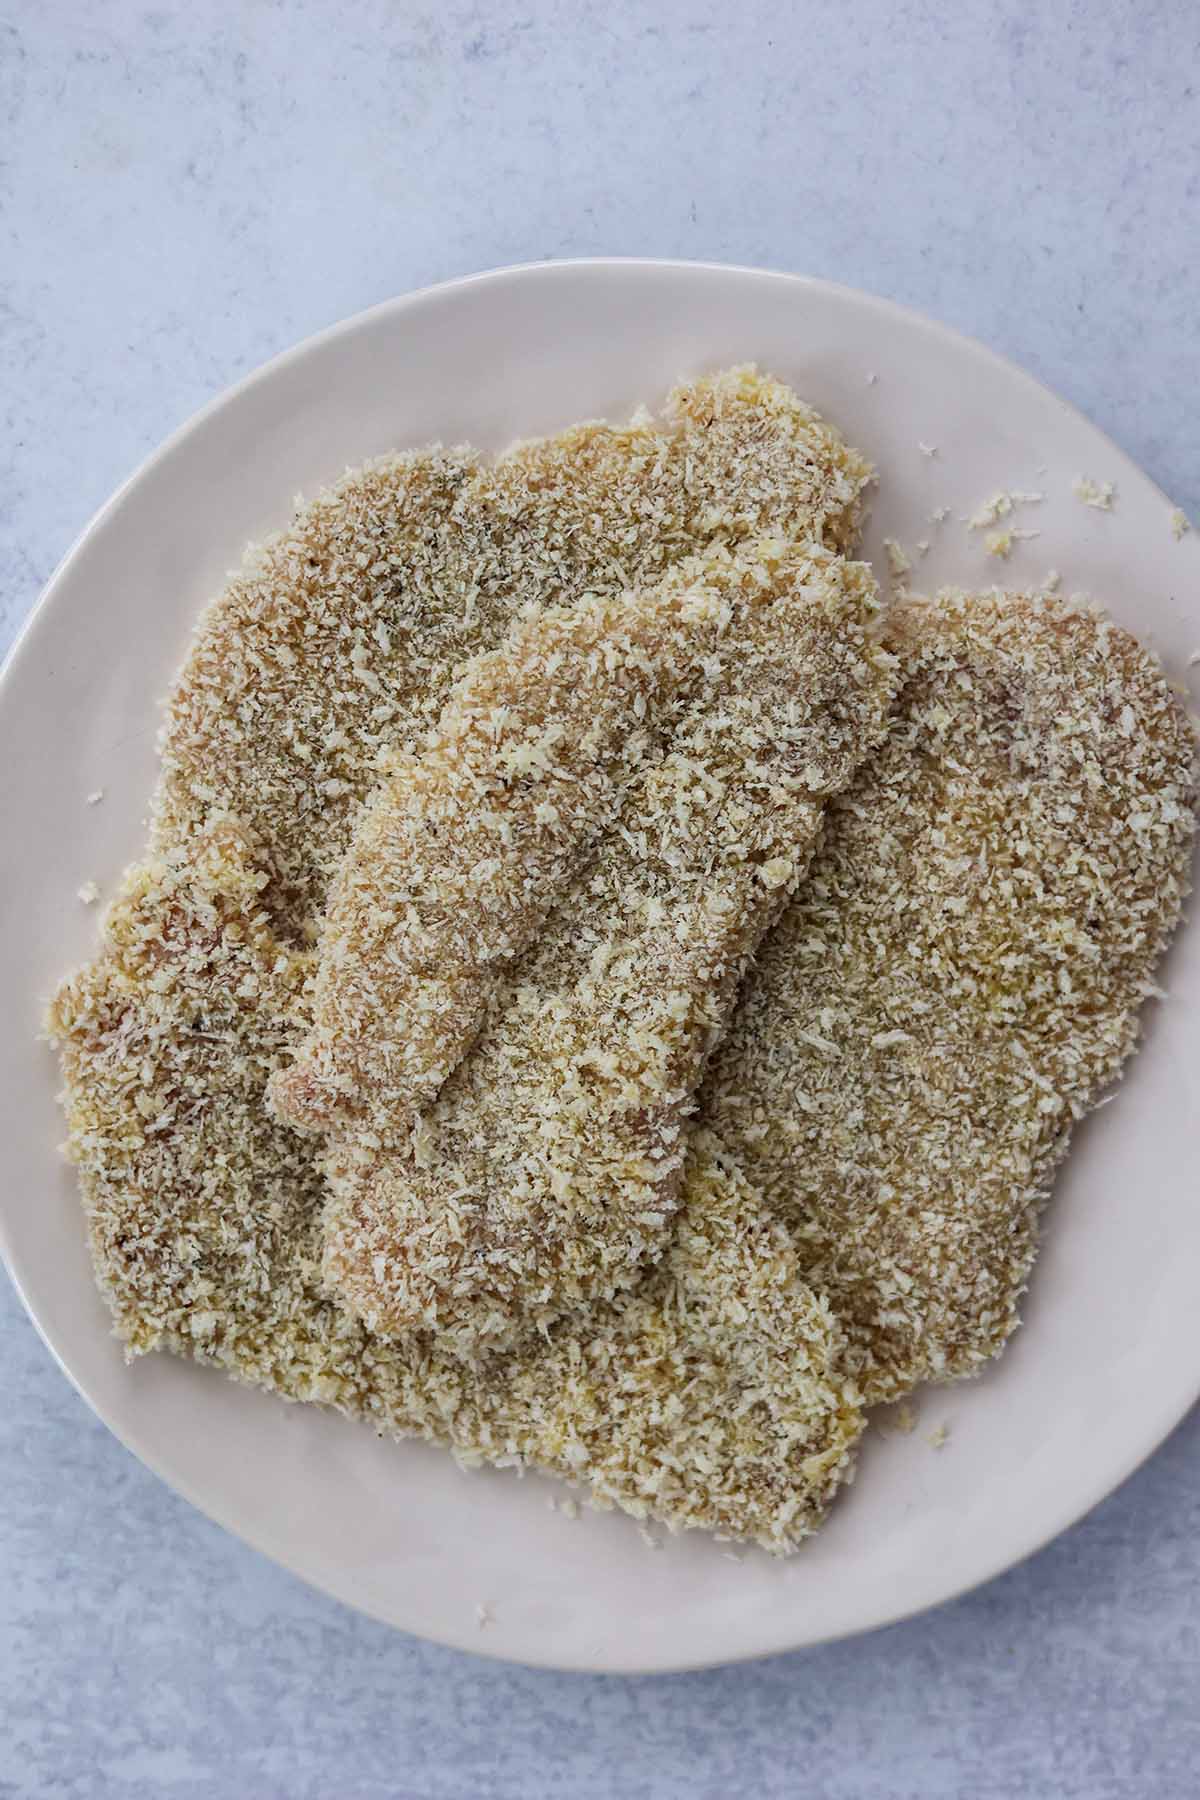
- Dip each chicken breast in the flour, making sure both sides are completely coated. Shake off any excess flour. Then dip the chicken breast in egg, making sure both sides are coated. Allow any excess egg to drip back into the bowl. Coat the chicken breast in panko and make sure to press the breadcrumbs onto the chicken.
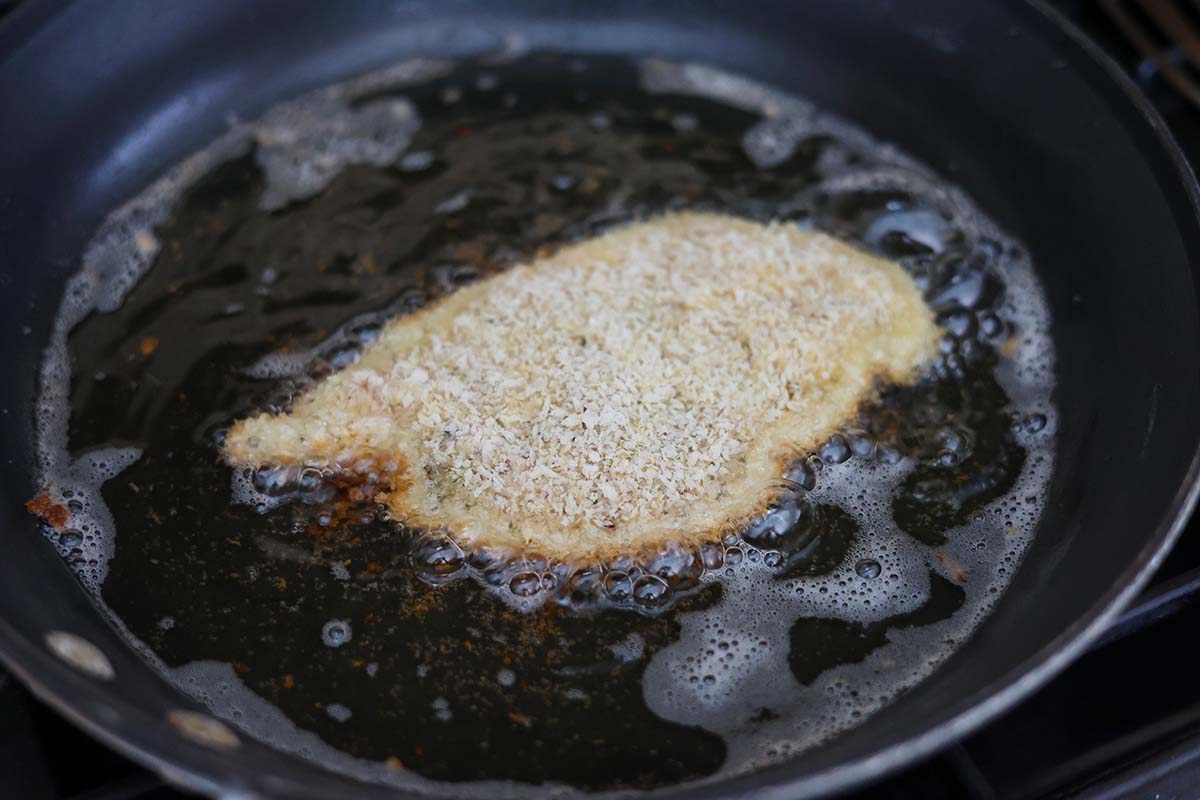
- Heat about 1/4 inch of oil over medium heat until the oil shimmers. Fry the chicken breasts for 2 minutes on each side or until it reaches an internal temperature of 165 degrees F.
- Place the cooked chicken Milanese on a baking sheet with a wire rack and allow it to cool for 2-3 minutes. Serve with arugula and lemon wedges, if desired, and enjoy!
Top Tips For The Perfect Chicken Milanese
- If cooking for a large crowd, double or triple the recipe and place the cooked chicken Milanese in the oven at 200 degrees F. to keep them warm while you cook the second and third batches.
- The chicken breasts should be completely coated in panko breadcrumbs, you shouldn’t be able to see the chicken underneath.
- Don’t have panko breadcrumbs on hand? Check out these crispy chicken cutlets made with regular breadcrumbs.
- Allow the chicken breasts to sit at room temperature for at least 20 minutes before cooking.
- Don’t overcook the chicken otherwise, it can become dry and tough.
- Top the chicken Milanese with a little bit of goat cheese or parmesan cheese, it adds so much flavor!
- Fry the chicken Milanese in batches, don’t overcrowd your skillet.
Can I Make This Ahead Of Time?
Yes, absolutely. The chicken breasts can be breaded and refrigerated for up to 8 hours before frying. You may also freeze them although I highly recommend frying the chicken breasts right before serving so they’re nice and crispy. If you fry the chicken breasts too far in advance they may become soggy.
More Recipes You Might Enjoy
- Mushroom Chicken Fettuccine Alfredo
- Air Fryer Chicken Tenders
- Champagne Chicken
- Creamy Garlic Parmesan Chicken
Tried this recipe? Please leave a star ⭐️⭐️⭐️⭐️⭐️ rating in the recipe card below and/or a review in the comments section further down the page. And consider following me on Facebook, Instagram, or Pinterest!

Chicken Milanese
Ingredients
- 2-3 boneless skinless chicken breasts
- 1/2 cup all-purpose flour
- 2 eggs, whisked
- 2 cups panko breadcrumbs
- 2 teaspoons garlic powder
- 1 teaspoon Italian seasoning
- salt and pepper to taste
- oil, for frying
- goat cheese, optional
- arugula , optional
- lemon wedges, for serving
Instructions
- Place the chicken breasts on a cutting board and trim off any fat. Hold the top of the chicken breast with one hand and slice the chicken horizontally with the other hand using a sharp knife. Repeat with the remaining chicken breasts.
- Place the chicken breast on top of a plastic wrap layer and cover with a second piece of plastic wrap. If you don't have plastic wrap, use parchment paper.
- Pound the chicken breast to an even thickness, about 1/4 inch, using a meat mallet or the bottom of a saucepan.
- Liberally season the chicken breasts with salt, pepper, garlic powder, and Italian seasoning on both sides.
- Dip each chicken breast in the flour, making sure both sides are completely coated. Shake off any excess flour. Then dip the chicken breast in egg, making sure both sides are coated. Allow any excess egg to drip back into the bowl. Coat the chicken breast in panko and make sure to press the breadcrumbs onto the chicken.
- Heat about 1/4 inch of oil over medium heat until the oil shimmers. Fry the chicken breasts for 2 minutes on each side or until it reaches an internal temperature of 165 degrees F.
- Place the cooked chicken Milanese on a baking sheet with a wire rack and allow it to cool for 2-3 minutes. Serve with arugula and lemon wedges, if desired, and enjoy!
Notes
- nd place the cooked chicken Milanese in the oven at 200 degrees F. to keep them warm while you cook the second and third batches.
- The chicken breasts should be completely coated in panko breadcrumbs, you shouldn’t be able to see the chicken underneath.
- Allow the chicken breasts to sit at room temperature for at least 20 minutes before cooking.
- Don’t overcook the chicken otherwise, it can become dry and tough.
- Top the chicken Milanese with a little bit of goat cheese or parmesan cheese, it adds so much flavor!
- Fry the chicken Milanese in batches, don’t overcrowd your skillet.
Nutrition
Nutrition information is automatically calculated, so should only be used as an approximation.
