This post contains affiliate links. Please see our disclosure policy.
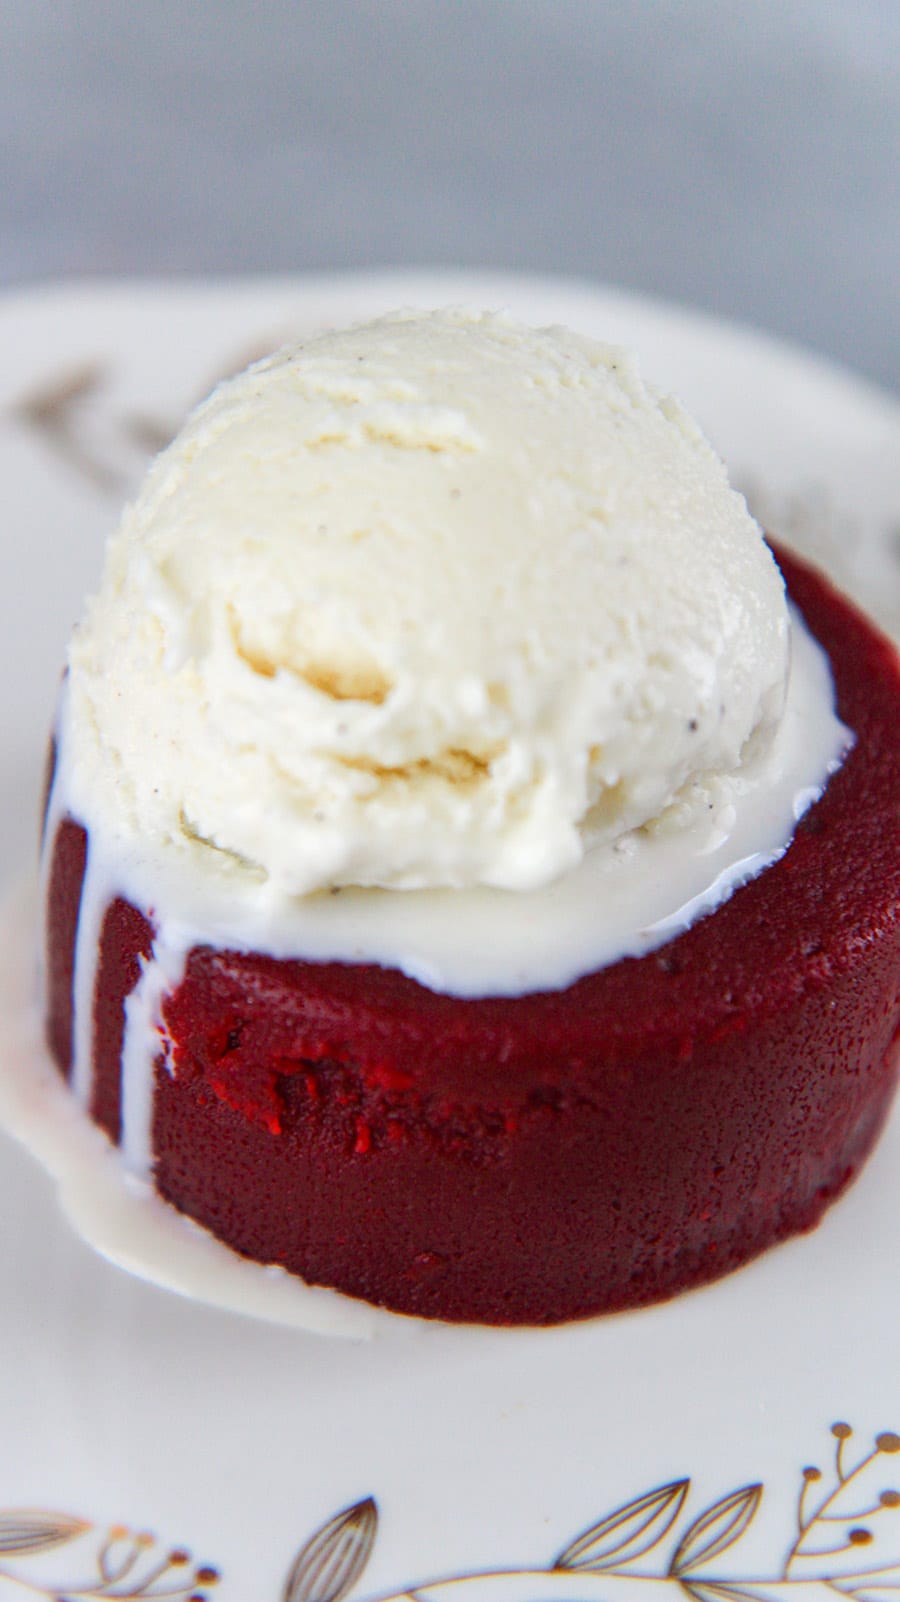
This instant pot red velvet lava cake is pressure cooked for 9 minutes and then served with a scoop of vanilla ice cream. The most delicious and prettiest cake you can serve for Valentine’s day or date night!
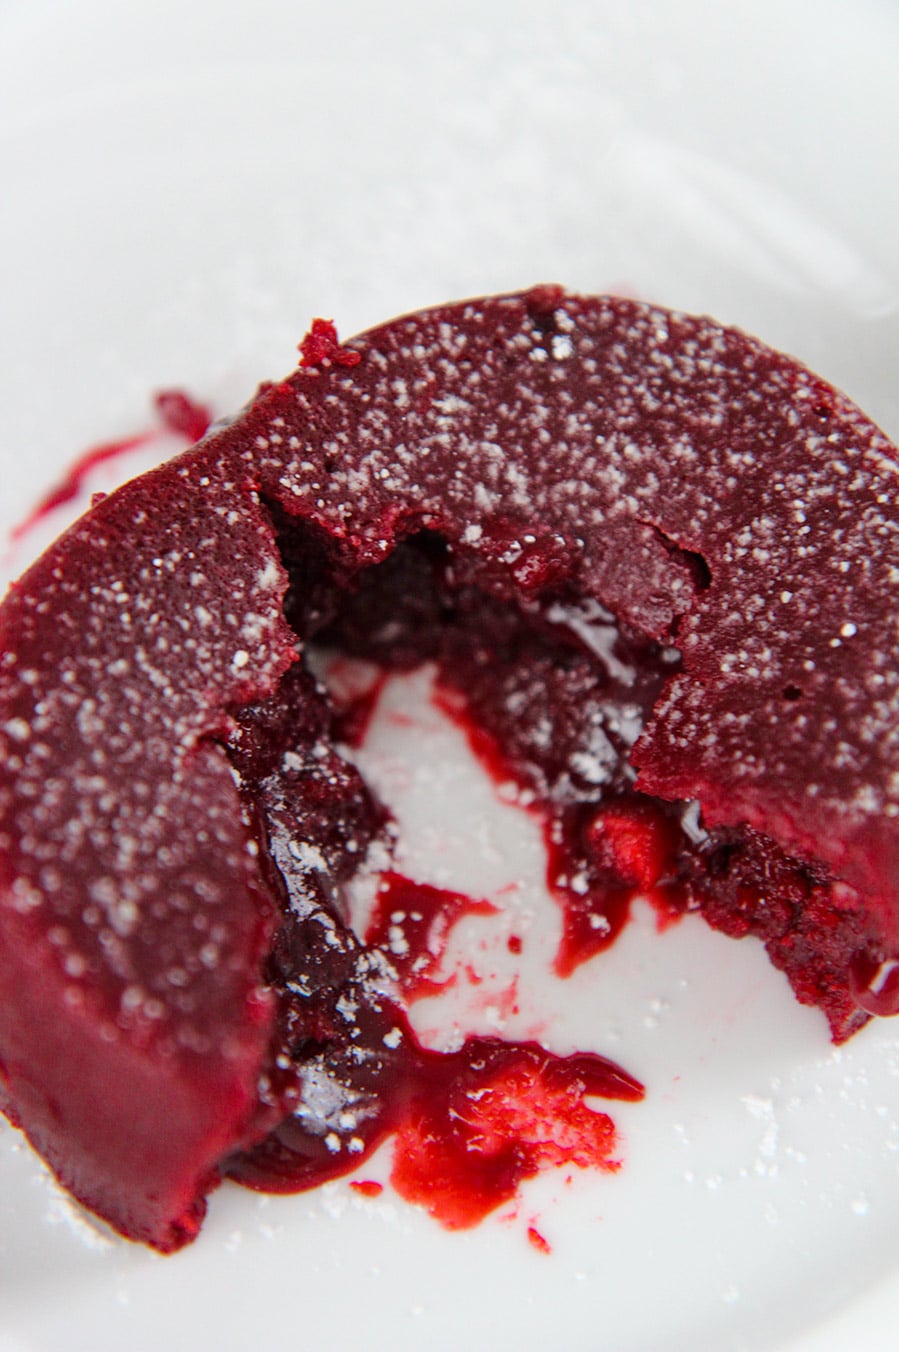
Lava cake aka molten chocolate cake is something I almost always order when eating out. However, it is so easy to make and now you can make it in the instant pot. Although regular chocolate lava cake is the most popular, I figured I’d give red velvet a try and I’m so glad I did. Not only was it pretty but it was absolutely delicious and easy to make.
Ingredients You’ll Need
- Unsalted Butter
- White Chocolate Chips
- Semi-Sweet Chocolate Chips – You can use 1 cup of semi-sweet chocolate chips and omit the white chocolate if you’re not a fan.
- Eggs – room temperature
- Vanilla Extract
- Red Food Coloring
- Salt
- All-Purpose Flour
- Powdered Sugar
Top Tips For The Perfect Instant Pot Red Velvet Lava Cake
- Use 6-ounce ramekins and butter or spray the ramekins with baking/cooking spray.
- Use good quality chocolate
- When melting the butter and chocolate, microwave in 20-second intervals, stirring every 20 seconds until the chocolate melts completely. The white chocolate may not melt completely, but that’s ok.
- Add the eggs one at a time.
- Serve with powdered sugar or vanilla ice cream while the lava cakes are still warm.
- Be careful when removing the ramekins from the instant pot, they will be super hot!
- Cook the lava cakes for 9 minutes and then do a quick release.
Give this red velvet lava cake a try, you’ll be so glad you did. Enjoy!
More Delicious Desserts You’ll Enjoy
You can find more delicious recipes and cooking tutorial videos on Youtube and Facebook.
Instant Pot Red Velvet Lava Cake
Equipment
- Instant Pot
Ingredients
- 8 tbsp unsalted butter, 1 stick
- 1/2 cup white chocolate chips
- 1/2 cup semi-sweet chocolate chips
- 1 cup powdered sugar
- 1/4 cup all-purpose flour
- 1/4 tsp salt
- 1 tsp vanilla extract
- 1 tbsp red food coloring
- 3 eggs
- 1 cup water , does not go into the cake batter
Instructions
- Butter each ramekin or use cooking/baking spray.
- Cut the butter into slices and place it in a large microwave-safe bowl along with the white chocolate chips and semi-sweet chocolate chips. Microwave 20 seconds at a time, stirring after each 20-second interval. Mix well. It should take about 2 minutes.
- Add the powdered sugar to the melted butter-chocolate mixture. Mix well.
- Add one egg at a time. Then add the vanilla extract, flour, salt, and red food coloring. Mix well.
- Fill the ramekins evenly, almost to the top. These do not rise.
- Add one cup of water to the instant pot and place the trivet inside.
- Place the filled ramekins on the instant pot trivet and secure the lid. Make sure the vent is sealed.
- Press the "pressure cook" function and cook for 9 minutes.
- Once the 9 minutes are up, do a quick release. Once all of the steam releases, remove the ramekins from the instant pot using gloves or a towel. They will be very hot.
- Run a knife through the ramekins and serve immediately. Enjoy with powdered sugar or vanilla ice cream.
Video
Notes
- The cooking time does not include the time it takes the instant pot to come to pressure.
- I used an 8 qt instant pot.
- Serve with powdered sugar or vanilla ice cream.
Nutrition
Nutrition information is automatically calculated, so should only be used as an approximation.