This post contains affiliate links. Please see our disclosure policy.
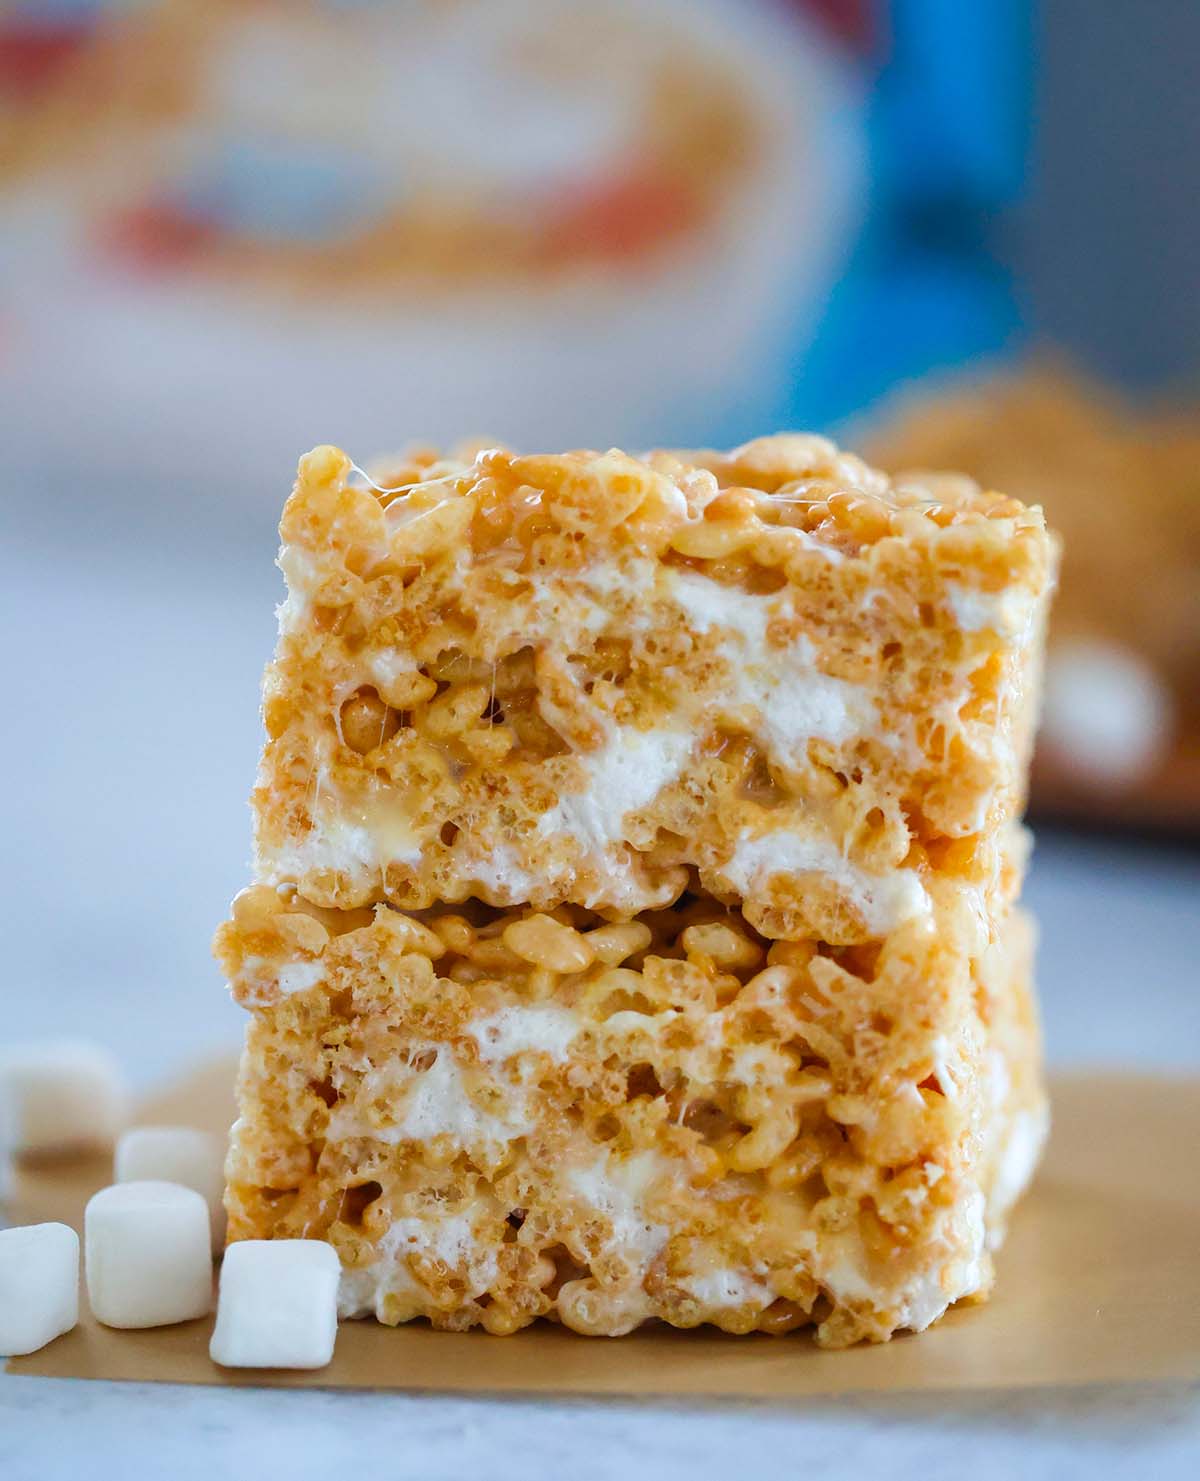
Better than the original, these no-bake Rice Krispie Treats are the ultimate classic dessert! Soft and delicious, these thick and gooey dessert bars melt in your mouth and leave you coming back for more.
For me, there’s nothing more nostalgic than homemade classic rice treats.So, in the spirit of giving, I decided to share these dessert bars with all of you! Easier than no-bake peanut butter pie or sugar cookies, it’s the perfect way to get everyone involved in the kitchen. Plus, the soft and delicious treats never disappoint!
Why You’ll Love These Rice Krispie Treats
Apart from the irresistible crunch and gooey combo of marshmallows and cereal, there are so many reasons to love these rice krispie treats! However, to save time, I’ll just name a few.
- Better than the original, they feature bold flavors and an unbeatable texture.
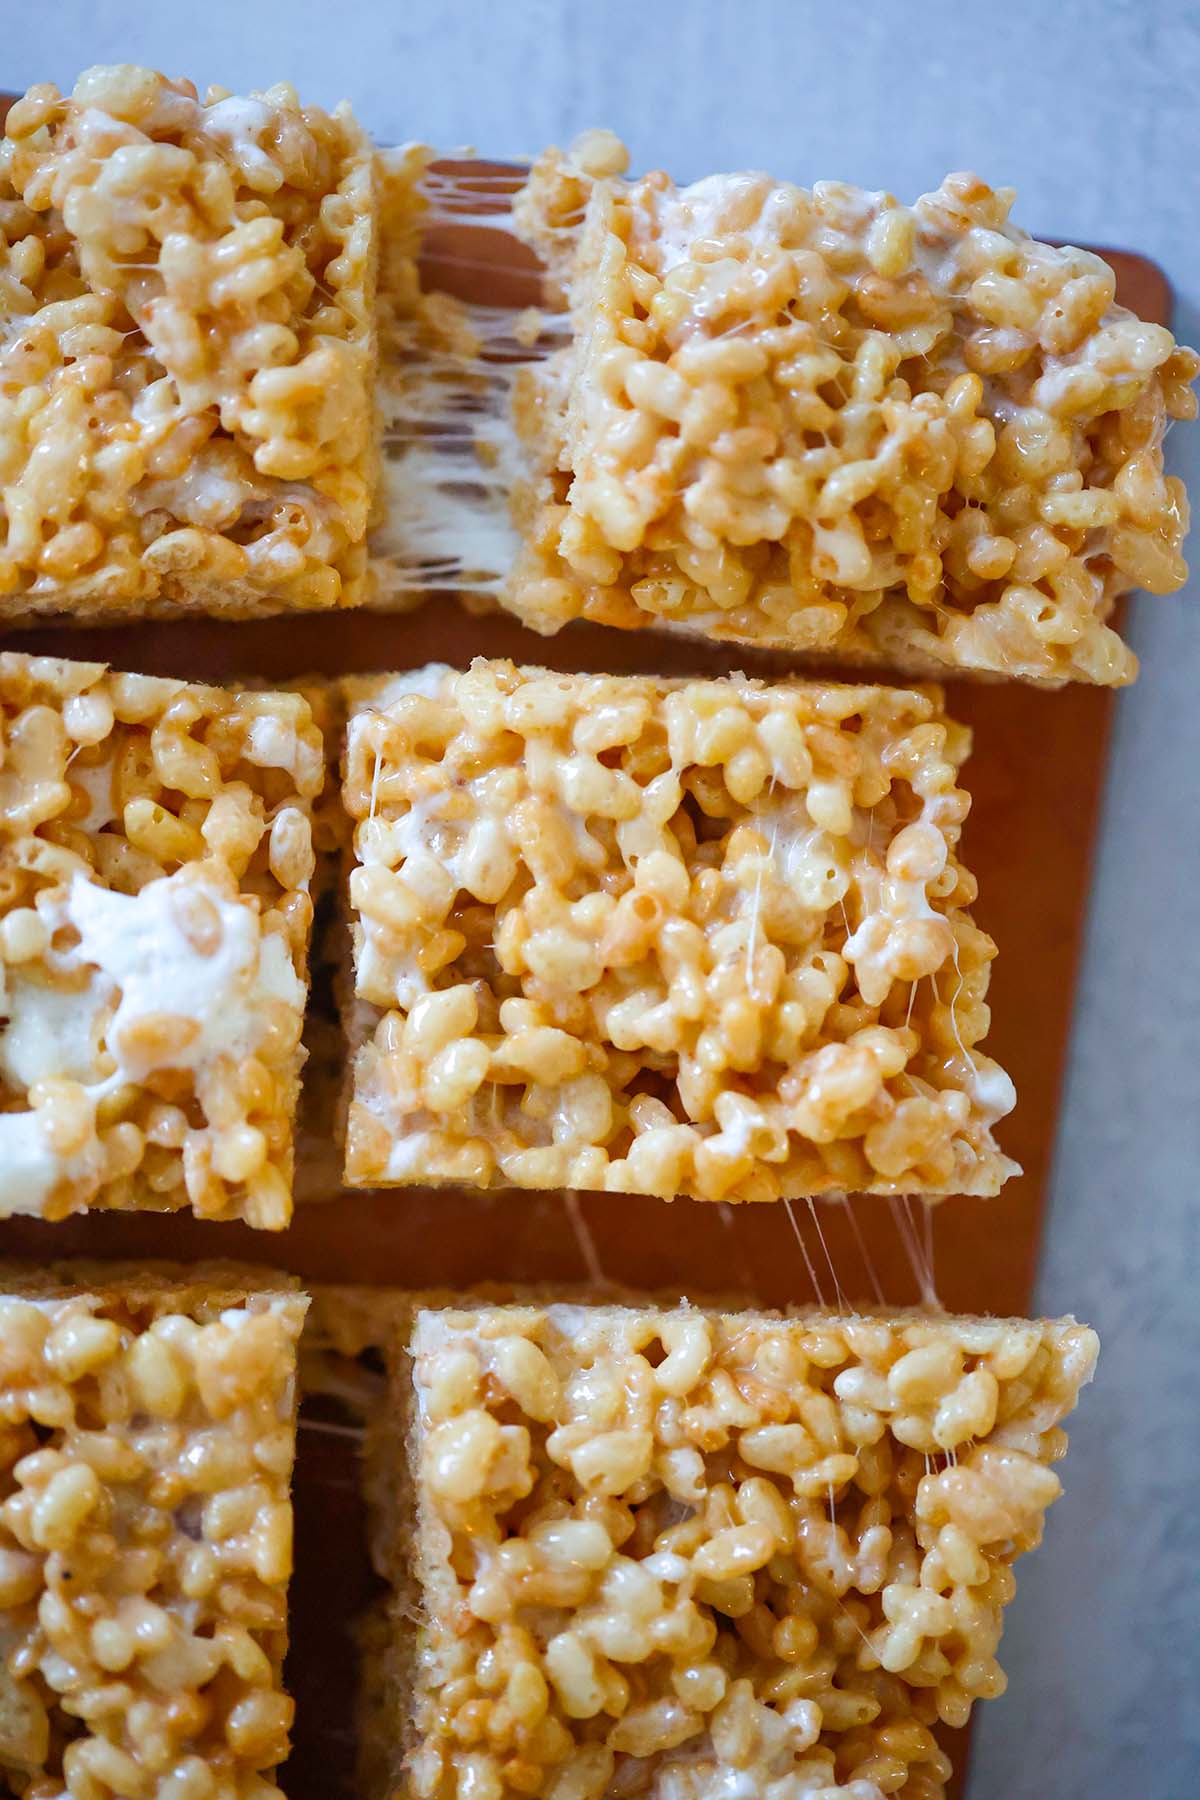
- Unlike many store-bought varieties, they are not rock-hard.
- 4 budget-friendly ingredients are all you need.
- Quick and easy, these treats are a no-bake recipe that comes together in one pot on the stove.
Ingredient Notes
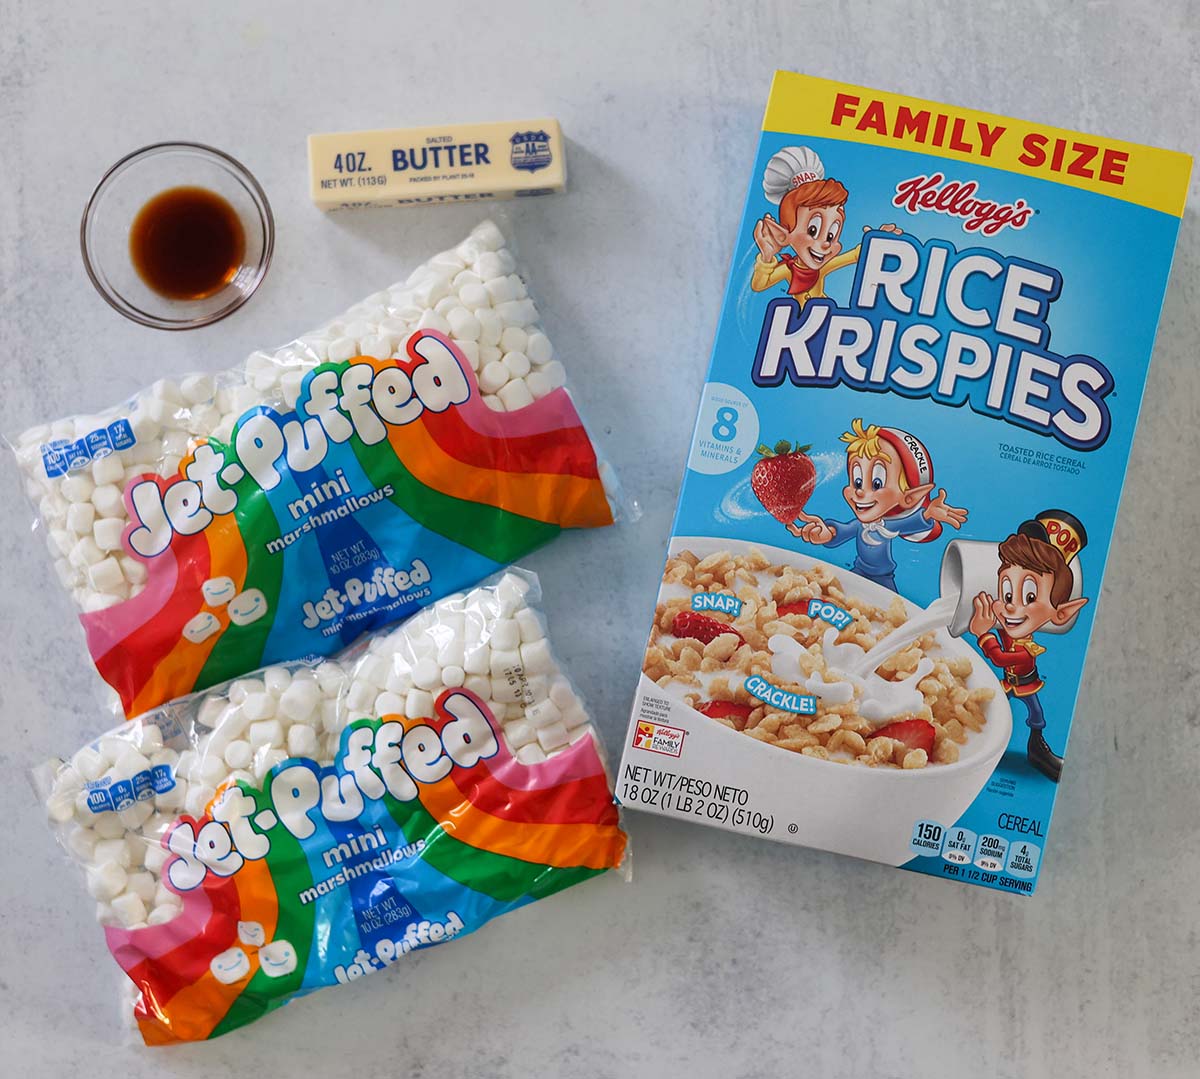
- Marshmallows – I like to use mini marshmallows because they melt quicker and ensure a soft, gooey texture. Although jumbo marshmallows work too!
- Vanilla Extract – Not found in many Rice Krispie treats recipes, pure vanilla extract is my secret to creating the best, boldest classic rice treats you’ll ever taste.
- Butter – Salted butter creates a sweet and salty combination of flavors. If you don’t have any, use unsalted butter, and add a pinch of salt instead.
- Rice Krispies Cereal – The name-brand cereal is classically used for these treats, but any plain crispy rice cereal can be used.
Recipe Variations
Personally, I love the simplicity of these dessert bars. However, if you want to jazz them up, feel free to mix and match your favorite add-ins to make them your own! Some ideas to get you started include:
- Peanut Butter Cups
- M&M’s or Reese’s Pieces
- Chopped Candy Bars
- Chopped Nuts
- Flavored Cereal
- Chocolate Drizzle
Top Tips
- Grease your pan really well with butter or oil spray to prevent the Rice Krispie treats from sticking. Spray your spatula while you’re at it too, so the marshmallows don’t cling to it as you stir.
- Work quickly. You want to stir the cereal into the marshmallow mixture fairly fast so that it does not solidify and clump up.
- Don’t press the mixture into the pan firmly. Use your fingers to gently press the mixture down so that it is not rock hard. You want it to reach the edges of the pan without being packed down firmly.
- Wet your fingers before pressing the mixture down to prevent it from sticking to you.
- Make sure your marshmallows are fresh and not expired!
- Allow the rice krispies to cool for about an hour to harden slightly and prevent them from falling apart.
FAQs
How long do Rice Krispie treats last?
Stored in an airtight container or sealable bag at room temperature, leftover treats will stay fresh for up to 2 days.
Can I freeze leftovers?
I don’t recommend freezing these treats as they are likely to become too hard and don’t thaw well. Luckily, it’s super fast to make a fresh batch!
Can I make this recipe gluten-free?
Sure, just use your favorite gluten-free rice cereal in place of Rice Krispies.
More Recipes You Might Enjoy
Tried this recipe? Please leave a star ⭐️⭐️⭐️⭐️⭐️ rating in the recipe card below and/or a review in the comments section further down the page. And consider following me on Facebook or Pinterest!
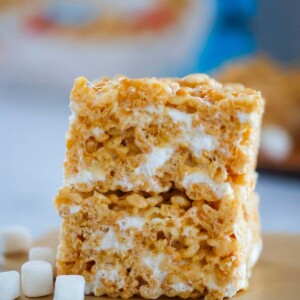
Rice Krispie Treats
Ingredients
- 8 cups mini marshmallows, divided , two 10 oz bags
- 7 cups rice krispies cereal
- 1 stick salted butter , 8 tablespoons
- 1 teaspoon vanilla extract
Instructions
- Line a 9×9 baking dish with aluminum foil and grease it with butter.
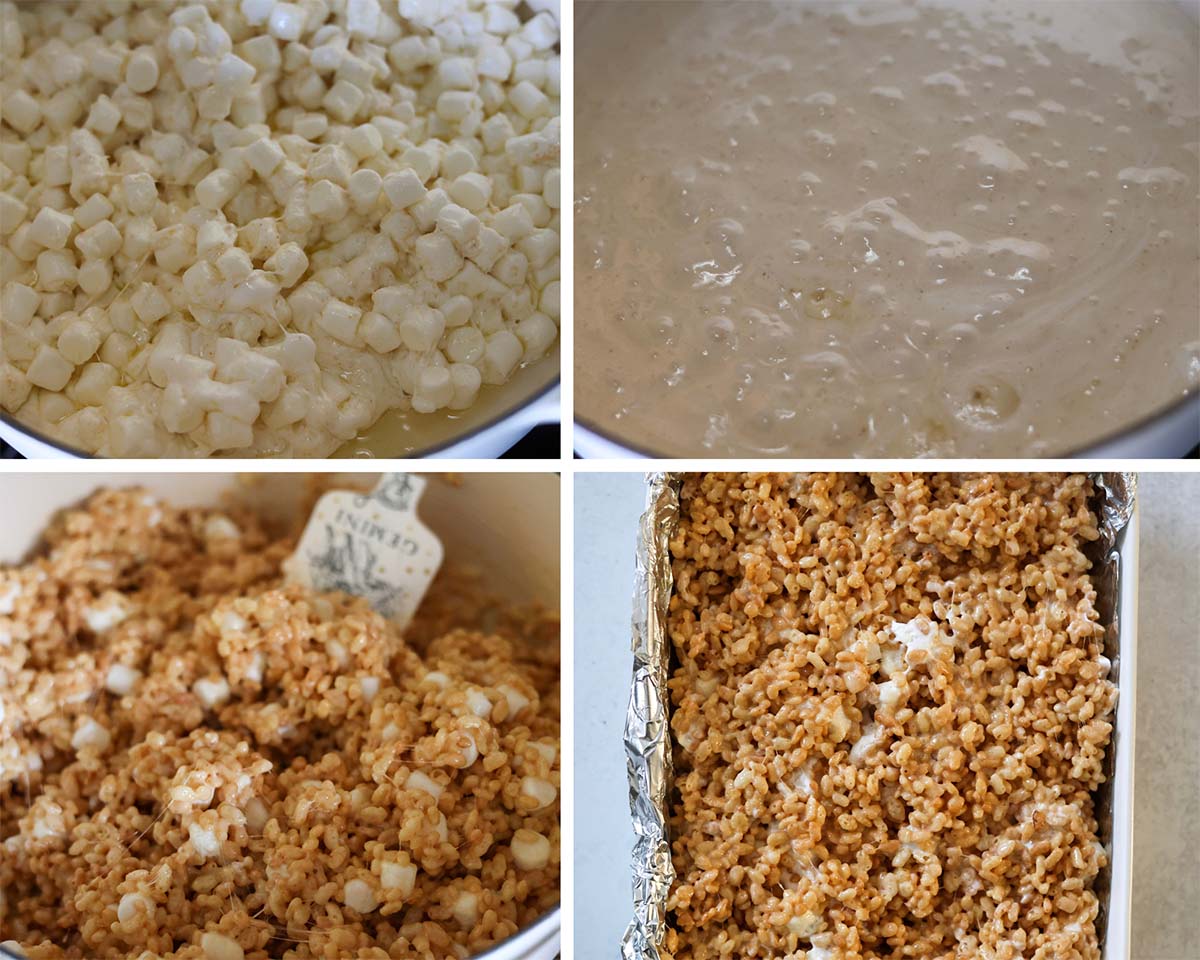
- Add the butter to a large pot with high sides and melt completely.
- Stir in 6 cups of mini marshmallows and allow it to melt completely. Spray a rubber spatula with nonstick spray so the marshmallows don’t stick.
- Remove the melted marshmallows from the heat and make sure there are no lumps. Stir in the vanilla extract.
- Add the Rice Krispies cereal and remaining marshmallows and mix until well combined. Work quickly because as the marshmallows start to cool, it will be harder to stir.
- Pour the mixture into the prepared baking dish, wet your hands, and gently press the Rice Krispies into the pan.
- Allow the Rice Krispies to cool at room temperature for at least 1 hour.
- Remove them from the pan, slice them into squares, and enjoy!
Notes
- Grease your pan really well with butter or oil spray to prevent the Rice Krispie treats from sticking. Spray your spatula while you’re at it too, so the marshmallows don’t cling to it as you stir.
- Work quickly. You want to stir the cereal into the marshmallow mixture fairly fast so that it does not solidify and clump up.
- Don’t press the mixture into the pan firmly. Use your fingers to gently press the mixture down so that it is not rock hard. You want it to reach the edges of the pan without being packed down firmly.
- Wet your fingers before pressing the mixture down to prevent it from sticking to you.
- Make sure your marshmallows are fresh and not expired!
- Allow the rice krispies to cool for about an hour to harden slightly and prevent them from falling apart.
Nutrition
Nutrition information is automatically calculated, so should only be used as an approximation.
