This post contains affiliate links. Please see our disclosure policy.
Cheesy Corn made with canned corn, butter, mozzarella cheese, onions, and garlic. Made in under 20 minutes!
Two months ago I would’ve made this cheesy corn recipe with fresh corn but things have changed. I want to incorporate canned and frozen foods as much as possible in my recipes. This is a quick and easy recipe that requires just a handful of ingredients.
The best part about this is the sweet and salty combination. You get the sweetness from the corn and the saltiness from the cheese. It’s so good. You may add a pinch of sugar to the corn mixture if you’d like but the corn I used was sweet enough for my liking.
Serve this alongside lemon garlic roast chicken and creamy mashed potatoes for the ultimate feast.
Step by Step
- Mix the canned corn kernels, onions, garlic, mayo, salt, and pepper in a large bowl.
- Melt some butter in a medium-sized skillet over medium-high heat.
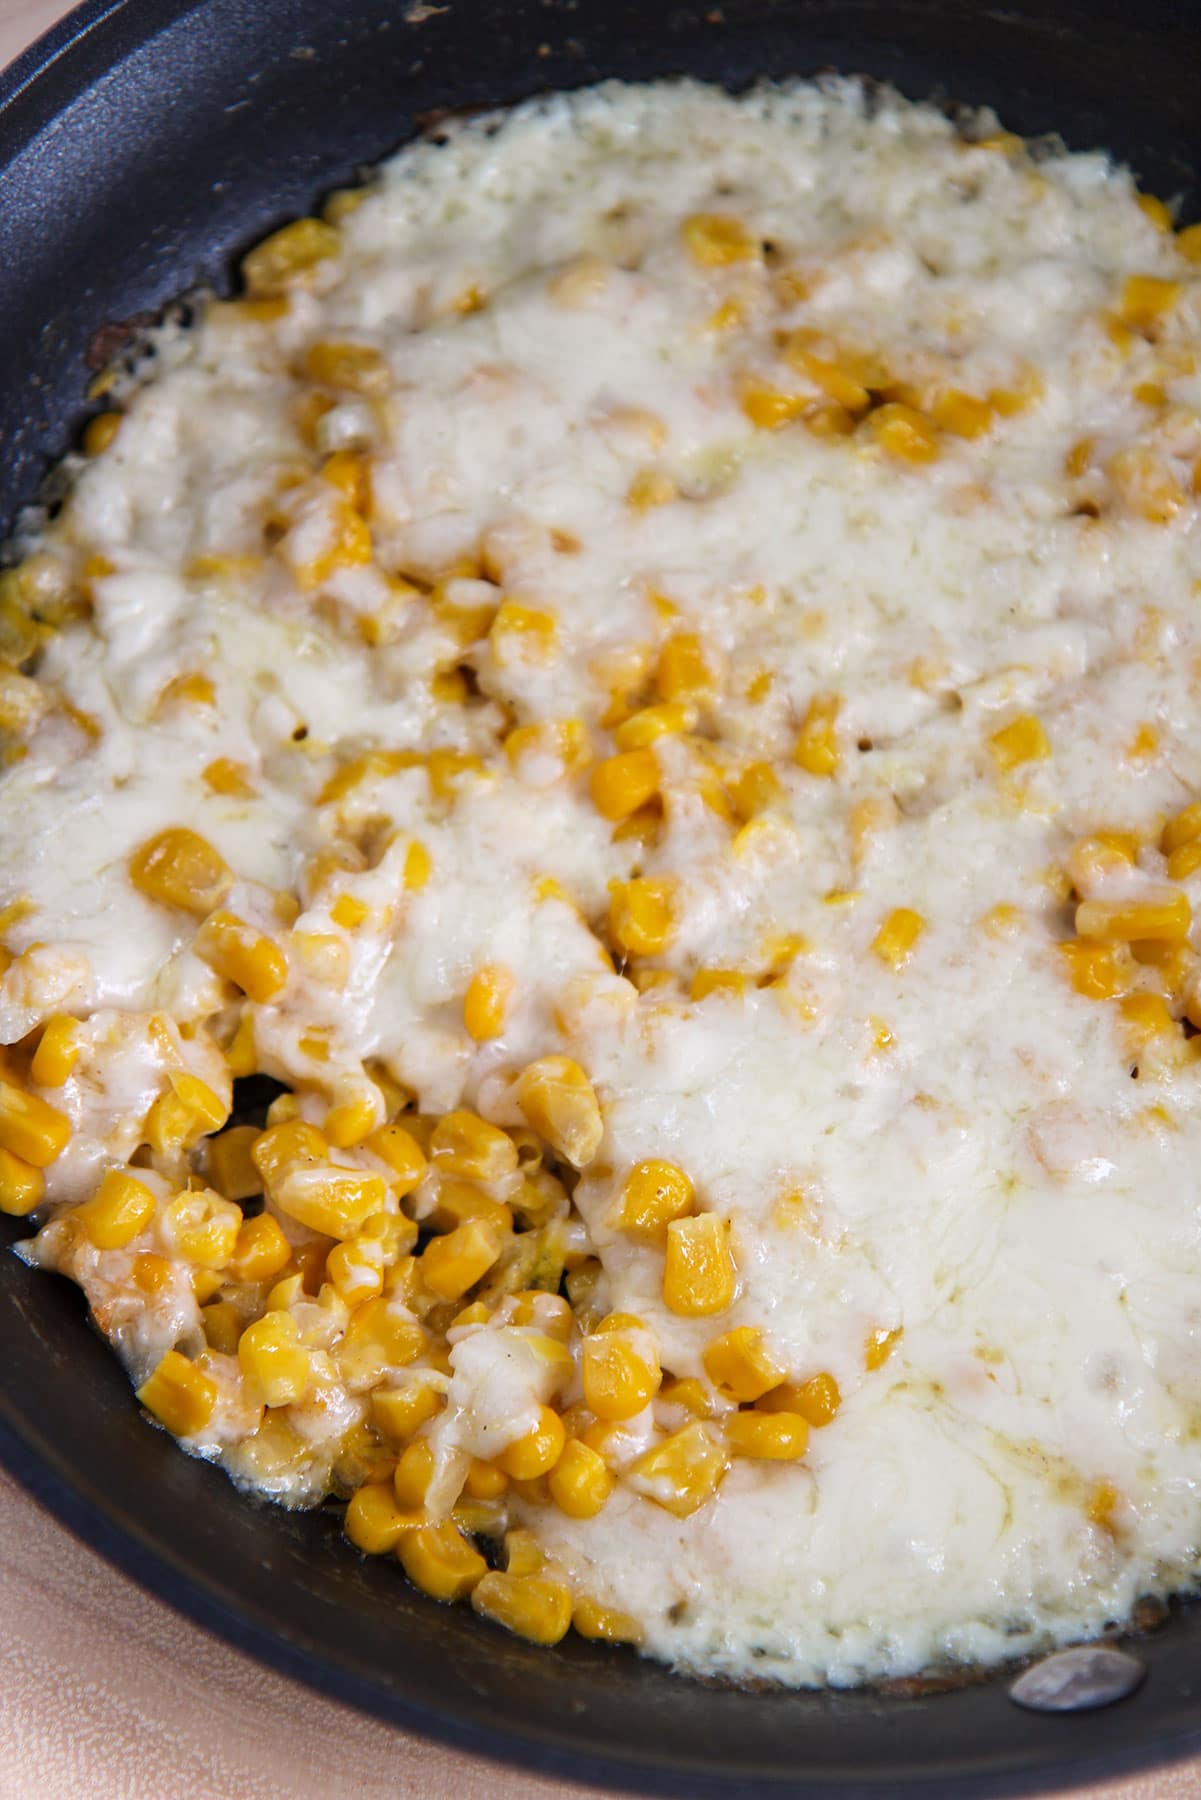
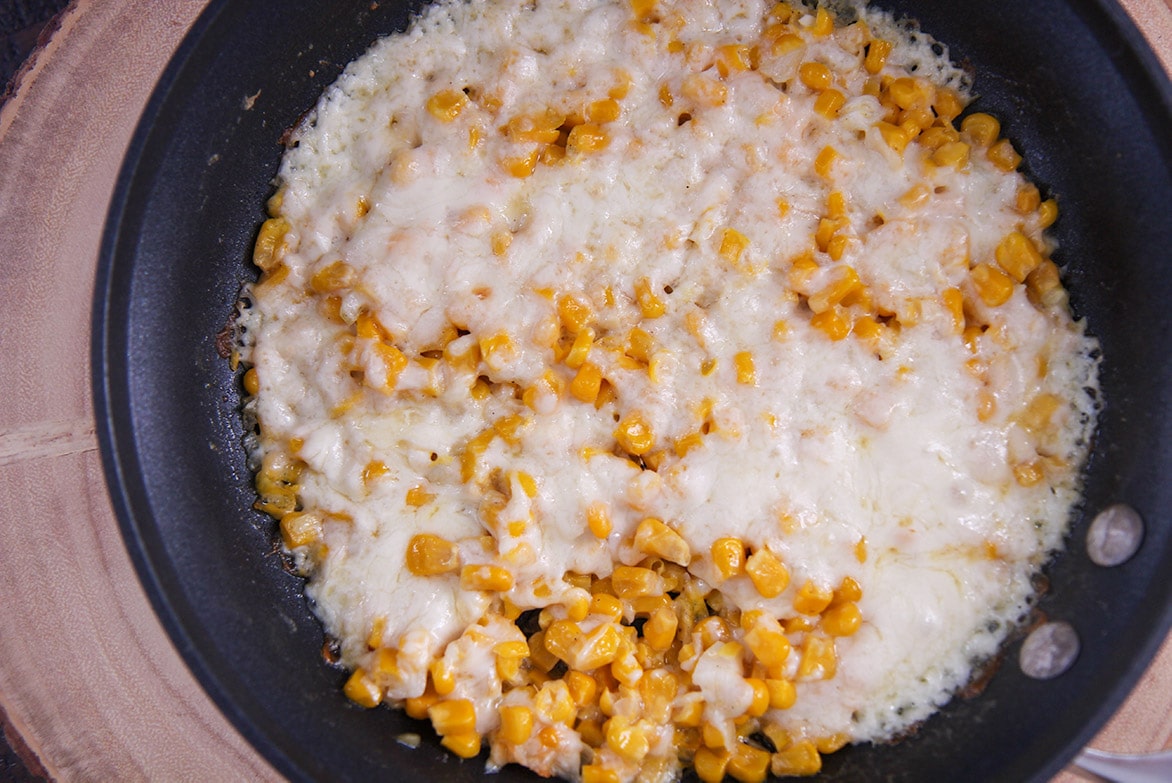
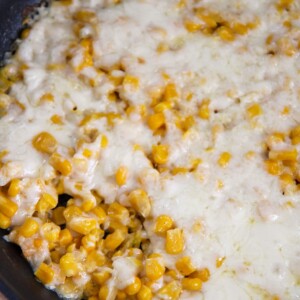
- Add the corn mixture to the skillet and cook for 3-4 minutes. Cover with cheese and bake for 2-3 minutes or until the cheese is completely melted.
Top Tips:
- Don’t have fresh garlic or onions? Use granulated garlic and granulated onion.
- If you don’t have butter feel free to use olive oil or any type of oil you have on hand. If you don’t have any oil, cooking spray, or butter just use a nonstick skillet.
What Type Of Cheese Should I Use?
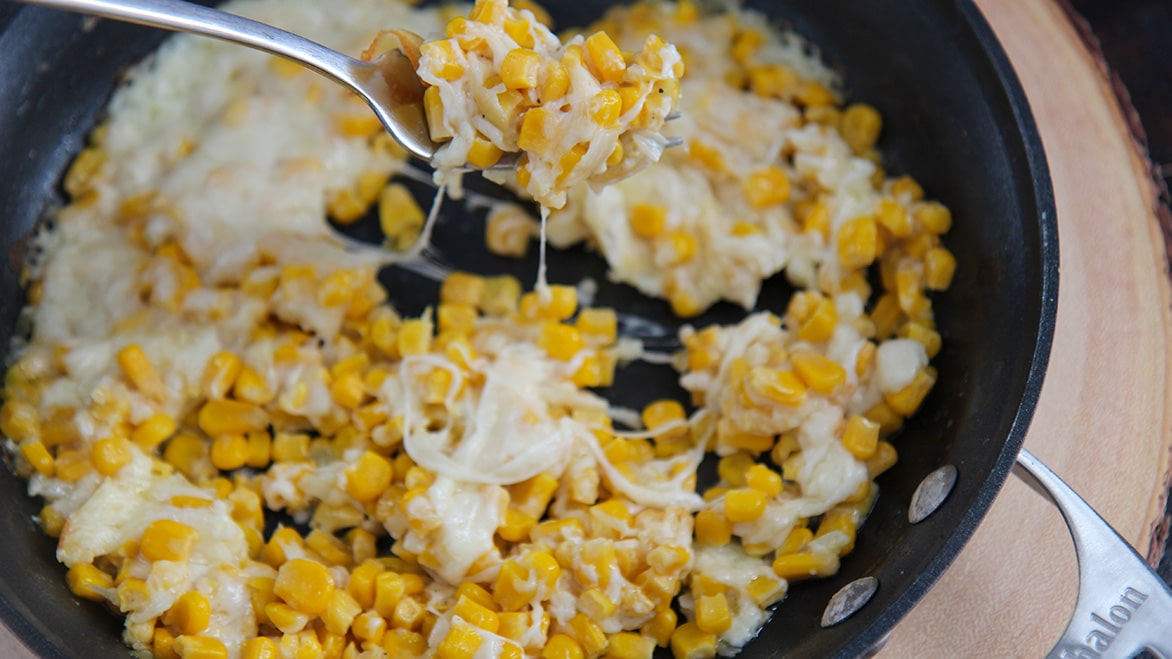
I highly recommend using mozzarella cheese if you want that nice pull and a salty top layer but feel free to use whatever kind you have on hand
Can I Use Frozen Corn?
Absolutely. You may use any corn you have on hand.
More Corn Recipes You’ll Enjoy:
Creamed Corn – A Thanksgiving classic side dish made with fresh corn, cream, and garlic.
Corn Pudding – Crispy on the outside, moist and tender inside. The ultimate corn casserole.
Southern Fried Corn with Bacon – Made with just 5 ingredients in under 30 minutes.
Bacon and Corn Pancakes – Soft and fluffy pancakes filled with corn and crunchy bacon.
You can find more delicious recipes and cooking tutorial videos on Youtube and Facebook.
Cheesy Corn
Equipment
- Oven Safe Skillet
Ingredients
- 15 ounce canned corn
- 1 tbsp mayo
- 1/4 cup onions, finely diced
- 1 garlic clove , minced
- 1 tbsp butter
- 3/4 cup mozzarella cheese
- salt and pepper to taste
Instructions
- Preheat oven to 425 degrees F.
- In a large bowl, mix the corn, onions, garlic, mayo, salt, and pepper.
- Melt the butter in an oven safe skillet over medium heat.
- Add the corn mixture to the skillet and cook for 3-4 minutes.
- Cover the corn mixture with mozzarella cheese and bake for 2-3 minutes.
Notes
Nutrition
Nutrition information is automatically calculated, so should only be used as an approximation.


Do you drain the canned corn?
Yes, I did.