This post contains affiliate links. Please see our disclosure policy.
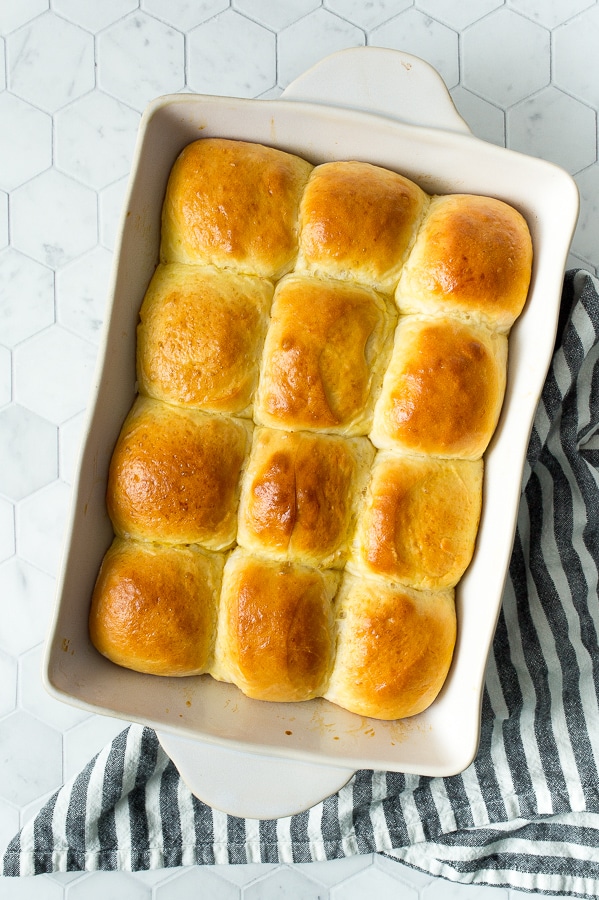
These homemade dinner rolls are the perfect addition to just about any main course. Light, fluffy, and soft, these rolls will end up being one of the top highlights of the meal. All it takes is a few ingredients you most likely have in your pantry and you’re set to go.
Plenty of families like to eat out for dinner. I mean, it’s pretty fun ordering in pizza and such. However, it’s hard to ensure healthier and more beneficial ingredients for your family going that route. That’s why I like to make a homemade dinner while still fixing up options the family will rave over.
Some of the favorites around this house are Salmon Burgers and Ham and Cheese Sliders. Dinner Rolls aren’t a meal on their own (as much as I could make them one), but they go well with so many entrees.
How To Make Homemade Dinner Rolls
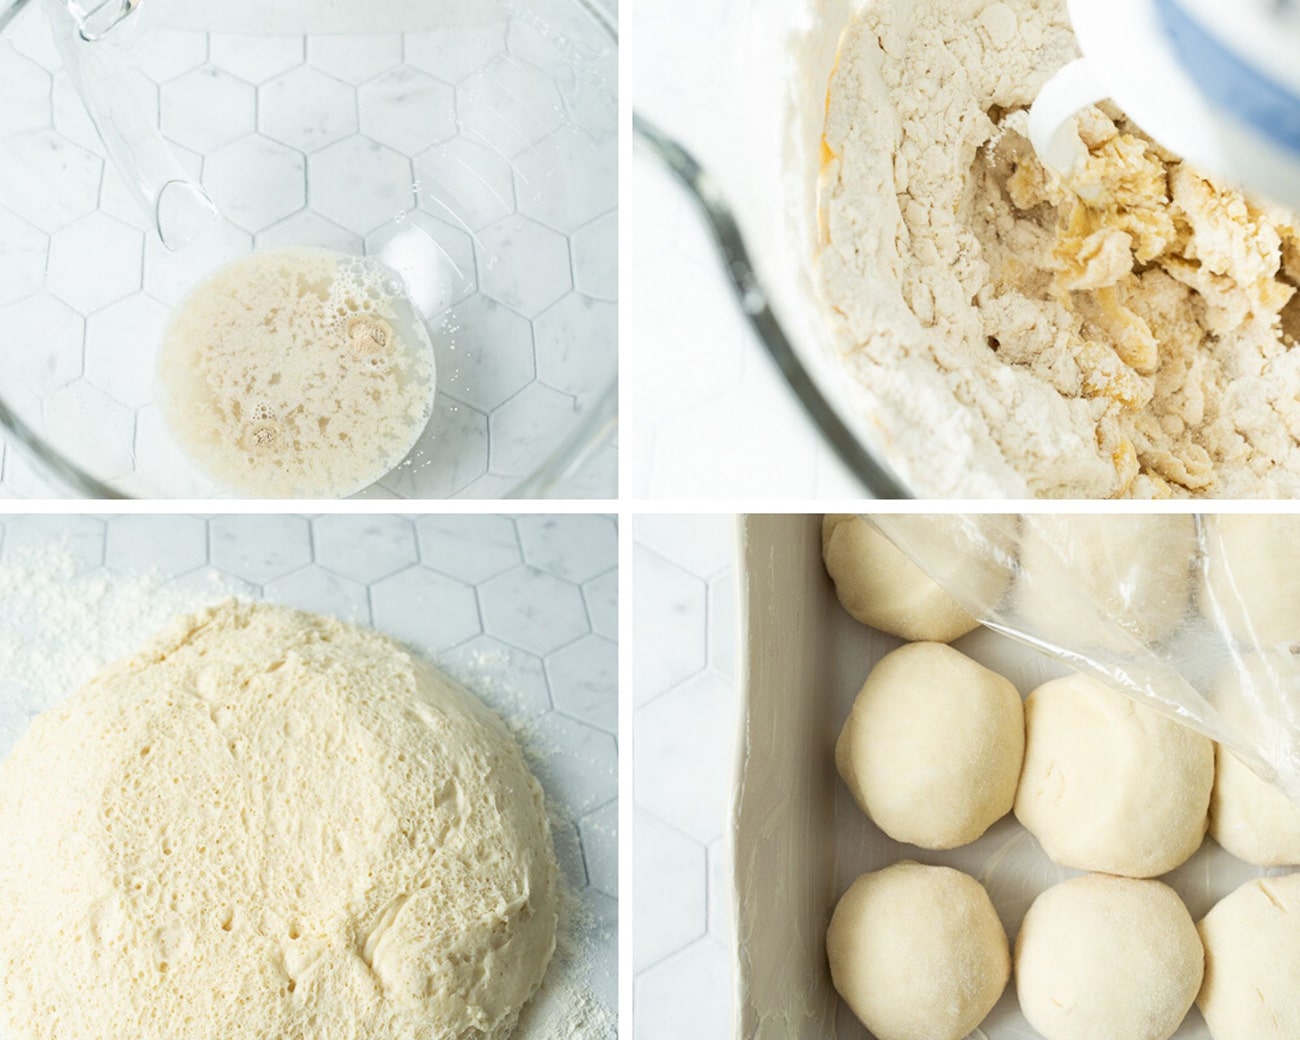
- Begin the dough – Mix together the warm water and active dry yeast. Leave it to sit for around 5-6 minutes or until nice and foamy. Add in the warm milk, egg, sugar, melted butter, and salt. Scrape down the sides of the bowl if necessary as it mixes.
- Finish the dough – Finally, add the bread flour (the final dry ingredients) to the mixer with the yeast mixture and use the dough hook to mix it for 8-10 minutes. The dough should be slightly sticky.
- Let the dough rise – Flour a flat surface and dump the dough out and knead for a few more seconds. Once finished, place it in a large bowl that’s been greased. Cover with a towel and leave to sit for about an hour or until it’s double in size.
- Shape the rolls – Place the dough onto a floured work surface and separate it into 12 separate portions. Shape the balls of dough into dinner rolls by tucking the sides under. Butter a 9×13 dish and place the dough balls next to each other with a little bit of space. Cover and let rise for another 40 minutes.
- Bake the rolls – Brush the dough balls with egg wash and then bake at 375 degrees for 20 minutes or until fully cooked.
Tips and Recipe Variations
- Storage – The best storage option for these rolls is to wrap them in plastic wrap and place them in a cool, dark, dry spot. Usually, a pantry is the best spot in the house. They will keep for up to a week. You can also store them in the fridge or freeze them. If freezing them, place them in an airtight container separating layers with wax or parchment paper. If placing in the fridge, wrap them in plastic wrap or place them in an airtight container. They will last about 2 weeks in the fridge and 2 months in the freezer.
- Reheating – Simply place the rolls in the microwave (spaced apart if possible) and heat for about 30 seconds to start and add 10 seconds as needed. If coming from the fridge or pantry, start with 10 seconds and add 5 seconds at a time.
- Garnishing – There are a few garnishing options when it comes to dinner rolls. I, personally, like to brush them with melted butter. However, you can always do garlic butter, cinnamon/sugar mixture, etc. Leaving them plain is an option as well.
- Additional flavors – If you prefer, you can always add fresh herbs or spices to your dough to make the rolls have a flavor. For example, you can make them spicy rolls by adding in crushed red peppers. There are a lot of options here.
- Turn it into garlic bread – Turn these delicious rolls into garlic bread or garlic cheesy bread for Italian dishes. Simply cut the rolls in half, coat the inside of each slice with butter and sprinkle with garlic salt. Bake for another minute or two on a baking sheet. To make them cheesy, simply top the slices with mozzarella cheese and then bake them until the cheese has melted.
- Make sure to use bread flour – Yes, there is a difference between bread flour and the average all-purpose flour you’ll find in the store. If you want the best outcome for your rolls, you’ll use bread flour.
How Do You Make Dough Softer?
If you’re following this dinner rolls recipe to the letter, you should end up with really soft rolls. However, if you didn’t, you can try adding a teaspoon of lemon juice to your mixture the next time around. Also, as stated above, you want to make sure and use bread flour as this will attribute to softer results with your rolls.

If you gave these homemade dinner rolls a whirl, I would love to know the variations you tried and your experience in general, in the comments below!
More Rolls Recipes You’re Sure to Love:
- Cheese and Garlic Crescent Rolls
- Soft Onion Rolls
- Garlic Parmesan Dinner Rolls
- Hawaiian Sweet Rolls
- Rosemary and Garlic Dinner Rolls
You can find more delicious recipes and cooking tutorial videos on Youtube and Facebook.
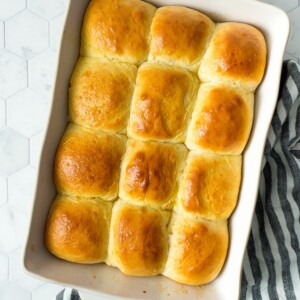
Homemade Dinner Rolls
Ingredients
Dinner Rolls
- 4 cups bread flour
- 2 1/2 tsp dry active yeast
- 1/4 cup warm water, 105 degrees F
- 1/3 cup sugar
- 4 ounces melted butter
- 1 tsp salt
- 1 egg
- 1 cup hot milk, 115 degrees F
Egg Wash
- 1 egg
- 1 tbsp water
Instructions
- In the bowl of a standing mixer, stir the yeast into the warm water ( about 120 degreeand let it sit for about 5-6 minutes.
- Once the yeast is nice and foamy go ahead and beat in the hot milk, sugar, melted butter, salt, and egg.
- Add the bread flour to the yeast mixture, and knead with the dough hook. Mix for 8-10 minutes until the dough is slightly tacky.
- Flour your work surface and knead the dough with your hands for a couple extra seconds
- Place the dough in a greased bowl, cover and let it sit in a warm place for about an hour or until it doubles in size.
- Place the risen dough on your floured work surface and divide the dough into 12 pieces.
- Shape the dough pieces into dinner rolls by tucking the edges underneath.
- Butter a 9 x 13 baking pan and place the balls of dough spaced a little apart. Cover and let it rise in a warm place for an additional 40 minutes or until doubled in size
- Brush the risen balls of dough with the egg wash and place in a preheated oven at 375 degrees F for 20 minutes or until fully cooked through.
- Brush with melted butter and enjoy
Video
Nutrition
Nutrition information is automatically calculated, so should only be used as an approximation.


When you say “hot milk” , how hot? I didn’t think any liquid should be over 115 degrees.
Hi Lynne, 115 degrees is ideal. I just edited the recipe. Thank you for pointing it out.
I made these and they came out amazing! Thanks for the great recipe and video to show how these are made, it helped a lot!
Awesome!! Thank you for letting me know you enjoyed these. Super glad you did 🙂
How do you store these so they keep an dont get hard?
I place them in large ziploc bags everytime I make these.
Tried this today ! It’s beautiful and everyone loved it !! Thanks for this great recipe!
Great rolls they are super soft and yummy ! This recipe was so easy ! I will definitely keep this recipe as my go to, My family loved them!
Thank you for sharing!
Monica
Thank you so much Monica! So glad you enjoyed them 🙂
I looked at the conversion for 16 ounces and that is about 2 cups. I think there is something wrong with the yeast recipe.
Please advise, Thank you.
Loida
I adjusted the measurements, sorry about that